FOODPHOTO GUIDE · BIRMINGHAM, UK
Create consistent, menu-ready images from real dish photos for delivery apps, online ordering and Google Business Profile.
When a customer scrolls through a small menu tile, the photograph has one immediate job: make the dish recognisable enough to earn the next look. Around Birmingham’s Balti Triangle, Digbeth, the Jewellery Quarter, Moseley, Edgbaston and Sparkbrook, a menu may move between very different dishes and service styles. The useful response is not a louder visual treatment. It is a clear image that still represents what the kitchen serves.
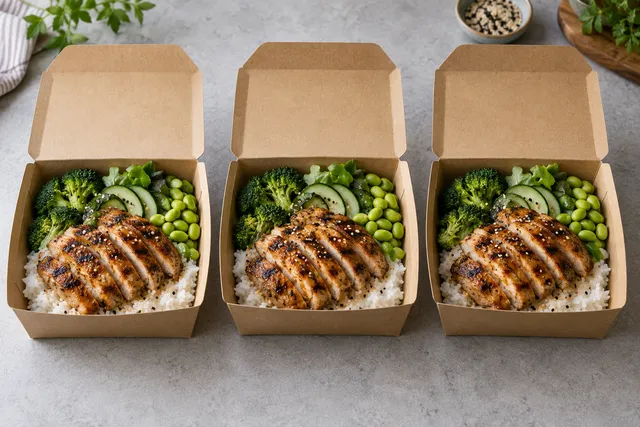
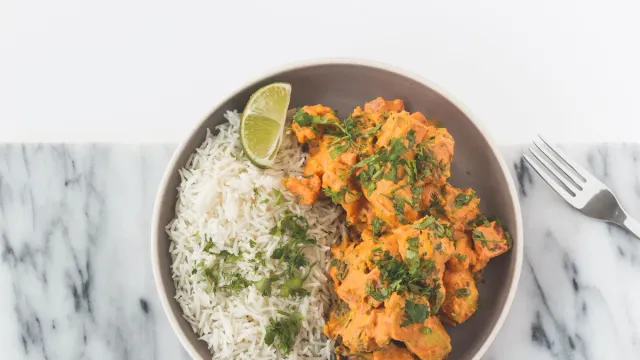
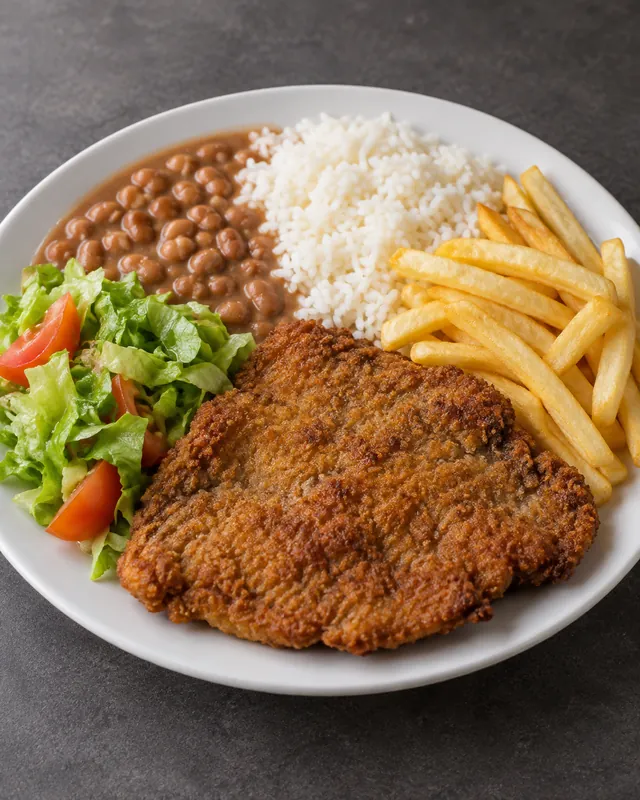
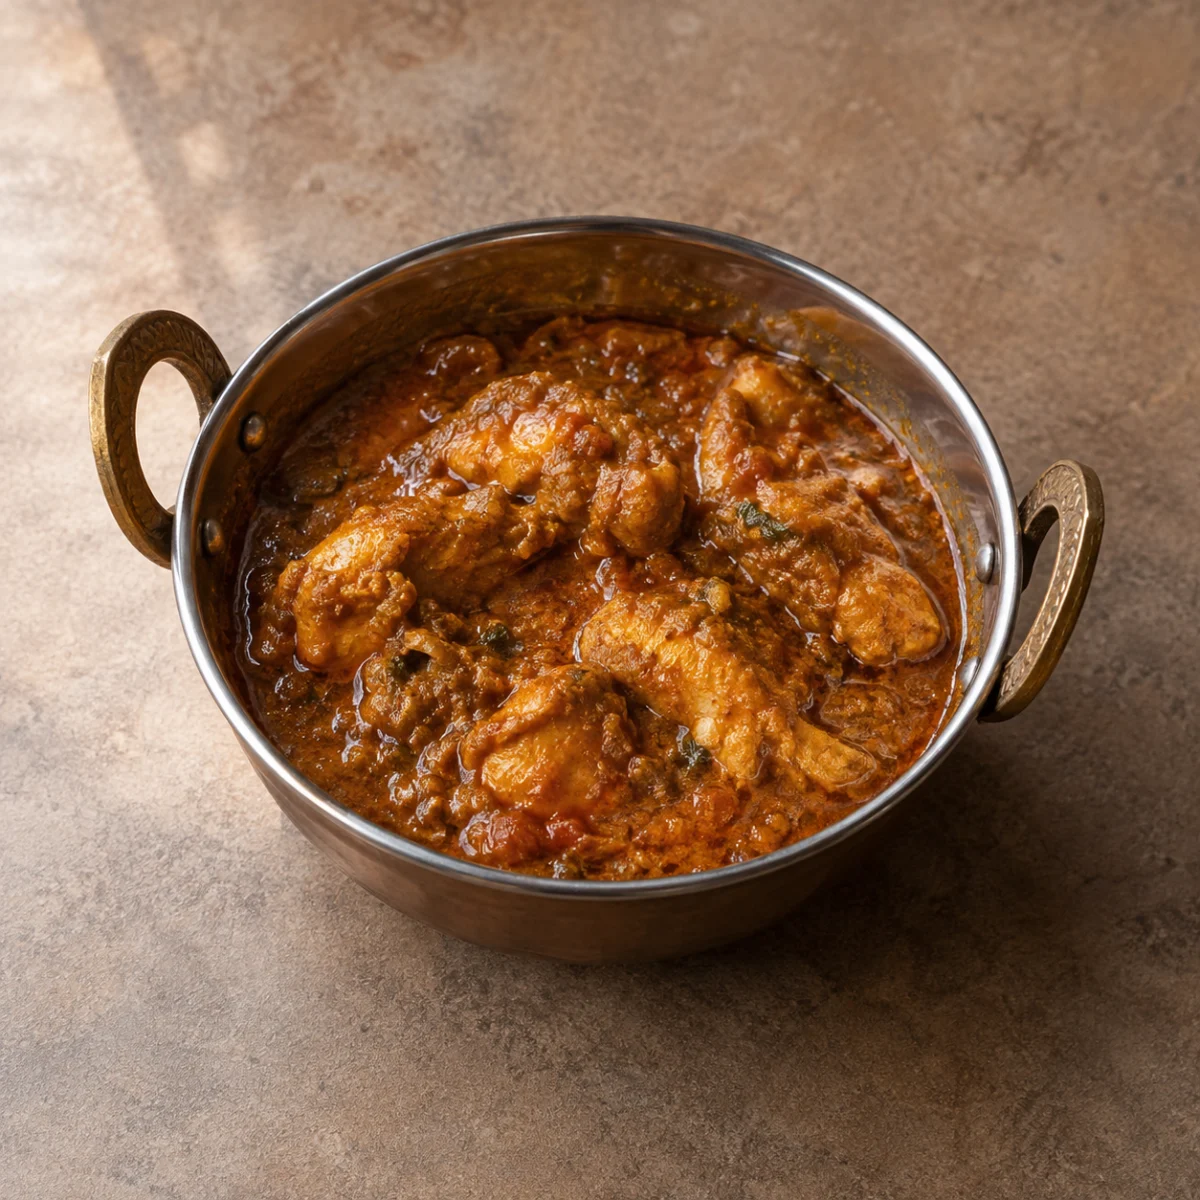
This guide sets out a practical system for building that image set. Start with a real phone photo, make a limited improvement, keep one master per dish, and review the final crop where a customer will see it. The examples below are illustrative menu compositions; use your own dish photo as the source for a listing.
Open FoodPhoto Studio with one menu item See current plans and usage
Start with the dishes that carry the menu
Begin with best sellers, signature dishes and delivery bundles. For a Birmingham menu, that could mean a Balti curry, seekh kebabs, Caribbean jerk chicken or a Sunday roast plate. The local reference helps you choose a useful starting set; it does not replace the more important question: can the customer tell what will arrive?
Once the mains are clear, add the items that complete the decision: rice, naan, sauces, sides, drinks, desserts and meal add-ons. Photographing every item at once creates a large review burden. A small first release gives the team a chance to agree on framing, light and colour before the same rules spread across the catalogue.
| Dish type | First framing check | What the small tile must show |
|---|---|---|
| Balti curry | Keep the bowl and its rim readable | The curry texture and the portion, without a distracting table |
| Seekh kebabs | Leave room around the full skewer or plate | The number of pieces and their grilled texture |
| Sunday roast | Separate the main, potatoes and vegetables visually | The plate’s structure and the elements named in the menu |
The table is a review aid, not a styling rule. If a restaurant serves a dish differently, the real plate wins. The image should make the menu easier to understand, not force a regional dish into a generic template.
Build one consistent master image per dish
Make one well-reviewed master image for each item, then prepare the crops required by Deliveroo, Just Eat, Uber Eats, the restaurant’s own ordering page and Google Business Profile. Check the current delivery-photo guidance before exporting; platform requirements can change and a single file should not be assumed to fit every surface.
Keep a simple visual system across the set: the same general light direction, a restrained background and a camera angle that shows the food honestly. Centre the dish with enough margin for a tighter square crop. A close-up can look impressive on a large screen and still fail when the app reduces it to a small tile, so inspect both views.

Keep changing information outside the pixels. Price, availability, delivery times and promotions belong in the editable menu or caption, where staff can update them without rebuilding an otherwise accurate photograph. That separation saves work and prevents an old price from becoming part of the image.
Keep the edit faithful to the food
FoodPhoto is most useful here as an editing step around a real reference. Improve light, background, colour or sharpness without quietly adding ingredients, enlarging the portion or turning a side into a garnish. The finished result should be easier to read while remaining a believable version of the dish the kitchen fulfils.
- Record the source. Keep the original phone photo with the dish name, date and serving details.
- Name what must stay. List the visible ingredients, portion, vessel and distinctive textures before asking for an edit.
- Change one visual problem. Ask for a cleaner crop, softer light or a quieter background instead of an unbounded request to make the image premium.
- Compare with the reference. Check ingredients, quantity, colour and arrangement at full size, then repeat the check on the small menu tile.
- Approve the export. Record the reviewer and the channel version so the next person can tell which file is live.
If an edit changes the food, reject that version even if it looks more polished. A convincing mismatch is still a mismatch, and the customer is the person who discovers it at the door.
An editable brief for a consistent menu set
Use this as a starting point with your real dish photo. Replace the brackets with facts the kitchen can check:
Edit the supplied reference photograph of [dish as actually served]. Preserve [key ingredients], the number and size of food pieces, the serving portion, plate or packaging shape, and the original viewpoint. Composition: [square-friendly framing with the whole dish readable]. Light: [soft side light, natural colour, gentle shadows]. Background: [approved quiet surface]. Improve [lighting / background / crop / sharpness] only. Keep the food representative of the reference. Do not add ingredients, invent garnish, enlarge the portion, change the vessel, or place price, availability, logos or readable text in the image. Create a clean source for separate channel crops, then review it at phone size.Apply the same brief structure across the menu, but keep the dish-specific details honest. “Balti curry” needs different texture and vessel checks from a roast plate; a shared lighting direction does not mean every dish should be arranged identically.

Refresh the set when the menu changes
A menu photo deserves a review when the recipe, portion, vessel, packaging or presentation changes. Seasonal specials and limited-time dishes also need a clear retirement date. A calendar can remind the team to look, but the decision should follow the product rather than an arbitrary refresh quota.
Keep the workflow small enough to repeat:
- Choose one item and the customer-facing surface that needs it.
- Capture or select the real dish photo and write down the non-negotiable details.
- Prepare a master image, then make the channel-specific crops.
- Review the phone preview with someone who knows the food.
- Archive the replaced file with its date and reason for replacement.
This record matters when a restaurant has several “final” files in circulation. It connects the published crop to the dish, the reviewer and the conditions under which it remains accurate.
Current plans and trial photos
The current FoodPhoto plans page shows Starter at 15 USD/month, Growth at 30 USD/month, Pro at 60 USD/month and Studio at 120 USD/month, with approximate photo capacity shown for each plan.
A verified account includes two watermarked trial photos without a card. Free generation is slower than paid plans and normally takes around 30–35 seconds, sometimes longer when the service is busy or the edit is complex; keep the chat open and do not repeat the request while it processes.
Use the trial to learn the review loop with one of your own dishes. The important output is not a promise of more orders. It is a menu image that the restaurant can recognise, check and deliberately publish.
Common questions
What should a Birmingham restaurant photograph first?
Start with best sellers, signature dishes, delivery bundles and recognisable items such as Balti curry, seekh kebabs or a Sunday roast. Then cover the sides, drinks, desserts and add-ons that complete the menu.
Can one master image work across delivery apps?
One carefully reviewed master can be a source for separate crops, but check each final export against the current requirements of its delivery app, ordering page or Google Business Profile.
How do I keep an edited dish faithful to the food?
Use a real reference photo, name the ingredients and portion that must stay, make one limited change at a time, and compare the result with the reference before publishing.
How should I test a new menu photo?
View the crop at phone size, ask someone who knows the dish to check its accuracy, and record the item, version and approval before replacing the live image.
Put the workflow into practice
Open FoodPhoto Studio with one real dish photo. Start with a limited request such as improving the light and clearing the background while keeping the ingredients and portion unchanged. Compare the result with the source, then prepare the crop your ordering surface actually needs.
For the next step, use the delivery-photo guidance to check dimensions and crop decisions, and review current plan details before expanding the set. The restaurant remains responsible for checking that every published image matches the food it sells.
The strongest Birmingham menu set will not be the one with the most effects. It will be the one where a customer can recognise the dish quickly, the team can update the surrounding information safely, and the plate that arrives still makes sense beside the photo.
The images on this page are illustrative menu examples, not customer results or restaurant photography.