● Tutorials · 7 min read
Professional iPhone Food Photography: The Consistency Checklist for Restaurants
A professional iPhone food photography checklist for restaurants: lighting, framing, color, and a workflow that keeps your whole menu consistent and on-style.

You do not need a camera to get professional iPhone food photography for your restaurant. A modern phone already has the resolution and lens quality you need. What separates professional results from amateur snapshots is consistency: the same light, the same framing, the same color, and the same enhancement applied to every dish so the whole menu looks like one brand. This is the practical checklist to get there, plus the workflow that keeps it consistent at scale.
The core truth up front: consistent light plus a consistent background plus a consistent edit equals professional. Nail those three and your phone photos will hold their own against studio work on a delivery tile.
The capture checklist
Before you shoot any dish, run this short list. It takes seconds and prevents most amateur results.
- Clean the lens. A smudged phone lens softens every shot. Wipe it first, every time.
- Use side light. Window light from the side or slightly behind reveals texture and gloss. Skip the flash and the overhead bulb.
- Lift the shadows. A simple white card or napkin opposite the light bounces fill back into the dark side so detail does not disappear.
- Clear the background. Remove clutter, hands, and kitchen mess. A clean surface keeps attention on the food.
- Wipe the plate edge. Drips and fingerprints read as sloppy. A clean rim reads as professional.
- Center the hero ingredient. Keep the most appetizing element near the middle so platform crops never cut it off.
Set your angle by dish type
Pick a default and stick to it:
- 45 degrees for most plated dishes, burgers, and stacked food, to show height and layers.
- Overhead (flat lay) for bowls, salads, pizzas, and platters, where the full top reads best.
- Eye level for tall drinks and layered desserts.
A consistent angle per dish category is half of what makes a menu look unified.
Use the iPhone's tools wisely
A few native settings help, used with restraint:
- Tap to focus on the hero ingredient, then lock exposure so it does not drift.
- Avoid heavy HDR or filters that make food look surreal. The goal is appetizing and accurate.
- Shoot a few frames and keep the sharpest one; phones occasionally miss focus.
The phone gets you a clean, sharp, honest capture. It does not fix indoor color casts, uneven exposure, or a busy background on its own, which is where a consistent enhancement step comes in.
Standardize color, gloss, and crop
Here is where most restaurant phone photos drift apart: the editing. If every dish is corrected by eye, the menu ends up inconsistent even when the shooting was identical. The fix is to run every photo through the same enhancement.
Upload your real iPhone photo of your real dish to FoodPhoto.ai and it neutralizes color casts, balances exposure, adds natural gloss, cleans the background, and crops to spec without changing the food. Dish one and dish twenty come out looking like one brand. See it work in the Try Pack.
Keep the whole menu on-style
Consistency is a system, not a single good photo. To keep the menu unified:
- Pick one style (angle, background, light) and document it.
- Apply the same enhancement to every dish, every time.
- Export the same sizes for delivery, web, and social from one master.
- Replace old photos as you go so you never mix a dated look with a current one.
This is the same standard-setting discipline that top operators use to run food photography as a growth system. And once your photos are clean and consistent, the editing-specific steps in our edit food photos like a pro workflow help you tighten the process further.
Composition basics that make phone photos look pro
Beyond light and color, a few simple composition habits separate a professional iPhone shot from a snapshot:
- Fill the frame. Get close so the dish dominates. Empty space around a small plate reads as amateur and wastes the thumbnail.
- Use negative space deliberately. When you do leave space, make it intentional and clean, not accidental clutter.
- Mind the lines. Keep the plate rim and table edge level so the shot does not feel tilted.
- Place the hero off-center when shooting a wider scene, but keep it centered for tight delivery crops.
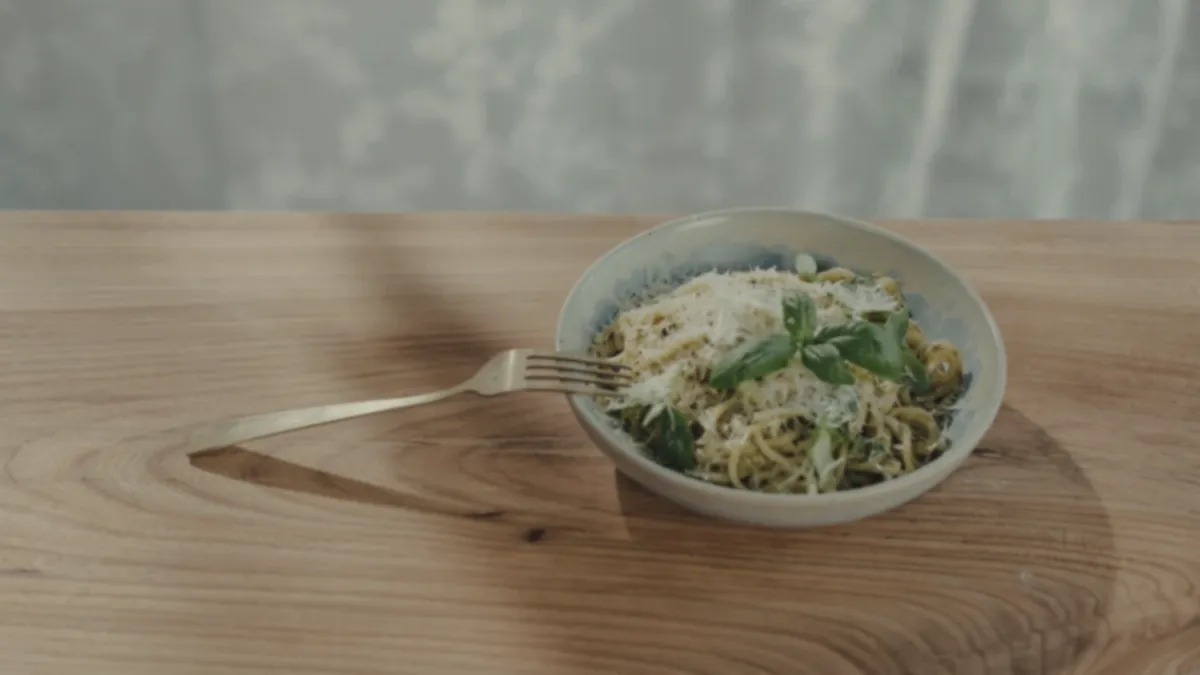
- Add a hint of context (a fork, a napkin, a second ingredient) only if it supports the dish without stealing focus.
These cost nothing and apply to every dish, which is exactly why they help consistency.
A repeatable per-dish routine
To make all of this fast, run the same short routine for every item:
- Wipe the lens and clear the surface.
- Plate a fresh, full portion and clean the rim.
- Position side light and a fill card.
- Shoot your default angle plus one flat lay, 3-4 frames each.
- Keep the sharpest frame and move on.
- Enhance and export with the same settings every time.
Once the routine is muscle memory, a full hero dish takes only a few minutes, and the output is uniform across the menu.
Keep it honest
The whole point of phone photography is that it captures your real food. Enhance it; do not fake it. Make the real dish look its best, but keep the portion and ingredients accurate so customers get what the photo promised. Honest, consistent images are what build trust on a menu and a delivery app.
Common iPhone food photo mistakes
If your shots still look amateur after following the checklist, you are probably hitting one of these:
- Using the flash, which flattens food and adds harsh, ugly shadows.
- Shooting under overhead kitchen lights, which cast yellow or green tints.
- Standing too far back, leaving the dish small in the frame.
- Forgetting to clean the lens, softening every shot before you start.
- Editing each photo by eye, so the menu drifts out of consistency.
Each of these is a one-second fix once you know to look for it, and together they account for most of the gap between snapshots and professional results.
Run the capture checklist, lock one style, and standardize the edit, and your iPhone will reliably produce menu-ready photos. When you want a fast, consistent way to handle color, gloss, and crop across the whole menu, see our simple credit-based pricing and turn phone shots into professional images in minutes.