AI Food Photo Quality-Control Checklist for Restaurant Teams
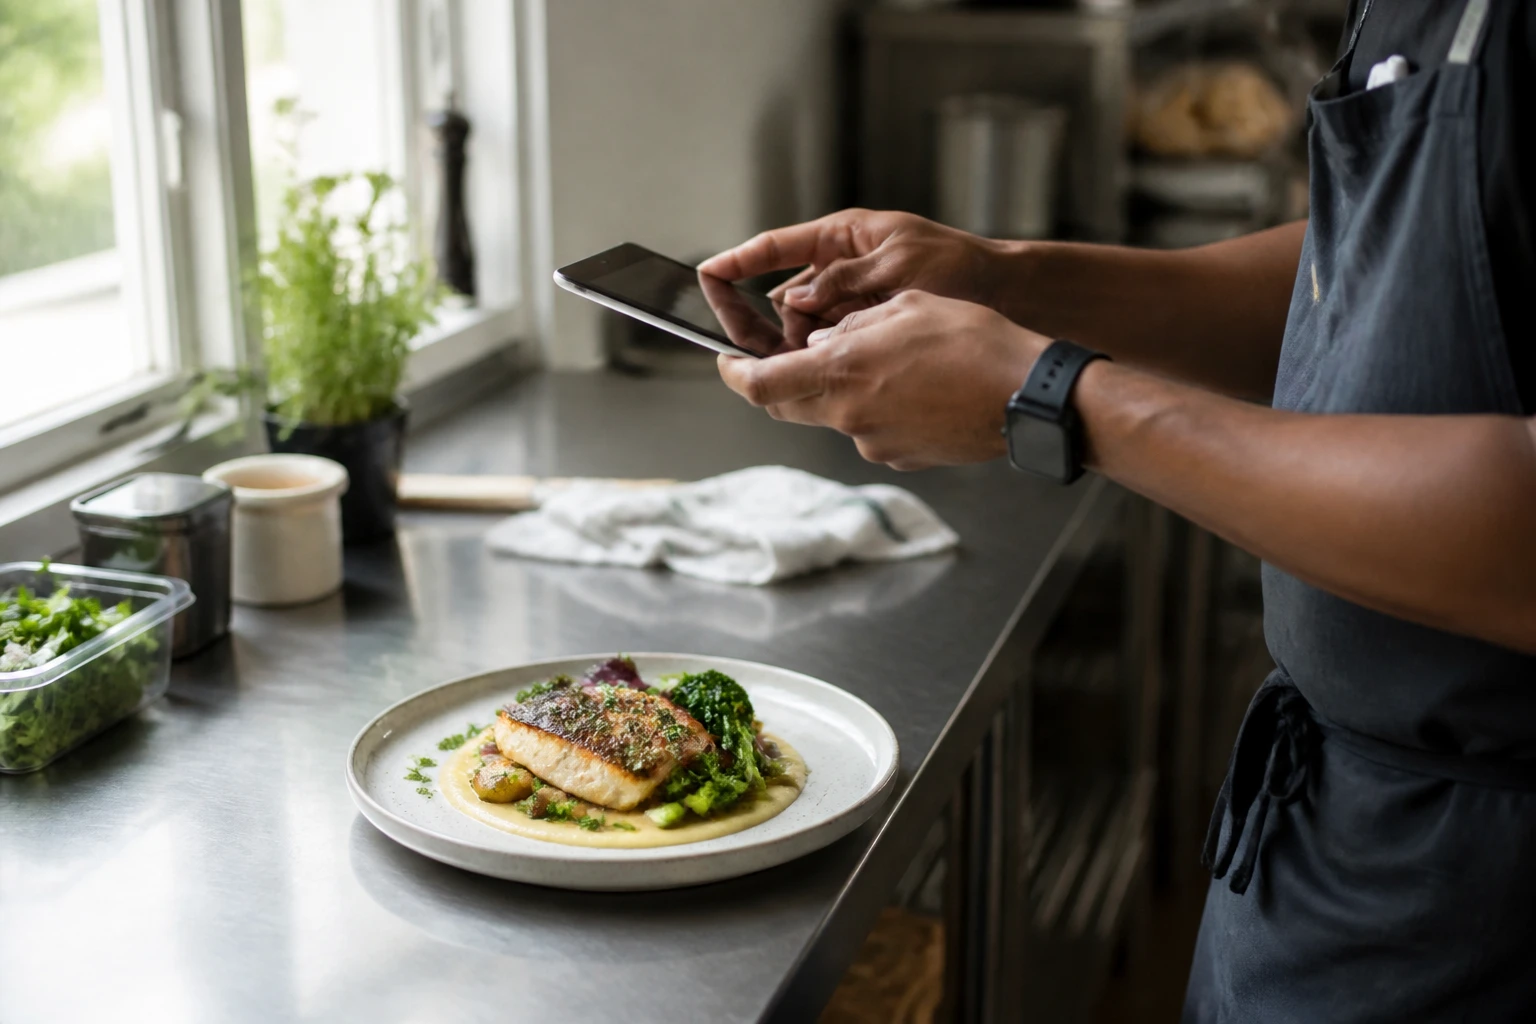
Operator guide
An AI food photo quality-control checklist is the release gate between an attractive edit and a trustworthy restaurant asset. Before publishing, compare the enhanced image with the source photo and the plate your kitchen serves, verify every food detail, inspect the image at full size and thumbnail size, confirm the destination crop and file rules, and record who approved it. If truth and production quality conflict, truth wins.
This checklist is for the moment after enhancement and before delivery. It does not replace a broader library audit, a capture guide or a platform specification. Its job is narrower: decide whether one edited image can safely represent one orderable menu item.
The approval rule in one sentence
Approve the photo only when a customer can receive the dish shown, the image remains technically usable in its destination, and another staff member can trace the approved file back to the correct item and source.
That rule creates three gates:
- Dish truth: the food remains accurate.
- Image readiness: the edit works at the size and crop customers will see.
- Operational control: the team knows which file is approved and where it belongs.
Do not average the three gates into a score that lets a serious failure pass. A beautiful image with the wrong garnish fails. An accurate image that is too blurry to identify fails. A good image stored under an ambiguous filename is not ready for a multi-person publishing workflow.
Set up the review before looking at the result
Quality control works best when the reviewer has enough context to judge. Open the following materials together:
- The untouched source photo.
- The enhanced candidate at full resolution.
- The current recipe or plating reference.
- The menu item name and variant.
- The intended destination or destinations.
- The approved style rule for that menu category.
If the recipe recently changed, confirm the current served version before reviewing pixels. An old source can be photographed well and edited carefully while still representing a dish that no longer exists.
Use a neutral display setting when possible. Excessive screen brightness can hide clipped highlights, and a heavily filtered phone display can distort color judgment. The review does not require specialized equipment, but it does require a consistent view.
Gate 1: verify the food before the photography
Food accuracy gets checked first because later polish can make an inaccurate image more persuasive. Compare the source and candidate side by side, then answer every item below.
Ingredient and preparation checklist
- [ ] The main ingredient is the same.
- [ ] Every visible topping remains present and recognizable.
- [ ] No new garnish, sauce, side or drink has appeared.
- [ ] Nothing served with the item has disappeared.
- [ ] The cooking state still matches, including browning, doneness and texture.
- [ ] The product variant is correct, such as size, flavor or protein choice.
- [ ] Packaging shown is the packaging the restaurant actually uses for that item.
Small changes matter. A few invented seeds may look decorative, but they can imply an ingredient. A sauce added around a plate can suggest it comes with the order. A crisp texture created on a soft food changes the expectation even when the item name is unchanged.
Portion and geometry checklist
- [ ] The number of pieces has not changed.
- [ ] The portion boundary has not expanded.
- [ ] The food-to-plate relationship remains believable.
- [ ] Stacks, layers and fillings match the served construction.
- [ ] The plate, bowl, tray or container remains the approved one.
- [ ] Perspective correction has not made the portion appear materially larger.
Do not use cropping as a loophole. A tighter crop can make food easier to see, which is useful, but it should not hide that a side is missing or imply a different portion. Review the full master before approving channel crops.
Color truth checklist
- [ ] Whites are neutral rather than yellow, blue or gray.
- [ ] Greens, reds and sauces look like the actual ingredients.
- [ ] Saturation does not make the food look artificial.
- [ ] Meat and baked surfaces do not imply a different level of cooking.
- [ ] The image remains plausible beside the dish under normal service light.
Color is both a quality issue and an accuracy issue. Correcting a kitchen color cast is appropriate. Turning a pale sauce into a deeply colored sauce is not. The goal is a credible rendition of the food, not the most intense color available.
If any food check fails, reject the candidate and identify the exact mismatch. Do not send a vague note such as “looks off.” Write “remove the added parsley,” “restore six pieces,” or “return the rice portion to the source boundary.” Specific rejection notes make the next review faster.
Gate 2: inspect production quality
Once the food passes, assess whether the image itself is usable. Enhancement should make a workable capture easier to publish, but it cannot reliably recover every input failure.
| Area | Pass standard | Reject or reshoot signal |
|---|---|---|
| Focus | The main texture is sharp at the intended display size | Motion blur, missed focus or artificial edge halos |
| Exposure | Detail remains in bright and dark food areas | Blown sauce highlights or blocked shadows |
| White balance | Plate and neutral surfaces look neutral | Strong yellow, green, blue or magenta cast |
| Background | Distractions are reduced without changing the service claim | Warped surfaces, invented objects or residue around edges |
| Plate edge | The outline is clean and continuous | Cutouts, melted edges or missing rim sections |
| Texture | Crisp, creamy, glossy or soft areas remain believable | Repeated patterns, plastic texture or false steam |
| Composition | The hero ingredient is obvious and the dish has crop room | The subject is tiny, clipped or visually confused |
Inspect at 100 percent for artifacts, then zoom out. Full-size review catches damaged edges and repeated textures. Small-size review catches a different problem: the dish may be technically clean but unreadable in the actual menu card.
Reshoot rather than over-process when the original is out of focus, the plated item is wrong, the food looks old, a hand blocks the dish, or the perspective makes the product unrecognizable. The AI food photo editor can improve a viable real-dish capture, but the source still defines what is available to preserve.
Gate 3: test the real customer view
A master image is not automatically a finished delivery-app image. Open the candidate in the aspect ratio and approximate display size of its destination.
Crop and thumbnail checklist
- [ ] The main item remains visible after the destination crop.
- [ ] Important toppings are not placed near a likely cut line.
- [ ] The plate does not look accidentally chopped.
- [ ] The dish is recognizable at mobile thumbnail size.
- [ ] The background does not occupy more attention than the food.
- [ ] Any text or logo required by the channel remains legible and permitted.
- [ ] The photo does not depend on a desktop-size detail to explain the item.
Do not assume that one crop works everywhere. Keep an approved high-resolution master, then create destination versions from it. Check the current delivery app photo requirements at export time because platform rules and presentation can change.
Preview the live placement after upload. Interfaces can apply an additional center crop or compress an image. The final check is not complete until the published thumbnail still presents the intended dish.
Gate 4: verify the file and handoff
Operational mistakes can publish the wrong image even when the edit is perfect. A simple file check prevents duplicate work and accidental swaps.
| Field | Record for every approved asset |
|---|---|
| Menu item | Exact name used in the ordering system |
| Variant | Size, protein, flavor or location when relevant |
| Source | Original filename or asset identifier |
| Master | Approved high-resolution filename |
| Export | Destination and crop in the filename |
| Review | Approver and approval date |
| Status | Approved, rejected, superseded or live |
Use a stable pattern such as location-item-variant-channel-date. The exact pattern matters less than consistent use. Separate originals, approved-masters and exports so no one mistakes a candidate for a release file.
Before handoff, confirm:
- [ ] The filename maps to the correct menu item.
- [ ] The format opens correctly.
- [ ] The dimensions match the intended export.
- [ ] The file size is acceptable for the destination.
- [ ] The approved master is retained separately.
- [ ] The rejected version cannot be mistaken for the approved one.
- [ ] The publisher knows which existing image should be replaced.
A two-person approval pattern
For a small restaurant, one person may perform every task. Still, separate the two decisions mentally or in the checklist.
Food approver: someone who knows the current recipe, portion and plating. This may be a chef, kitchen lead or owner.
Publishing approver: someone responsible for crop, filename, destination and live placement. This may be an operator or marketing lead.
For a larger group, record both. For a one-person business, perform the food pass first, take a short break, then perform the channel pass. The separation reduces the temptation to approve an image simply because the edit looks impressive.
The food photo ethics guide can help turn the accuracy gate into a written team policy. The central principle is practical: a menu image should make the real dish easier to choose, not redefine what arrives.
Reject, revise or reshoot
Every failed candidate should have one of three next actions.
| Decision | Use it when | Next step |
|---|---|---|
| Revise | The source is accurate and the defect is limited to the edit or crop | State the exact correction and create a new candidate |
| Reshoot | The source is blurry, blocked, stale, incorrectly plated or otherwise inaccurate | Capture the current dish again before enhancement |
| Retire | The item, recipe or asset is no longer current | Archive it and remove it from active publishing folders |
Avoid endless revision. If two attempts keep producing the same food-accuracy problem, return to a cleaner source or use a more restrained edit. The objective is an approved menu asset, not a dramatic before-and-after.
Turn the checklist into a release record
Keep the checklist with the asset batch. Over time, the rejection reasons show where the workflow needs attention. Repeated blur points to capture training. Repeated portion mismatches point to an unclear plating reference. Repeated crop failures mean destination requirements were considered too late.
This is different from measuring whether a new image changes ordering behavior. Approval asks, “Is this truthful and publishable?” Measurement asks, “What happened after we changed the image?” Keep those decisions separate so a performance result never excuses an inaccurate asset.
For a complete production sequence, use the phone-to-delivery-app workflow. When the batch is approved, the menu photo conversion test method explains how to evaluate a change without inventing an uplift claim.
Final release checklist
Before you mark the asset live, confirm all twelve items:
- [ ] The dish shown is currently orderable.
- [ ] Ingredients and garnish match.
- [ ] Portion and piece count match.
- [ ] Cooking state and color remain truthful.
- [ ] No food, prop or service context was invented.
- [ ] Focus, exposure and edges pass at full size.
- [ ] The dish reads at thumbnail size.
- [ ] The crop is safe for the destination.
- [ ] Current destination requirements were checked.
- [ ] The approved master and export are named clearly.
- [ ] A responsible reviewer approved the asset.
- [ ] The live placement was checked after upload.
If you are ready to process real-dish captures under this approval standard, compare pricing plans or create a FoodPhoto.ai account. Keep the checklist independent of the tool: the same truth and release gates should apply to every restaurant image your team publishes.
Frequently asked questions
What should restaurant teams check in an AI-enhanced food photo?
Compare the result with the source photo and the served plate. Verify ingredients, garnish, portion, plateware and preparation first. Then check focus, color, highlights, background, crop safety, thumbnail readability, destination requirements, file naming and reviewer approval.
When should an AI-enhanced food photo be rejected?
Reject it when an ingredient, portion, garnish, cooking state or plate changes; when the dish becomes misleading; when image defects remain; or when the crop and file cannot meet the destination requirement. Reshoot if the original itself is blurry or inaccurate.
Who should approve restaurant menu photos?
Assign one accountable reviewer who knows the current recipe and plating standard. A chef or kitchen lead can confirm food accuracy, while a marketing or operations owner can confirm crop, file and channel readiness. Record the final approver with the asset.
Is quality control the same as a menu photo audit?
No. A menu photo audit finds weaknesses across an existing library and prioritizes what to fix. Quality control is the release gate for a newly enhanced image, deciding whether that specific asset is accurate and ready to publish.