Restaurant Menu Photo Workflow: Phone Capture to Delivery App
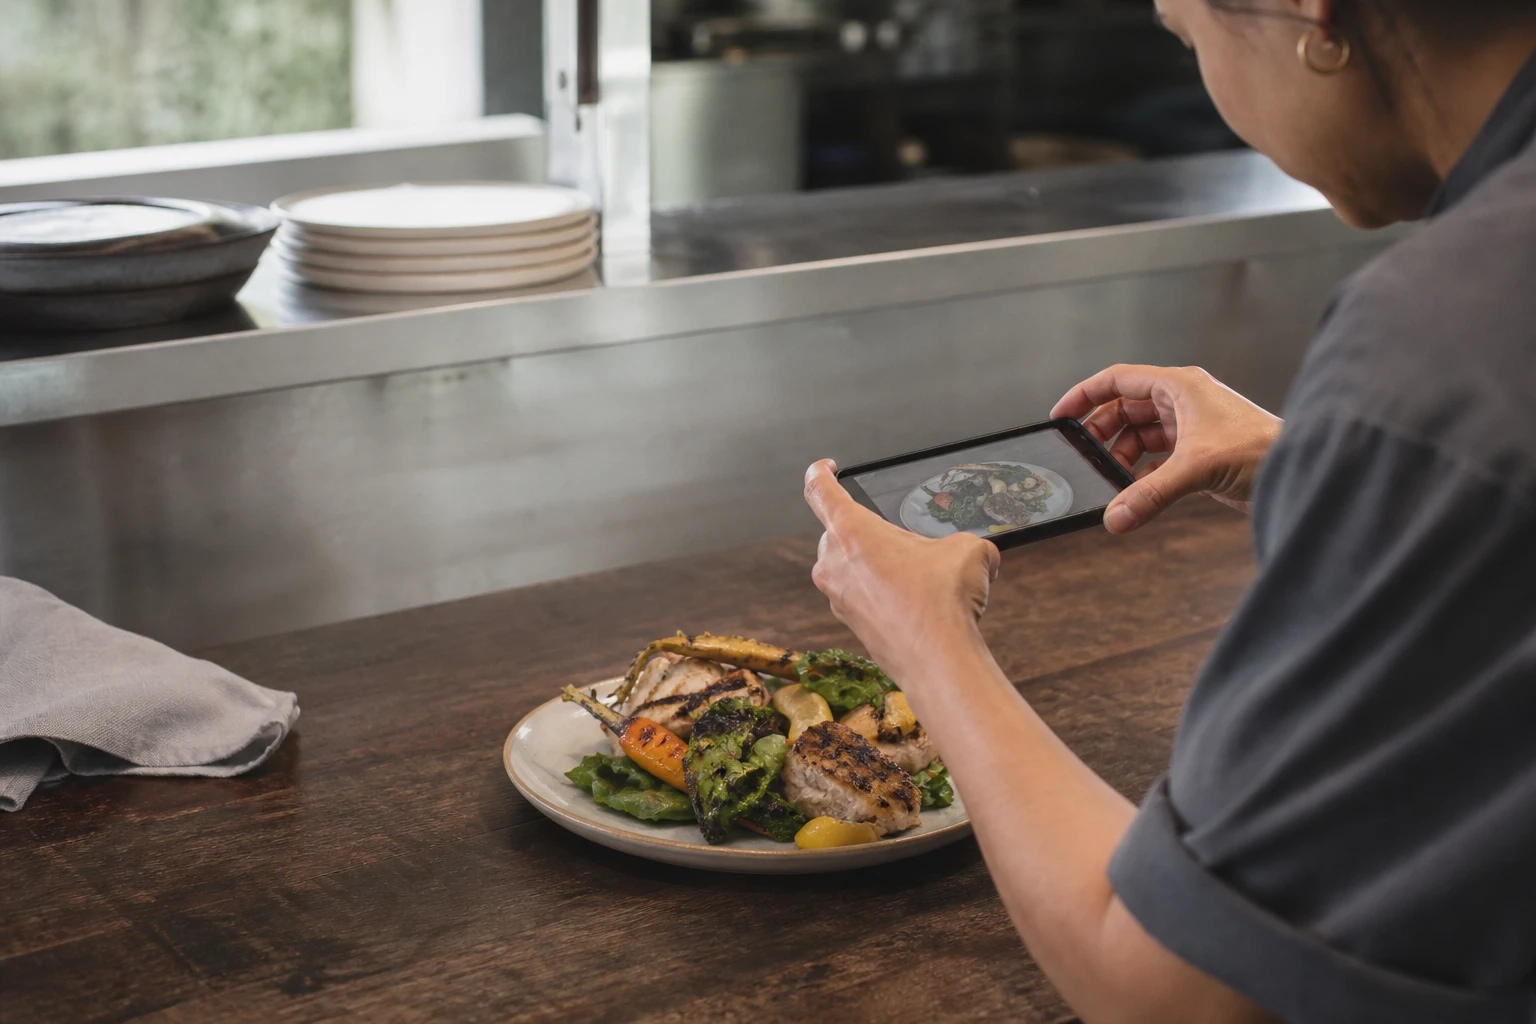
Operator guide
A reliable restaurant menu photo workflow moves one real dish through eight controlled stages: plan, plate, capture, select, enhance, approve, export and publish. Each stage has a clear owner and a failure rule, so a weak phone photo is reshot early, an inaccurate AI edit is rejected before delivery, and the final file is checked in the live app rather than assumed to work from a desktop folder.
This guide covers the operating sequence from kitchen phone to customer-facing delivery thumbnail. It is not a camera masterclass and it does not repeat every platform specification. The goal is a process that a small team can perform again when a special launches, a recipe changes or a listing needs a new image.
The complete workflow at a glance
| Stage | Owner | Output | Stop condition |
|---|---|---|---|
| 1. Plan | Operator | Item list, destinations and schedule | Item or channel is undefined |
| 2. Plate | Kitchen lead | Current served dish | Portion or recipe is wrong |
| 3. Capture | Shooter | Several clean phone originals | Focus, light or framing fails |
| 4. Select | Shooter or reviewer | One source candidate | No truthful usable frame exists |
| 5. Enhance | Editor | Improved candidate | Edit changes food details |
| 6. Approve | Food and channel reviewer | Approved master | Accuracy or quality check fails |
| 7. Export | Publisher | Named destination files | Crop or file requirement fails |
| 8. Publish | Publisher | Verified live placement | Live thumbnail misrepresents the item |
The stop conditions are part of the workflow. Without them, teams carry a bad input forward and spend time trying to repair it at a later, more expensive stage.
Stage 1: plan the batch around menu items
Begin with the source of truth in the ordering system, not a random camera roll. Create a shot list with:
- Exact menu item name.
- Variant, size or protein choice.
- Current portion and garnish notes.
- Location when plating differs by location.
- Channels that need the image.
- Person responsible for food approval.
- Person responsible for publishing.
- Existing image that will be replaced.
Choose a manageable batch. A small complete batch is more useful than dozens of unreviewed candidates. Group similar dishes because they often share an angle and crop logic. Bowls can be captured together, stacks together and flat dishes together, provided the food is prepared fresh for each photograph.
Check the delivery app photo requirements before shooting. You do not need to memorize every current rule. You do need to know whether your destinations will demand substantially different shapes, so the capture includes enough room around the dish.
Stage 2: plate what a customer receives
The kitchen lead prepares the current orderable item using the same portion, ingredients, garnish and service container used in normal operations. Clean the plate edge, but do not add a styling-only ingredient that is absent from the order.
Record exceptions before the camera appears. If dine-in and delivery versions use different containers, they are separate visual assets. If a protein choice changes the visible dish, photograph the variants that customers select. Do not use one attractive version as a substitute for materially different options.
The plating gate is simple:
- Is this the current recipe?
- Is this the served portion?
- Is every visible element included with the order?
- Is the correct plate or package shown?
- Does the item look fresh enough to photograph now?
If any answer is no, fix the plate first. Enhancement should not conceal an operational mismatch.
Stage 3: build a repeatable phone capture station
A useful station can be compact. Consistency matters more than decorative complexity.
Station checklist
- Wipe the phone lens.
- Use the 1× camera to avoid wide-angle distortion.
- Choose one primary light source.
- Turn off conflicting overhead light when it creates a strong color cast.
- Use a stable surface and a repeatable phone position.
- Keep a plain bounce surface available for deep shadows.
- Remove receipts, cleaning products, cords and unrelated dishes.
- Mark the common camera positions for the next session.
Window light can work, but it changes through the day. A stable artificial source can work, but mixed sources create difficult color. Choose the setup your team can reproduce during actual operating hours.
Match the angle to the food. Top-down views clarify flat layouts such as pizza and many bowls. A moderate angle often explains height, layers and fillings. The rule is not artistic novelty. It is immediate menu-item recognition.
Leave crop room. Fill enough of the frame that the dish is clear, but do not push every important edge against the boundary. Delivery interfaces may crop differently from your camera preview.
Stage 4: capture and select before the food declines
Photograph the dish promptly. Take several deliberate frames rather than a long burst of nearly identical images.
For each item, vary only what helps selection:
- One safe frame with generous crop room.
- One slightly tighter frame.
- One alternate approved angle when the item benefits from it.
Check focus on the main texture before moving to the next dish. A quick zoom catches motion blur, sauce glare and accidental focus on the plate rim. Repeating the shot while the dish is present is easier than rebuilding it later.
Select the source using truth and technical quality, not dramatic potential. The selected frame should show the complete portion, keep the main ingredient visible and have enough sharp information for enhancement.
Reshoot immediately when
- Focus misses the food.
- Motion blur removes texture.
- The wrong portion or garnish is shown.
- A hand, utensil or prop blocks the item.
- The food has visibly deteriorated.
- The camera angle distorts the portion.
- No crop can keep the important elements.
Do not send every failure into an editor. A clean recapture is often the shortest path.
Stage 5: enhance the usable source conservatively
Enhancement begins with the photograph you selected. Its appropriate job is production correction: improve weak exposure, neutralize an unwanted color cast, reduce distracting context, clarify texture and prepare a stronger crop.
Use the same menu style rule for related items. Define:
- Background family.
- General brightness and contrast direction.
- Approved angles by category.
- Crop target.
- Color restraint.
- Details that must never change.
The AI food photo enhancer explains the real-dish boundary in detail, while the AI food photo editor is the direct editing route. Whichever editing method you use, retain the original and label the enhanced output as a candidate until review.
Reject an output at this stage if it adds toppings, changes piece count, expands the portion, replaces plateware, invents a side or changes the cooking state. A technically impressive image is not useful when it breaks the menu promise.
Stage 6: approve in two passes
Separate food accuracy from channel readiness. The same person can perform both in a small restaurant, but the questions remain distinct.
Pass A: food accuracy
- Ingredients match the recipe.
- Garnish and sauce match service.
- Piece count and portion boundary match.
- Plate or packaging is correct.
- Color and cooking state remain plausible.
- No invented prop implies an included item.
Pass B: image and channel quality
- Main texture is sharp.
- Highlights and shadows retain useful detail.
- Background edges are clean.
- The image reads at thumbnail size.
- Important food stays inside the planned crop.
- The asset can meet the intended file requirement.
Use the full AI food photo quality-control checklist as the release record. The food photo ethics guide can help teams define who owns accuracy and what kinds of changes are prohibited.
If a result fails, label the next action as revise, reshoot or retire. Specific actions stop rejected files from lingering in the publishing folder.
Stage 7: export from one approved master
Once approved, save a high-resolution master. Generate destination versions from that master rather than enhancing the source separately for every channel. One master reduces visual drift and makes later replacement easier.
Use a folder structure such as:
Menu photos/
  originals/
  candidates/
  approved-masters/
  exports/
    delivery-app-a/
    delivery-app-b/
    website/
Use descriptive filenames. A pattern such as location-item-variant-channel-date can work when each field is genuinely needed. Avoid names such as final-final-2.jpg, which require a person to open the file and guess.
For every export, verify:
- Pixel dimensions.
- Aspect ratio.
- File format.
- File size.
- Color appearance after export.
- Crop safety.
- Correct mapping to the menu item.
Platform documentation is a living input. Check the relevant destination page when producing the batch rather than copying an old requirement from a spreadsheet indefinitely.
Stage 8: publish, inspect and log
Upload the file to the correct item. After saving, view the live listing on a phone or realistic mobile viewport. The platform may crop, compress or position the photo differently from your local preview.
Ask four final questions:
- Is the correct photo attached to the correct menu item?
- Is the dish immediately recognizable in the live thumbnail?
- Did the interface remove an important edge or ingredient?
- Does the live image still match the order that will arrive?
Record the publication date and replaced asset. Keep the approved master even when a channel export must be revised. If a live crop fails, return to the approved master, create a safer export and replace only the channel version.
Handoffs for different team sizes
| Team | Practical ownership pattern |
|---|---|
| Owner-operator | Plan and publish, with a kitchen check before approval |
| Small restaurant | Kitchen lead plates and approves food; operator captures, edits and publishes |
| Marketing team | Kitchen owns recipe truth; marketing owns style, files and channels |
| Multi-location group | Local teams capture; central reviewer approves style and destination exports |
The goal is accountability, not bureaucracy. Every batch needs someone who can say the food is correct and someone who can say the file is ready. Unclear ownership is how an attractive but wrong image reaches a listing.
Common workflow failures and their fixes
| Failure | Root cause | Process fix |
|---|---|---|
| Different look on every item | Style decided after editing begins | Approve one reference and a short style rule first |
| Crops cut off the dish | Destination considered after enhancement | Check channel shapes during planning and capture |
| Wrong garnish goes live | Marketing reviews without kitchen context | Require a food-accuracy pass |
| Staff cannot find the current file | Originals and exports share one folder | Separate stages and use stable filenames |
| Time is spent rescuing blur | No source selection gate | Zoom-check and reshoot while the plate is present |
| Live image looks different | Review ends at file export | Inspect the published mobile placement |
Maintain the menu after the first batch
Treat the workflow as a repeatable production loop. Run it when a dish launches, a recipe or portion changes, packaging changes, a listing crop fails or an image no longer represents current plating.
Archive superseded assets instead of deleting the history or leaving them mixed with active exports. A simple record helps teams answer which image is live, which dish it represents and who approved it.
Do not confuse maintenance with constant restyling. Consistency is valuable. Refresh when the food or channel changes, when image quality clearly fails, or when a controlled test gives you a reason to compare a new treatment.
Measure the next change honestly
Publishing completes the production workflow, but it does not prove a sales effect. Price, placement, availability, promotions, ratings and demand can move at the same time. If you want to evaluate whether a photo change affected customer behavior, use the menu photo conversion test method and document the limitations.
If you are ready to run the workflow on your own real dishes, review FoodPhoto.ai pricing or create an account. The tool can support the enhancement stage; the restaurant still owns plating truth, approval and the final channel decision.
Frequently asked questions
What is the best workflow for restaurant menu photos?
Plan the item list and destinations, prepare a repeatable phone capture station, photograph the real served dish, select a technically usable source, enhance it conservatively, approve food accuracy, export destination versions, publish them and inspect the live thumbnails. Keep originals, approved masters and exports separate.
Can restaurant menu photos be taken with a phone?
Yes. Use a clean lens, the 1x camera, one consistent light source, stable framing and the real served portion. Leave crop room and capture more than one frame. A phone cannot compensate for stale plating or poor process, but a controlled setup can produce a strong source.
When should a restaurant reshoot instead of enhance?
Reshoot when focus is missed, motion blur hides texture, the dish is incorrectly plated, the portion is wrong, food looks old, an object blocks the item or the angle makes it unrecognizable. Enhance when the source is accurate and usable but needs light, color, background or crop improvement.
How should menu photo files be organized?
Keep separate folders for originals, candidates, approved masters and exports. Name files with location, menu item, variant, channel and date where useful. Record the reviewer and live replacement so staff can identify the current asset without opening several versions.