● Tutorials · 9 min read
Food Styling for Restaurant Photos: Beginner Rules That Work
Food styling for photography, made simple for restaurants: plating rules, freshness cues, dish-by-dish tips, and a repeatable workflow that stays accurate to the plate.

When people hear "food styling," they picture glue, tweezers, and magazine trickery. For a restaurant, that's the wrong mental model. Food styling for photography in a real kitchen is just a simple system: make the dish look fresh, make the portion look accurate, and make every photo look like it came from the same restaurant. No fake food required. This beginner's guide gives you the kit, the ten rules, and a dish-by-dish cheat sheet you can actually use during a busy service.
The payoff is consistency: a menu where every photo looks intentional, appetizing, and true to what arrives at the table.
What styling actually means for restaurants
Professional-looking menu photos come from three signals, and you can hit all three with real food:
- Cleanliness — no smears, crumbs, or fingerprints.
- Freshness — crisp edges, bright herbs, glossy sauces.
- Intentionality — everything in the frame looks chosen, not dropped there.
That's the whole game. Cleanliness, freshness, and intentionality are what separate a photo that looks "pro" from one that looks like a phone snap of a half-eaten plate.
The 15-minute styling kit
Keep a small kit next to your photo station. None of it is expensive:
- Paper towels + a microfiber cloth
- A small brush (for crumbs)
- A squeeze bottle (for sauce cleanup and clean drizzles)
- Neutral oil (for a tiny shine boost)
- A spray bottle of water (for herbs and greens)
- Tongs or chopsticks (precise placement without messy fingers)
- Toothpicks or skewers (stability for burgers and stacked sandwiches)
Optional extras: disposable gloves for clean handling, and tweezers only if you want precision — they're not required.
The 10 styling rules that make photos look "pro"
These are the rules that move the needle, in rough priority order.
- Clean the plate edge every time. The fastest visual upgrade there is. Wipe drips, smears, and fingerprints before every shot.
- Garnish last, and keep it minimal. Wilted garnish signals old food. Add it at the end, keep it intentional, and skip random sprinkles.
- Show the hero ingredient clearly. Burger? Show layers. Ramen? Show toppings. Salad? Show variety.
- Create height when the dish should feel abundant. Stack ingredients, tuck greens under proteins, or use a slightly smaller plate — within reason.
- Protect texture. Crispy edges and glossy sauces vanish fast. Shoot fries, fried chicken, wings, and pancakes immediately after plating.
- Control sauce mess. Sauce should look glossy and appetizing, not chaotic. Use a squeeze bottle to remove drips, add a clean drizzle, or reset smeared edges.
- Add freshness cues. Bright herbs, clean-cut fruit, crisp greens, and a little real steam all scream quality.
- Choose one background per shoot. Different backgrounds for every item make a menu look like five restaurants.
- Don't over-style past reality. If the delivered dish won't match the photo, you'll get complaints.
- Make the thumbnail work. Most ordering happens on phones. Zoom out until the dish looks like a delivery-app tile — if it's unclear small, it won't convert.
The single most important takeaway: cleanliness and accuracy beat "perfect." A clean, honest plate outperforms a flawless-but-misleading one every time.
Dish-by-dish styling cheat sheet
Different dishes need different priorities. Keep this handy at the station.
- Burgers and sandwiches — goal: layers + height. Shoot at 45 degrees or straight-on, keep the bun fully visible, use a skewer if the stack slides, and wipe sauce squeeze-outs.
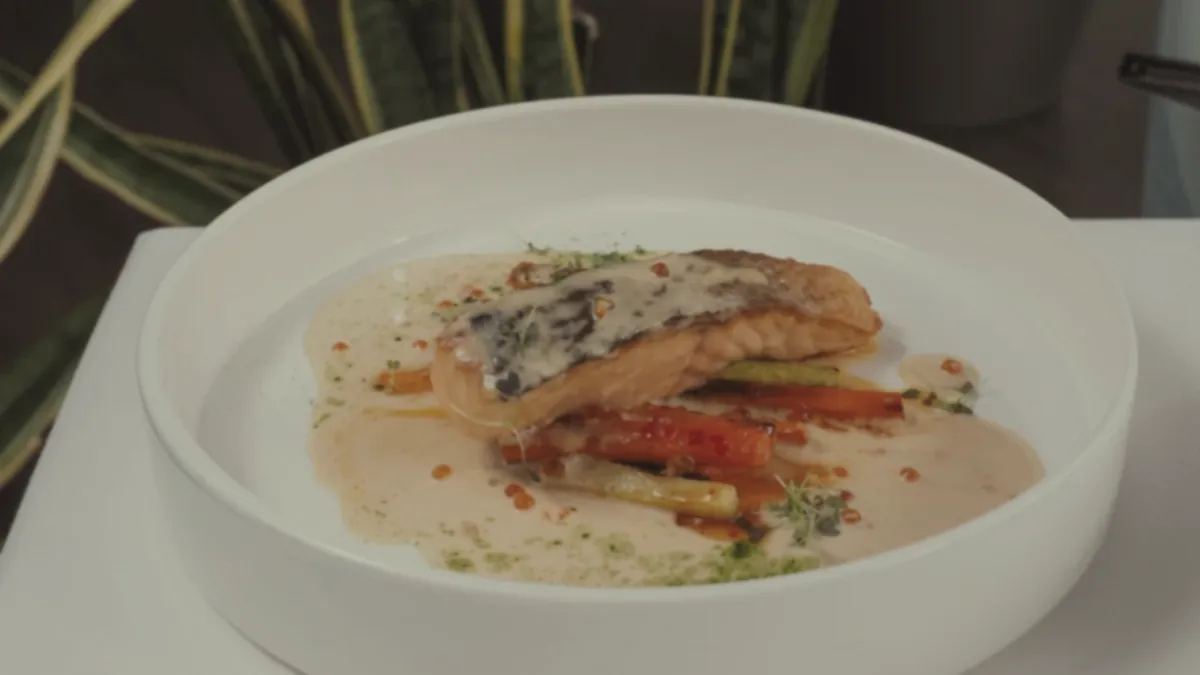
- Bowls (ramen, poke, salads) — goal: variety + freshness. Shoot overhead or high 45 degrees, keep the rim clean, place hero toppings on top (not buried), and lightly mist greens (don't soak).
- Pizza — goal: toppings + crust texture. Overhead or slight 45 degrees, brush a dry-looking crust edge lightly, and only cut a slice if it stays clean.
- Fried items (fries, wings, tenders) — goal: crispness + portion. Shoot immediately, avoid steam trapped under lids, and don't stack so tall it looks unstable.
- Desserts — goal: richness + clean edges. Wipe plate edges obsessively, add an intentional crumb scatter (not random mess), and have a backup scoop ready for fast-melting ice cream.
- Drinks — goal: clean glass + garnish. Wipe fingerprints, rotate to kill glare streaks, garnish last, and use fresh clear ice (cloudy ice looks dirty).
For the camera side of the hardest items, pair this with how to photograph burgers, pizza, and fried food.
The accuracy rule (how to avoid bad reviews)
Restaurants get punished when photos set expectations too high. Keep styling honest:
- Don't add ingredients you don't serve.
- Don't show portions you can't deliver consistently.
- Don't style one perfect plate that's impossible to reproduce in service.
The best menu photos are accurate and consistent — that's what builds the trust that turns a first order into a regular. Styling makes the real dish look its best; it should never invent a different dish.
A repeatable workflow (so staff can run it too)
For this to survive a busy week, it has to run without you:
- Assign a shooter and a plater/runner.
- Use one background and one consistent setup.
- Shoot a batch weekly or monthly.
- Enhance and export the crops you need.
The editing step is where a lot of teams stall. After you've styled and shot the plate, FoodPhoto.ai can take that real photo and clean up the lighting, background, and crop in minutes — without changing the food — so good styling doesn't get undone by a dim phone shot. You can run a styled dish through a Try Pack to see how the two steps fit together, and to keep a whole menu cohesive, the restaurant social media content calendar shows how to reuse these batch shoots everywhere.
Good styling isn't trickery — it's discipline. Clean the rim, garnish last, protect texture, hold one background, and stay honest to the plate. Do that and your photos look professional without a single fake-food trick. When you're ready to make the enhance step fast, start with a $2.99 Try Pack on the pricing page.