● Guides · 11 min read
AI Food Photography in 2026: The Complete Guide (and How AI Food Image Generators Work)
A definitive 2026 guide to AI food photography: what it is, how AI food image generators work, when to use them, what they cost, and how to get menu-ready results from a phone photo.
If you've ever shot a dish on your phone, looked at the result under a fluorescent kitchen light, and thought "this will never sell," AI food photography is the tool that closes that gap. AI food photography uses image models to turn an ordinary photo of a dish into a polished, menu-ready image — improving lighting, background, color, gloss, and composition automatically. This guide explains what it is, how AI food image generators actually work, when to use them, what they cost, and how to get a menu-ready result from a single phone photo. It's written for restaurant owners, ghost-kitchen operators, and food brands who need photos that sell — not for photographers chasing gallery prints.
What is AI food photography?
The important distinction in 2026 is between two very different approaches:
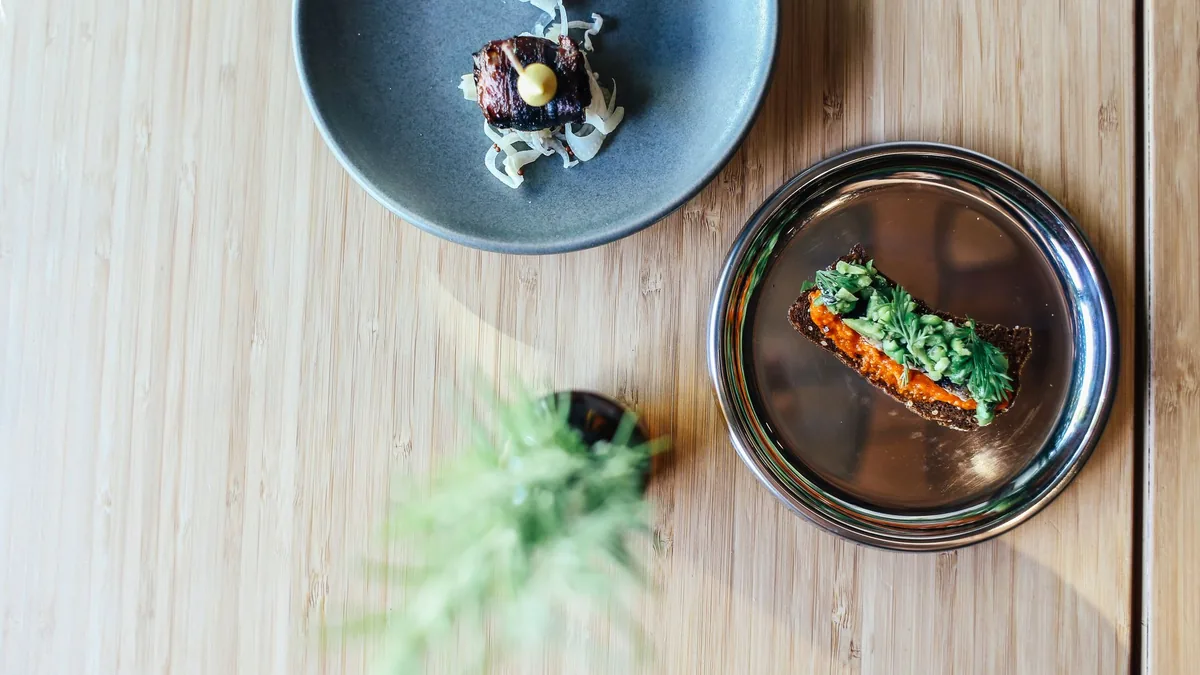
- Enhancement (recommended): you upload a real photo of your real dish and the model improves it. The food on the plate stays the food you serve.
- Generation from text: the model invents a plausible dish from a description. Beautiful, but risky for a menu, because the photo may not match what you actually cook.
For restaurants and delivery menus, enhancement is the right tool. The photo has to match what arrives at the customer's door, or you trade short-term clicks for refunds and one-star reviews. FoodPhoto.ai is built around enhancement: phone photo in, menu-ready image out, dish preserved.
How does an AI food image generator work?
Under the hood, a modern AI food image generator runs roughly these steps:
- Understand the input. The model identifies the dish, its components, textures, and the existing lighting and background.
- Apply a style. You pick a look — warm and rustic, clean studio white, moody fine-dining, or bright top-down for delivery. The style sets lighting temperature, surface, depth of field, and color grade.
- Re-render while preserving the food. The model rebuilds the scene in the chosen style but keeps the dish recognizable — the same burger, the same garnish, the same portion.
- Output at a usable size. A good tool exports at resolutions and aspect ratios that fit menus and delivery tiles, so you're not fighting crops later.
The practical magic is cheap iteration. Because each render costs cents, you can generate several variants and choose the strongest — the same way a paid-media team tests ad creative. That iteration loop, more than any single image, is what makes AI food photography economically different from a studio shoot.
AI vs. studio photography: when to use which
Both still have a place in 2026.
Use AI when:
- You have a full menu to photograph and a limited budget.
- You need consistent images across many dishes fast.
- You iterate on listings — new items, seasonal specials, delivery A/B tests.
- You run delivery-only brands where photos are the entire storefront.
Use a studio when:
- A single hero image is the brand, and its appeal is pure texture (laminated pastry, brûlée crack, a cheese pull).
- You're shooting a high-ticket dinner brand where editorial imagery justifies a premium price.
The dominant 2026 pattern is a blend: AI for the 90% of the menu that needs to be clear and appetizing, a studio session for the one or two signature shots that define the brand. To make that call dish by dish, weigh it against a real menu photography pricing breakdown so you know exactly what a shoot costs versus what it earns.
What does AI food photography cost?
Credit-based tools price per finished image. The 2026 range is roughly $0.14 to $0.60 per image, against $20 to $80 per image for studio work once you include shoot fees, styling, food cost, and post-production.
FoodPhoto.ai's pricing is designed so you can test before committing:
- Try Pack: $2.99 one-time for 5 credits (about $0.60 per image). No subscription required.
- Monthly plans from $4.99/mo for 20 credits, with higher tiers lowering the per-credit cost for active menus.
There's no free trial and no free plan; the $2.99 Try Pack exists so you can validate quality on your own dishes first. Credits roll over and you can cancel anytime. For the full picture, see pricing.
How to get menu-ready results from a phone photo
You don't need a camera. You need a clean input and the right style:
- Shoot in soft, even light. Window light beats overhead fluorescents. Avoid harsh shadows the model has to fight.
- Fill the frame with the food. Leave room for the platform's crop, but make the dish the subject.
- Shoot the obvious angles. Top-down for delivery tiles and bowls; a low angle for height (burgers, stacks, layered desserts).
- Pick a style that matches the channel. Bright, legible top-down for delivery apps; warmer editorial looks for a website or social. Our guide to the best food photography styles for social media helps you choose one and stay consistent.
- Iterate. Generate a few variants, open them on a phone at arm's length, and keep the one that reads fastest at thumbnail size.
The fastest way to understand this is to do it: run one of your own dishes through the live demo and compare the before and after.
Getting AI food photos onto delivery apps
If your endgame is a delivery listing, design for the platform crop from the start. Each app shows a different hero shape and thumbnail size, and a wrong aspect ratio center-crops your garnish out of frame. Match the spec before uploading, and protect the hero ingredient inside a safe center zone.
This is where AI food photography pays off most directly. Delivery is a thumbnail-first marketplace, and clean, color-accurate, well-cropped images win the scroll. Our DoorDash menu photos playbook covers the crop logic and refresh workflow that turn better photos into more orders.
Is AI food photography allowed and ethical?
This question stops a lot of operators, so here's a direct answer. Enhancing a real photo of your real dish is standard practice — it's the digital equivalent of good lighting and a clean plate. What platforms and customers object to is misrepresentation: showing a dish you don't serve, a portion you don't deliver, or ingredients that aren't there. Stay honest to the food and AI enhancement sits squarely within the long-established norms of menu photography.
The safe practice is simple: start from a real photo of real food, keep the styling believable, and keep each listing's images distinct so you don't trip duplicate-image filters.
A practical rollout plan
If you're starting from scratch, here's a sane sequence:
- Validate quality. Run your three worst-performing top sellers through enhancement and compare thumbnails.
- Pick one style and apply it across the menu so everything looks like one brand.
- Refresh by impact — top sellers and high-margin items first, then specials and the long tail.
- Export per platform so delivery, website, and social each get the right crop.
- Keep it current with a light weekly cadence rather than one annual project.
Bottom line
AI food photography in 2026 is mature enough to handle the everyday menu work that used to require a studio: it turns a phone photo into a menu-ready image in seconds, costs cents per image, and lets you iterate until the hero reads at thumbnail size. Keep it honest to the food you serve, design for the platform crop, and reserve a studio shoot for the one or two signature shots that need it. That's the playbook the operators winning in 2026 are running. Start with your worst-looking dish in the live demo, then see pricing when you're ready to refresh the whole menu.