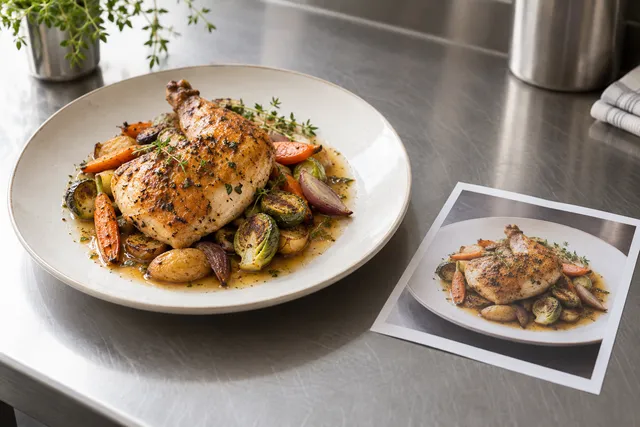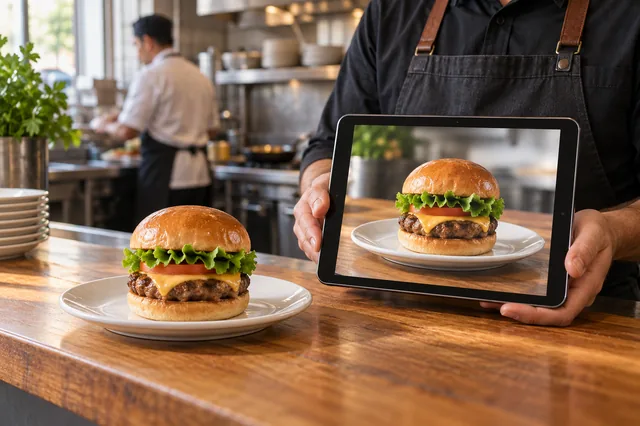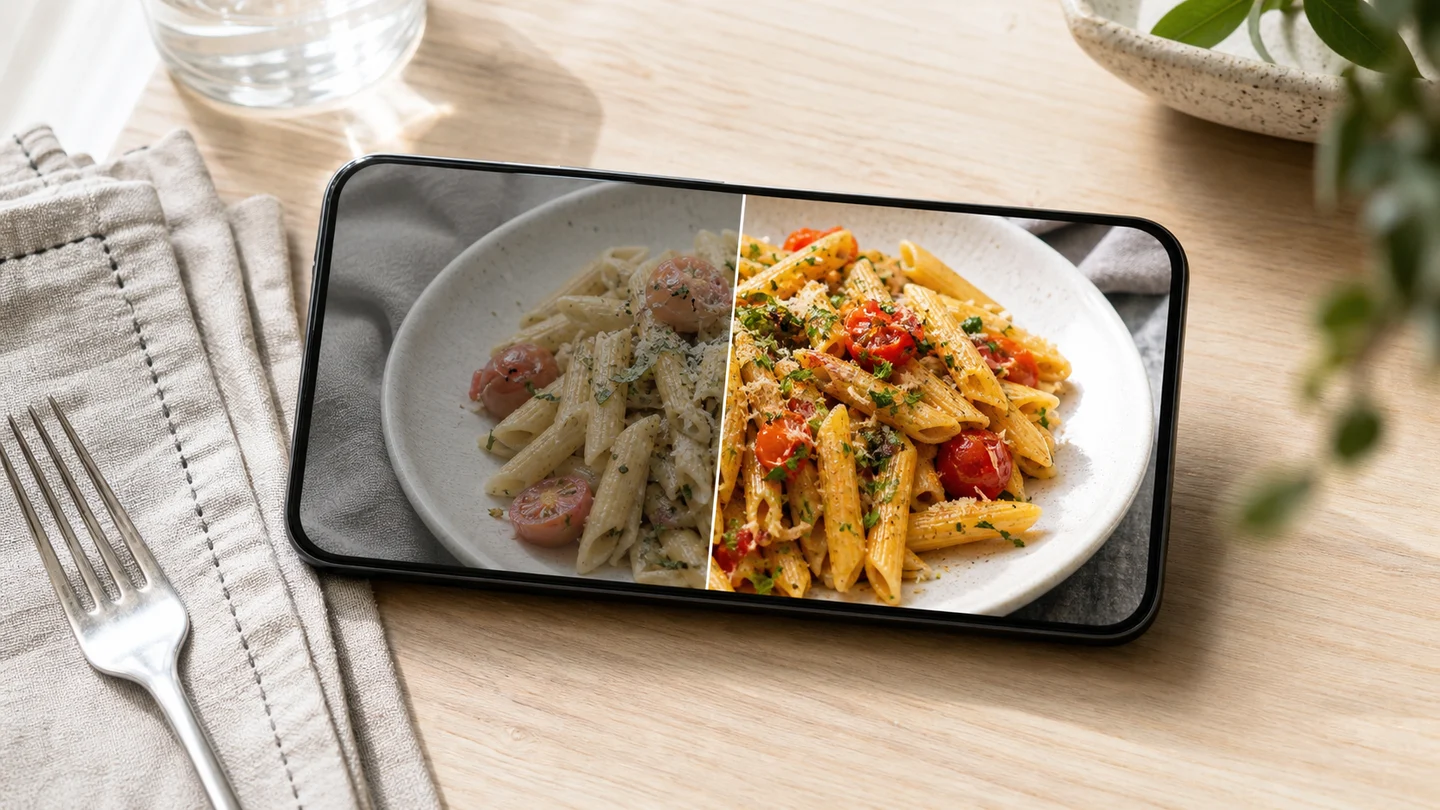
You already have the photos. The lighting is just flat, the background is cluttered, the color is dull, and the plate looks smaller than it does in real life. That’s an editing problem, not a re-shoot problem — and in 2026 the gap between a good food photo editor and a generic filter app is the difference between a dish that gets tapped and one that gets scrolled past. This is a practical, restaurant-first ranking of the kinds of food photo editing apps worth your time, and how to pick one.
The short answer
For restaurant menus and delivery apps, the best editor is the one that makes your real dish look its best without making it look like a different dish. The trap with AI editors is over-correction: invented garnish, plastic gloss, colors no food has ever had. FoodPhoto.ai is built to enhance the plate you actually serve — lighting, background, sheen, and platform-correct framing — and you can test it on your worst photo with a one-time a $5 pack of 10 photos before committing. For artistic personal work, a manual editor like Lightroom gives you more hands-on control; the categories below explain which fits which job.
The four kinds of food photo editor in 2026
1. AI food-specific enhancers (fastest path for operators)
These are trained on food and do the tedious work automatically: re-light the dish, clean or replace a messy background, recover blown highlights, and frame to a platform’s aspect ratio. Because they understand food, they keep cheese melty and sauce glossy instead of pushing everything into uncanny territory. This is the category most restaurants should start with, because it turns a 20-minute manual edit into a few seconds.
2. Manual pro editors (Lightroom, Snapseed, Photoshop)
Maximum control, and still the gold standard for a photographer building a portfolio. The cost is time and skill: white balance, curves, selective masking, and dodge-and-burn per image. Worth it for a hero shot on your website; impractical for refreshing forty menu tiles every season.
3. General “one-tap” filter apps
Consumer apps with food presets are free and fun, but presets are blunt — the same warm filter that flatters a burger turns sushi orange. They also rarely export at the right dimensions for delivery platforms, so your edit gets re-cropped anyway.
4. Background-removal / product tools
Great for tightly-shot packaged products on a white background; weaker on plated, textured food where lighting and sheen matter more than a clean cutout.
How to judge a food photo editor: the checklist
- Does it keep the dish honest? The edit should look like a better photograph of the same food, not a render. If customers can’t match the photo to the box, you’ve traded clicks for refunds and one-star reviews.
- Does it fix lighting, not just add a filter? Real improvement is re-lighting and color accuracy — recovering shadow detail and getting white plates actually white — not a vignette and a saturation slider.
- Does it export to platform spec? If the editor can’t output the exact size each app wants, your work gets cropped. (Our image-size guide lists the specs.)
- How fast is a batch? Menus change. An editor that can’t turn around a dozen dishes quickly becomes the bottleneck.
- Can you try it before paying? A free gallery proves nothing. You need to run your dish.
The fastest manual edits that actually move the needle
If you do edit by hand, these five adjustments, in order, account for most of the improvement — more on this in how to edit food photos like a pro:
- White balance first. Get the whites neutral; warm casts make food look greasy, cool casts make it look stale.
- Lift shadows, tame highlights. Recover texture in the dark sauce and the bright cheese.
- Increase contrast slightly, then add a touch of clarity on the food only — not the background.
- Nudge saturation, don’t crank it. Appetizing is realistic-plus-10%, not a cartoon.
- Crop to the platform’s aspect ratio with the dish filling the frame.
The reason AI food editors win for menus is simply that they do all five consistently, on every tile, in seconds.
Editing restaurant photos on your phone
If you run the pass in the restaurant, do it on your phone: shoot the real plate in daylight or under neutral white light, keep the dish filling the frame, then fix white balance first, lift shadows, tame highlights, and crop to the delivery app’s aspect ratio. Phone tools and Snapseed handle one post fine. For a full menu refresh, that manual pass becomes the bottleneck — FoodPhoto.ai’s Web Studio does the same lighting, background cleanup, and platform-correct framing on your real photo, and a separate iPhone app is also available.
Separate iPhone app also available via the App Store. FoodPhoto begins with two previews on your own dish, with a verified account and no card. Free previews are significantly slower than paid plans and are prepared in a separate queue: about 30–35 seconds in normal conditions, and longer when the service is busy or the edit is complex. Keep the chat open and do not repeat the request while it processes. See the current plans and usage estimates for photos, menus and campaigns.
Editing vs generating: don’t confuse them
An editor improves a photo you took. A generator can invent food from a prompt — powerful for concepts, risky for menus. If you’re deciding between approaches, see our breakdown of AI food image generators. For a real menu, you almost always want to start from a real photo.
Frequently asked questions
What’s the best free food photo editor?
Snapseed is the strongest genuinely free manual editor, and your phone’s built-in tools are fine for a quick social post. For menus and delivery, free filter apps usually cost you more in re-crops and inconsistent results than a purpose-built tool saves.
Can an AI editor make a bad photo usable?
Often, yes — if the dish is identifiable in the original. Re-lighting and background cleanup can rescue a dim, cluttered phone shot. What it can’t do is conjure detail that was never captured, so shoot the best raw photo you can first.
Is AI editing allowed on delivery apps and menus?
Enhancing your real dish is fine and standard practice; misrepresenting it is not. We cover the line in our trust-safe AI photo policy.
What’s the best way to edit restaurant food photos on a phone?
Use your phone for capture and quick fixes: neutral white balance, shadow/highlight recovery, light contrast, and crop to spec. Keep the dish honest — enhance lighting and color, don’t invent food.
Bottom line
Pick the editor that fixes lighting and color on your real dish, exports to platform spec, and handles a batch fast. For most restaurants that’s an AI food-specific enhancer; for portfolio hero shots, a manual editor still rules.