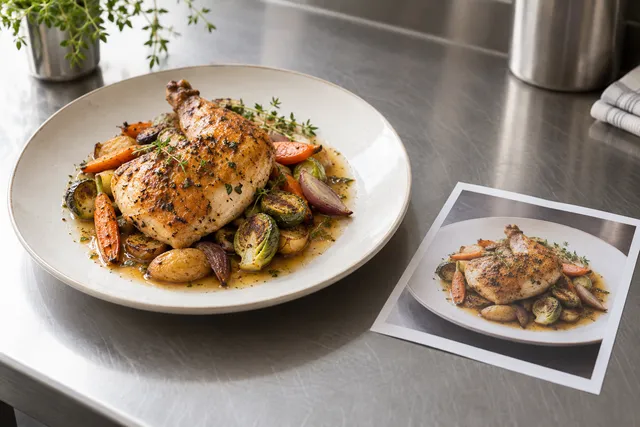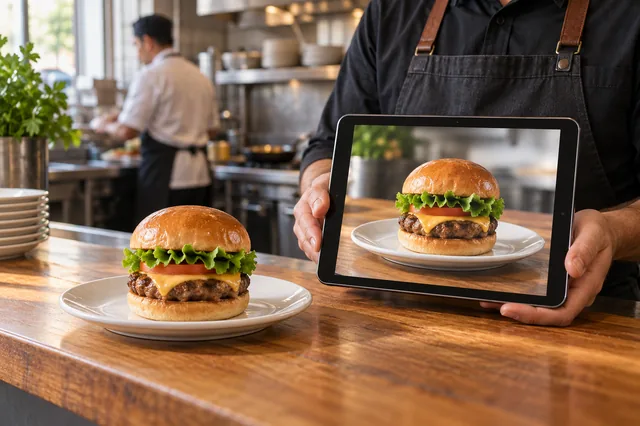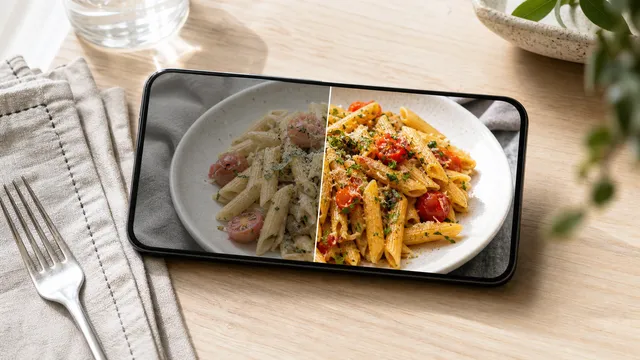
You have a phone, a plate of food, and a menu that needs photos. You do not have a studio, a stylist, or a budget for either. An AI food image generator is the tool that closes that gap — and this is the step-by-step guide to using one well. It is written for restaurants, ghost kitchens, and food brands who need professional-looking photos fast, not for hobbyists.
Short answer: upload a clear photo of a real dish, choose a style, generate a few variants, and download the one that reads best at thumbnail size. The rest of this guide is the detail that turns a mediocre result into a menu-ready one. FoodPhoto begins with two previews on your own dish, with a verified account and no card. Free previews are significantly slower than paid plans and are prepared in a separate queue: about 30–35 seconds in normal conditions, and longer when the service is busy or the edit is complex. Keep the chat open and do not repeat the request while it processes. See the current plans and usage estimates for photos, menus and campaigns.
Step 1: Shoot a clean input photo
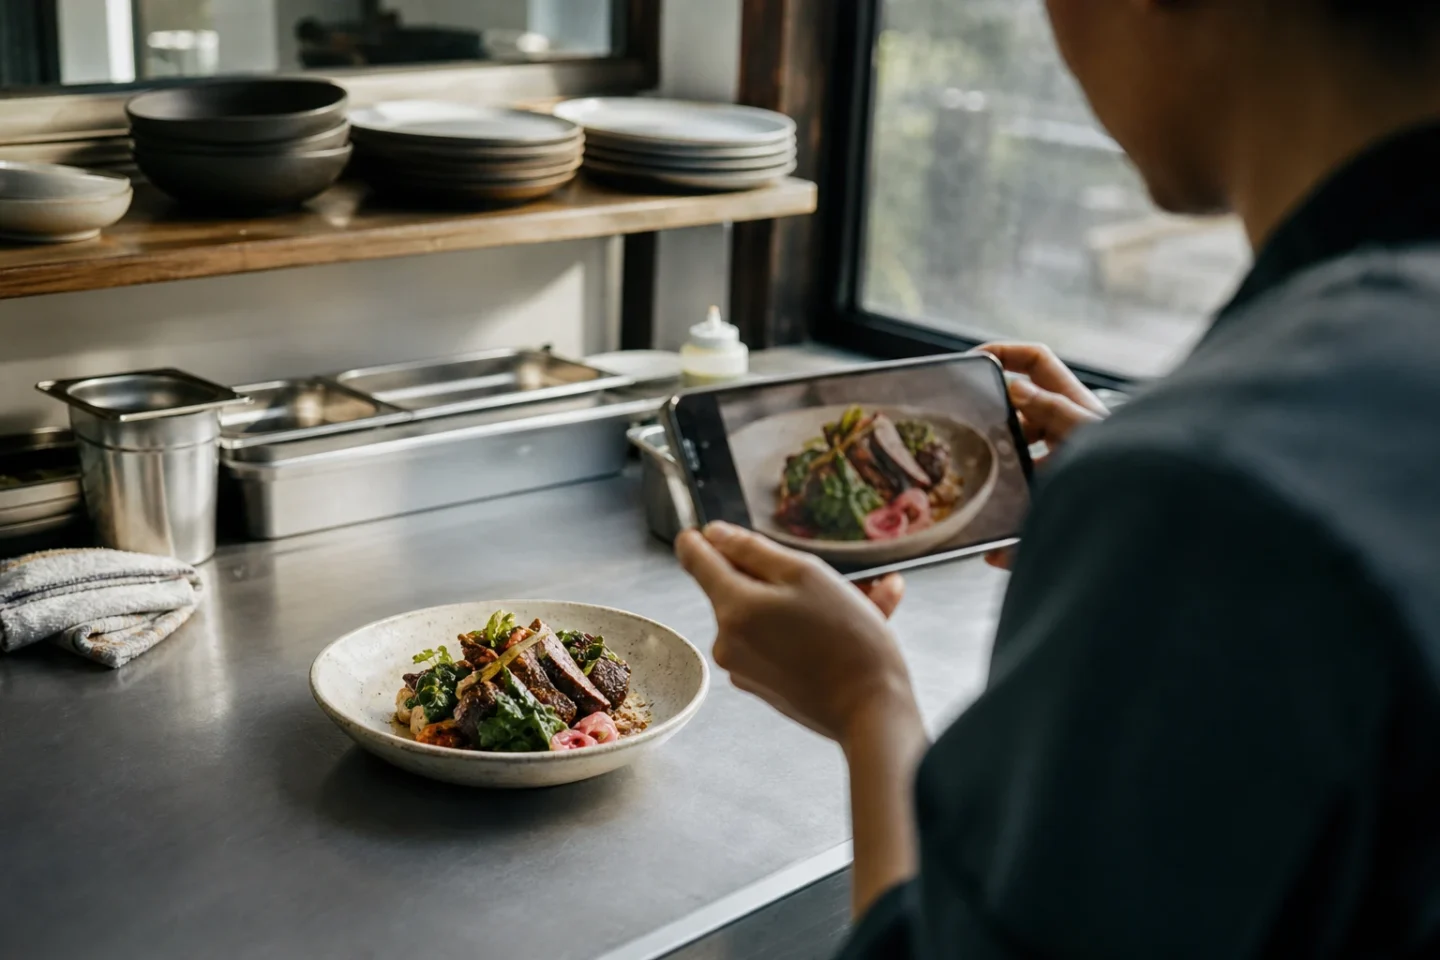
An AI food image generator can only enhance what you give it, so a good input is most of the battle.
- Use soft, even light. Daylight from a window beats overhead fluorescents. Avoid harsh shadows.
- Fill the frame with the food, leaving a little margin for the platform crop.
- Shoot the natural angle. Top-down for bowls and delivery tiles; a lower angle for height (burgers, stacks, layered desserts).
- Keep the background simple. A clean surface, not a cluttered pass.
- Shoot the dish you actually serve. Enhancement, not invention, keeps you honest and compliant.
If you want the full capture routine, our iPhone food photography workflow and lighting guide cover exactly how to get a clean input in a real kitchen.
Step 2: Pick a style for the channel
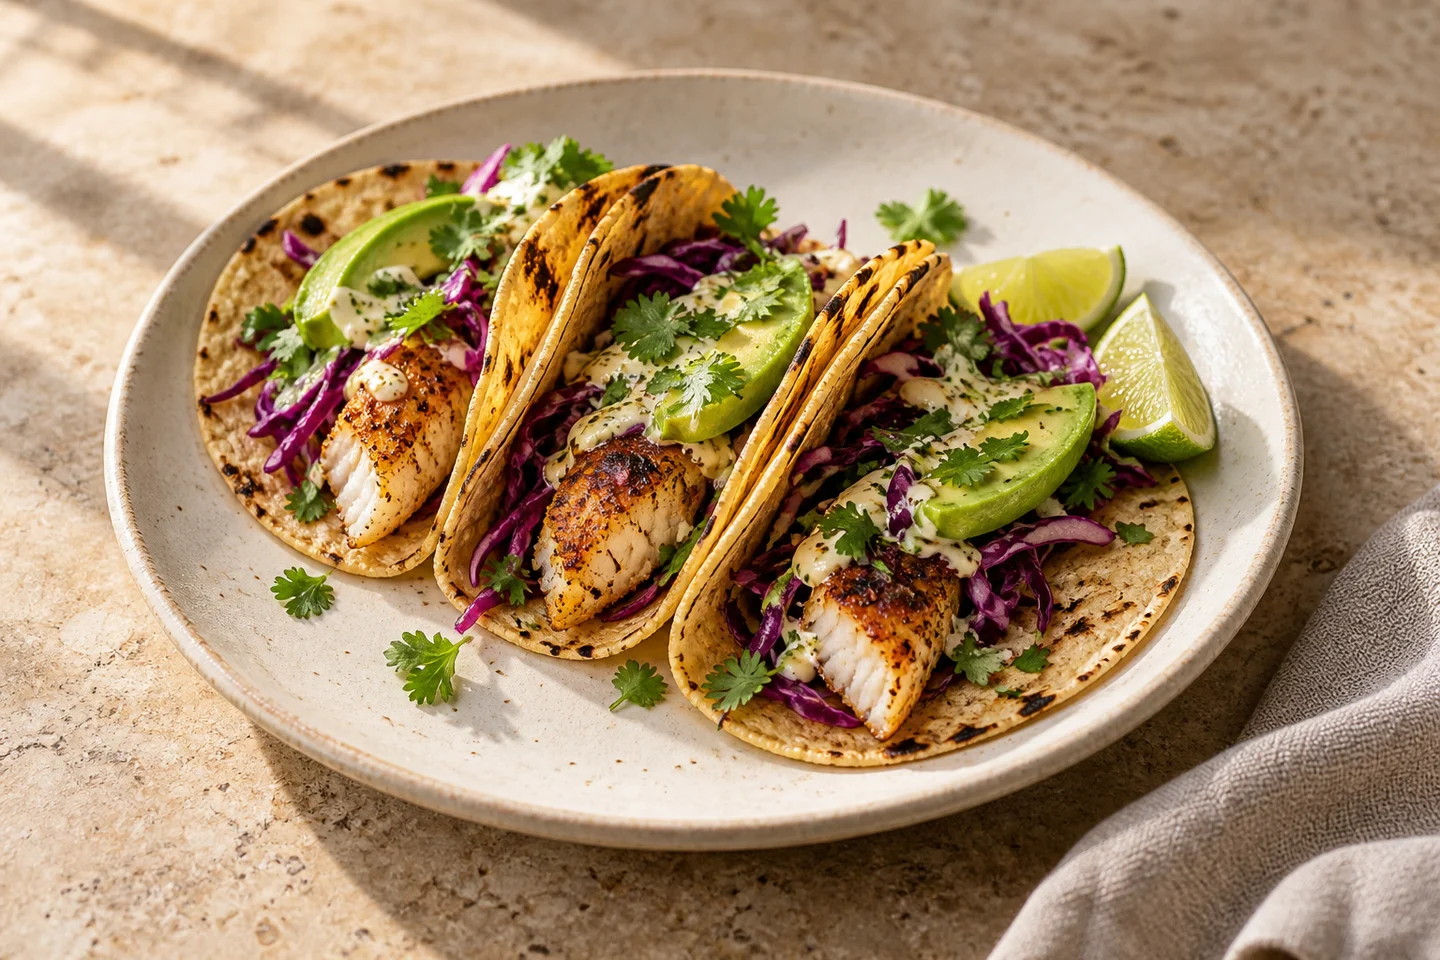
Where the photo will live decides the look:
- Delivery apps: bright, legible, top-down. Legibility beats beauty on a crowded rail.
- Website and menu: warmer, editorial, a touch more depth of field.
- Social: whatever matches your brand’s grammar — and keep it consistent.
FoodPhoto.ai ships a wide range of styles so each brand and channel can have its own distinct look. If you run multiple brands, give each one a different visual grammar rather than reusing the same style everywhere.
Step 3: Generate and iterate
This is where AI beats a studio. Because each render costs cents, generate a few variants rather than betting on one.
- Generate two or three takes per dish — a top-down, an angled plate, and a packaging-forward shot if it ships in a container.
- Open them on a phone at arm’s length and squint. If the dish is not identifiable almost instantly, it will lose the scroll.
- Keep the strongest, re-run the rest. Iteration is the whole point; do not settle on the first render.
Step 4: Export for where it is going
A menu-ready image still has to fit the destination. If it is headed to a delivery app, export at the platform’s required aspect ratio and resolution so the platform does not crop your garnish off. Run each export through a quick delivery app photo QA pass — check thumbnail clarity, crop safety, and color accuracy — before you upload.
How many photos does a menu take?
Budget one to three generations per finished dish to allow for iteration:
- A 10-item menu: roughly 10 to 30 generations.
- A 20-item menu: roughly 20 to 60 generations.
That fits inside current FoodPhoto plans: Starter $15 is about 60 photos, Growth $30 is about 200 photos. Larger menus map to Pro and Studio tiers, with photo top-ups available. Paid plans provide a monthly allowance and you can use up to 50% of that monthly allowance in any 7 days; top-ups sit outside those limits. Check /pricing/ for the current lineup, as quantities and limits change.
Enhance, do not invent
The single most important rule for restaurant use: the generator should enhance your real dish, not invent a new one. Generating menu items from a text prompt produces food you may not serve, which misleads customers and risks platform penalties. Start from a real photo every time. Honest enhancement keeps the image true to what arrives at the table — and that is what protects your reputation and your repeat orders.
Common mistakes that ruin AI food images
Most disappointing results trace back to a handful of avoidable errors:
- Feeding it a bad input. A blurry, dark, or cluttered photo gives the model little to work with. Spend the extra minute on soft light, food filling the frame, and a clean surface.
- Over-styling. Pushing a style too hard makes food look plastic — and that is what triggers the “AI photo” stigma. Aim for a great natural photo, not a hyper-glossy render. Believable beats dramatic.
- Choosing beauty over legibility. A moody, shallow-focus dinner shot can be gorgeous and still fail on a delivery rail where the dish must read at thumbnail size. Match the style to the channel.
- Settling on the first render. The whole economic advantage of AI is cheap iteration. Generate a few, compare, keep the strongest.
- Ignoring the crop. A perfect 16:9 image is useless if the platform shows a square thumbnail. Always export to the destination’s aspect ratio.
How long does a full menu take?
A realistic timeline for a 20-item menu, working solo from a phone:
- Shooting inputs: 45 to 90 minutes if the kitchen plates items in batches.
- Generating and iterating: a few minutes per dish, so roughly an hour for the menu.
- Exporting per platform: 15 to 30 minutes.
Total: an afternoon, versus the days-to-weeks lead time of booking and waiting on a studio shoot. And when a dish changes or you launch a special, you re-run just that item in minutes — no callback, no new session.
Bottom line
Using an AI food image generator well is a four-step loop: shoot a clean input, pick a style for the channel, generate and iterate cheaply, and export to the destination’s spec. Keep it honest to the food you serve, budget a couple of generations per dish, and you can photograph an entire menu from a phone in an afternoon.
Ready to try it on your own food? Open FoodPhoto Studio — two watermarked trial photos with a verified account and no card — then see current plans and usage estimates for your menu.
Frequently asked questions
How do I use an AI food image generator?
Upload a clear photo of a real dish, pick a style that fits where it will appear — bright top-down for delivery, warmer editorial for website — generate a few variants, and download the one that reads best at thumbnail size.
Can an AI food image generator make professional photos from a phone photo?
Yes. Modern generators take an ordinary phone photo and re-render its lighting, background, and presentation into a professional-looking, menu-ready image while preserving the actual dish. The key is a clean input — soft, even light and the food filling the frame — so the model has good material to work with.
How many AI credits does a full menu cost to photograph?
Budget one to three generations per finished dish to allow for iteration. A 10-item menu is roughly 10 to 30 generations; a 20-item menu is roughly 20 to 60 generations. Starter $15 is about 60 photos and Growth $30 is about 200 photos. The trial is two watermarked photos with a verified account and no card. Paid monthly allowance is subject to 50% use in any 7 days; top-ups sit outside those limits. See /pricing/ for current numbers.
Does the AI invent the food or enhance my real dish?
For restaurant use you want enhancement, not invention. FoodPhoto.ai enhances a real photo of your real dish so the image still matches what you serve. Avoid generating menu items purely from a text description, which can produce a dish you do not actually offer and mislead customers.
Related guides
Ready to upgrade your menu photos? Open the FoodPhoto.ai studio or see plans and pricing.