How to Photograph Ramen and Noodles: Steam, Broth Glare, and Toppings
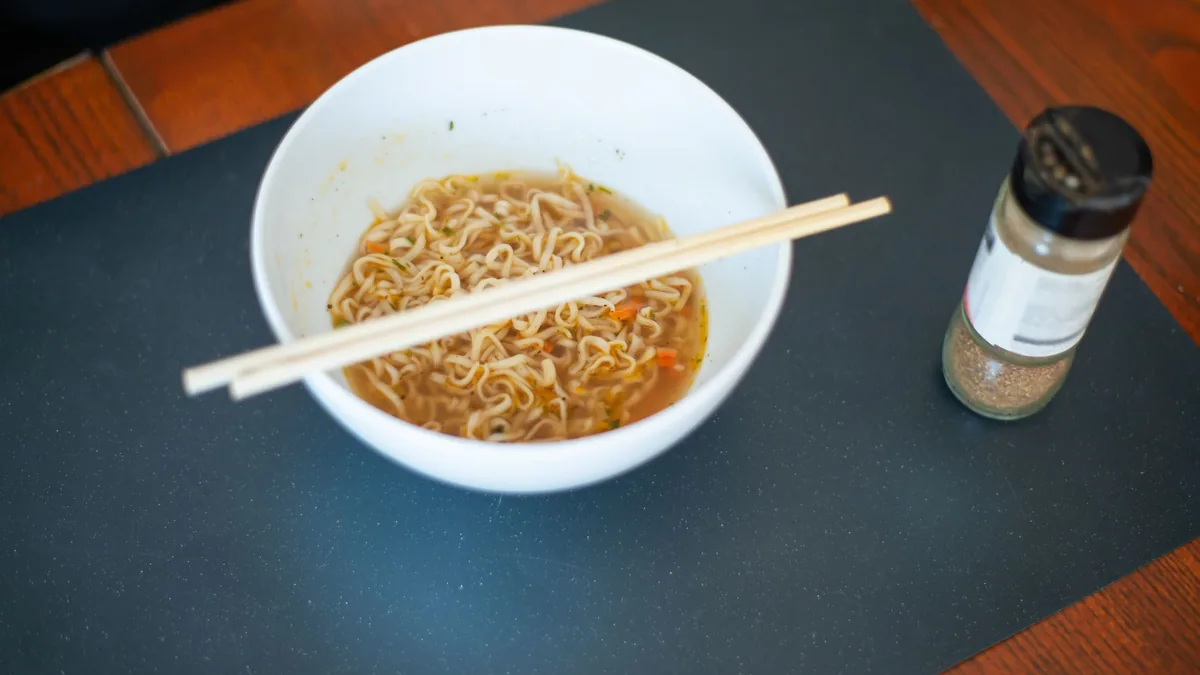
Ramen punishes a careless phone photo. The broth throws a hot glare, the steam vanishes before you frame the shot, the toppings slide under the surface, and the whole bowl can photograph as a flat brown circle. But photographing ramen and noodles on a phone becomes reliable once you control three things: glare, color, and topping placement. This guide gives you a repeatable sequence for clean, appetizing noodle photos that read well on a delivery thumbnail.
Speed matters here more than with any other dish — a ramen bowl looks its best for about a minute. Set everything up first, then shoot fast.
Why noodles are tricky
A bowl of ramen combines a reflective liquid surface (broth), a fleeting prop (steam), and toppings that sink and soften by the second. Get the order wrong and you’ve got a dull bowl of soup. The fix is sequencing: light and frame the empty bowl, build the toppings last, and shoot the instant it’s plated.
Step 1: Control the broth glare
A still broth surface acts like a mirror and grabs the brightest thing in the room as a white hot spot.
- Light from the side or slightly behind, not straight down or straight on.
- Move bright windows and ceiling lights out of the reflection line of the broth.
- Add a white card opposite the light to fill shadows without adding a new hot spot.
- Nudge your angle up slightly if a glare persists; small changes move the reflection off the bowl.
Killing the broth hot spot is the single biggest upgrade to a ramen photo — it turns a shiny puddle into a rich, readable surface.
Step 2: Keep the broth color accurate
Broth color is the flavor cue: a deep tonkotsu, a clear shoyu, a fiery miso. Don’t let warm restaurant light wash it out.
- Set white balance by tapping the bowl or correcting in editing — whites and noodles should look neutral, not orange.
- Keep saturation honest. A miso broth can be warm and rich, but it shouldn’t glow neon.
- Wipe drips off the rim; broth splatter reads as messy at thumbnail size.
Step 3: Place toppings high and grouped
Toppings are the whole sell. Arrange them deliberately, last, before they sink:
- Group the hero toppings (soft egg halved to show the yolk, chashu, nori, corn) on one side, sitting up out of the broth.
- Show the noodles — a small twirl lifted with chopsticks reads as fresh and handmade.
- Add scallions, sesame, and chili oil right before the shot for crisp color.
- Keep the arrangement clean; don’t bury everything in the broth.
Step 4: Choose the angle
| Bowl style | Best angle | Why |
|---|---|---|
| Deep ramen bowl | 30-45° | Shows toppings on top and the depth of the bowl |
| Brothy noodle soup | 30-45° | Same — reveals surface and volume |
| Dry/tossed noodles | Overhead or 30° | Flatter dish reads well from above |
| Noodle pull action shot | Eye level to 30° | Shows the lift and texture |
For most ramen, 30-45° is the sweet spot: high enough to see the broth surface and toppings, low enough to show the bowl has depth. The same angle logic applies across dishes — see our menu photo composition rules.
Step 5: Catch the steam (optional but powerful)
Steam says “hot and fresh,” which is exactly what a delivery customer wants to believe.
- Shoot against a darker background so the steam shows.
- Backlight the bowl so the steam glows.
- Capture immediately while it’s hottest, and take several frames — steam is unpredictable and fades in seconds.
If you can’t catch real steam cleanly, don’t fake an obvious smoke effect; a well-lit, glare-free bowl sells just fine on its own.
A 60-second shooting sequence
Because the bowl decays so fast, treat the shot like a line ticket. Set everything up before the bowl leaves the pass:
- 0:00 — Bowl plated. Wipe the rim immediately.
- 0:05 — Place the hero toppings high and grouped; halve the egg to show the yolk.
- 0:15 — Lift a noodle twirl with chopsticks so it reads as fresh and handmade.
- 0:20 — Check the glare line. Nudge your angle or the light until the broth hot spot is gone.
- 0:25 — Shoot a burst for the steam at the hottest moment; it fades within seconds.
- 0:45 — Capture two backup angles (a slightly higher and a slightly lower frame) before the noodles soften.
Plate, arrange, glare-check, burst. The whole thing should be muscle memory by the third bowl.
Different noodle dishes, different priorities
Not every noodle bowl is ramen, and the trick changes with the dish:
| Dish | Biggest challenge | Priority move |
|---|---|---|
| Tonkotsu / rich ramen | Broth glare, brown-on-brown | Side-light to break glare; bright topping contrast |
| Shoyu / clear broth | Looks thin and pale | Backlight to give the broth depth and shine |
| Pho | Garnishes added at table | Stage herbs and lime fresh, shoot before they wilt |
| Dry / tossed noodles | Flat, no broth to catch light | Overhead angle; rely on sauce gloss and color |
| Dan dan / chili oil | Oil pools and over-shines | Pull exposure down; let the chili oil read deep red |
The constant across all of them: keep the color honest. A pho broth that’s gone gray or a chili oil pushed to neon both break trust the moment the real bowl arrives.
Common ramen photo mistakes
- Shooting straight down on a deep bowl — you lose the toppings and the broth surface flattens into a circle.
- Waiting too long — by the time you’ve framed and refocused, the steam is gone and the noodles have bloated.
- Over-saturating the broth to “make it pop” — it stops looking like soup.
- Letting drips and splatter sit on the rim — messy at thumbnail size.
- Front-on flash — flattens the bowl and throws an ugly hot spot dead center.
Step 6: A quick phone edit
- Crop tight so the bowl fills the frame; leave margins for delivery-app crops.
- Lift exposure if the room was dim — keep highlights from blowing out.
- Correct white balance so the broth color is true.
- Small contrast bump to separate toppings from broth.
- Gentle saturation; subtle sharpening on the toppings and noodles.
Never recolor the broth or the egg yolk — accuracy is appetite. For exporting the right crops per platform, use the cross-platform delivery photo checklist.
Where AI enhancement helps with ramen
Ramen is shot in steamy, dim kitchens against cluttered counters — tough conditions. When a bowl is well-arranged but the background is messy, the light is uneven, or the broth lost its richness, FoodPhoto.ai cleans the background, balances the lighting, and restores gloss and definition — without changing the food. It enhances the real bowl you photographed, so the egg, chashu, and broth stay exactly what you served. Run one of your toughest ramen shots through the Menu Test Pack and compare.
Control the glare, keep the color honest, build the toppings last, and shoot fast. When you’re ready to bring a whole noodle menu up to standard, FoodPhoto.ai pricing starts at ten photos for $10 with plans from $15/month — credits roll over, cancel anytime.
Frequently asked questions
How do I photograph ramen so the toppings show clearly?
Arrange toppings high and grouped on top of the noodles before they sink, shoot at a 30-45 degree angle so you see both the surface and the depth of the bowl, and light from the side or back to give the egg, chashu, and scallions definition.
How do I stop the broth from glaring in ramen photos?
Move the bright light or window out of the broth’s reflection line, light from the side or slightly behind instead of straight on, and use a white card to fill shadows. A polarizing clip or a slightly higher angle also cuts the hot-spot glare.
How do I capture steam in a ramen photo?
Shoot against a darker background with backlight, and capture immediately while the bowl is hottest. Steam reads best when it’s lit from behind and set against a dark area. Have the bowl ready and shoot fast — steam fades in seconds.
Can AI improve a ramen photo that looks dull or has a messy background?
Yes. FoodPhoto.ai enhances the real bowl you photographed — balancing the broth color, cleaning the background, and improving gloss and definition — without changing the food. It’s honest enhancement, so the bowl stays your bowl.