

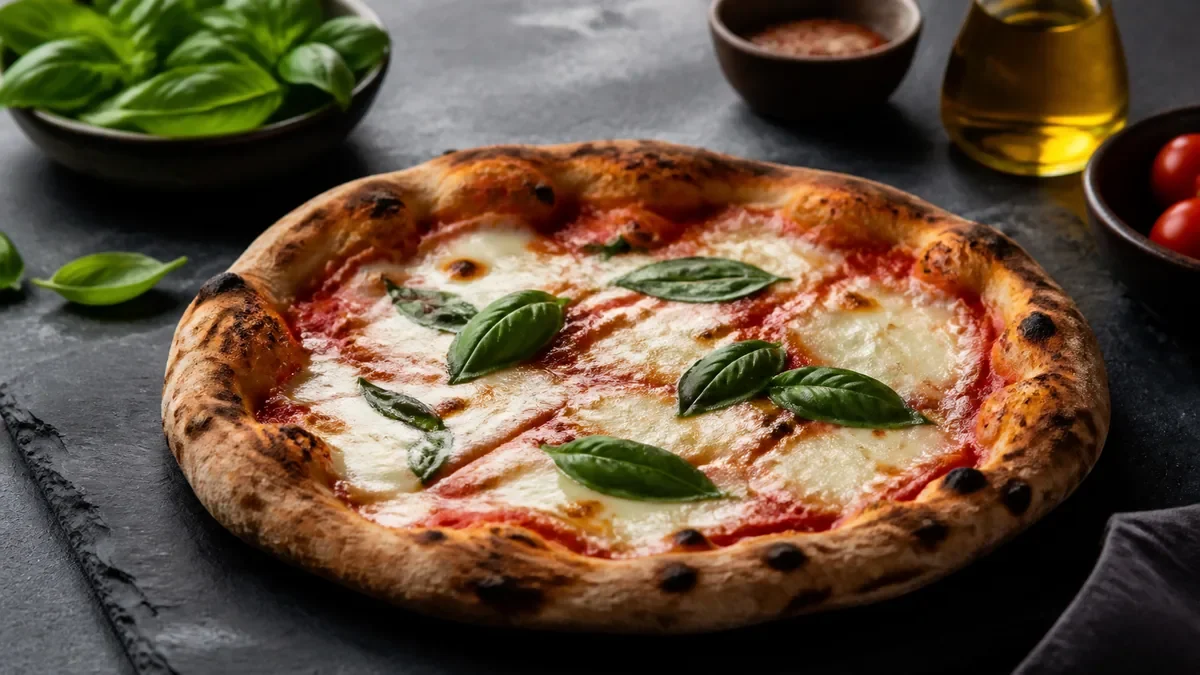
You don’t need to master manual mode to take great menu photos. If you shoot with a camera — or your phone’s Pro mode — a handful of simple camera settings produce sharp, clean, accurately colored food photos without sending you down a technical rabbit hole. Here are the best camera settings for food photography, the defaults that work in almost every restaurant setting, and the one thing that matters more than all of them combined.
The simple defaults (start here)
If you remember nothing else, use these four:
| Setting | Default | Why |
|---|---|---|
| ISO | As low as your light allows (100–400) | Keeps the image clean and noise-free |
| Shutter | Fast enough to freeze hand shake (~1/125s+) | Prevents blur, especially handheld |
| Aperture | f/4–f/8 | Enough of the dish stays in focus |
| White balance | Matched to your light source | Keeps colors accurate, not yellow or blue |
With good light, these four defaults handle the vast majority of menu shots. Everything below is just understanding why.
ISO: keep it low
ISO controls how sensitive the sensor is to light. Higher ISO lets you shoot in dimmer conditions, but it adds grain and noise that look cheap at thumbnail size.
- Aim for the lowest ISO your light allows — often 100 to 400.
- If you’re forced to raise ISO to get a usable shutter speed, that’s a signal your light is too weak, not that you need a higher ISO. Add or move toward a soft light source instead.
Shutter: fast enough to stay sharp
Blur is the most common reason a phone or camera food photo looks amateur. Handheld, hand shake creeps in below roughly 1/125s.
- Keep your shutter at about 1/125s or faster when shooting handheld.
- If you’re on a tripod or phone clamp, you can use a slower shutter to keep ISO low — the steadier the camera, the more flexibility you have.
- A stable setup is why a phone clamp is one of the few pieces of gear worth owning.
Aperture: enough of the dish in focus
Aperture (the f-number) controls how much of the dish is sharp. Very wide apertures (low f-numbers) blur most of the plate; very narrow ones can soften the whole image.
- f/4 to f/8 is the safe range for menu food. It keeps the hero of the dish sharp while still separating it from the background.
- For a tall stacked burger or a deep bowl, lean toward f/8 so the front and back both stay in focus.
On a phone, you usually don’t control aperture directly — just tap to focus on the most important part of the dish.
A note on portrait mode
Phone “portrait” or “cinematic” mode fakes a shallow depth of field by blurring the background in software. For food, use it sparingly. The edge detection often smears the rim of a plate, the wisp of steam, or a garnish into the blur, which reads as fake at thumbnail size. If you want background separation, get it the real way: shoot at a slight downward angle, put a little distance between the dish and the back of the table, and keep the surface plain. A real, gentle falloff always beats a software guess.
White balance: match the light
White balance is what keeps your food looking like food instead of yellow or blue. The most common menu-photo failure is mixed lighting — warm kitchen bulbs plus cool daylight — which throws off color.
- Set white balance to match your light source and keep it consistent across the shoot.
- Don’t mix light sources. Turn off warm overheads if you’re shooting near a window, or vice versa.
- Shooting the whole batch under one light keeps every photo color-consistent, which matters for a menu that should look like one brand.
Phone Pro mode: the same rules, simplified
If your phone has a Pro or manual mode, apply the same logic:
- Lock white balance to your light.
- Keep ISO low.
- Avoid slow shutter that introduces blur.
No manual mode? You’re not stuck:
- Tap to focus on the dish’s hero element.
- Drag exposure down slightly to protect highlights and sauce gloss from blowing out.
- Shoot in soft, consistent light and let auto settings do the rest.
A quick settings checklist before you shoot
Run through this in ten seconds before each dish and you’ll skip almost every common mistake:
- Flash off. The on-camera flash flattens food and kills the gloss you want on sauces and proteins.
- One light source only. Window or lamp, not both — mixed color temperatures are the number-one menu-photo color problem.
- ISO low (100–400) and noise-free at full zoom.
- Shutter ~1/125s or faster handheld — or steady the phone on a clamp.
- Focus tapped on the hero element of the dish.
- Exposure pulled down slightly so highlights and sauce gloss don’t clip to pure white.
- Lens clean. A smudged phone lens softens every shot and you won’t notice until you zoom in.
Common settings mistakes that ruin menu shots
These are the ones that quietly tank otherwise good photos:
| Mistake | What it looks like | Fix |
|---|---|---|
| Using flash | Flat, harsh, shiny hot spots | Flash off, use soft side light |
| Auto white balance under mixed light | Orange or muddy color | Lock WB; kill the second light |
| ISO too high in a dim room | Grainy, cheap at thumbnail | Add light, then drop ISO |
| Slow handheld shutter | Soft, slightly blurred | 1/125s+ or use a clamp |
| Blown-out highlights | White, detail-free sauce/cheese | Drag exposure down before shooting |
| Digital zoom | Mushy, low detail | Move closer with the main lens |
The pattern across all of them is the same: settings problems usually trace back to either bad light or an unsteady camera. Fix those two and the rest of the dial barely matters.
The bigger truth: light beats settings
Here’s the part most “settings” guides bury: if the light is bad, no camera setting will save the photo. Settings are a fine-tuning layer on top of light, not a substitute for it. A perfectly exposed photo under harsh kitchen fluorescents still looks flat and off-color.
So the priority order is always:
- Fix the light — soft, consistent, indirect.
- Apply the simple settings above.
- Frame cleanly and fill the tile.
For the full do-it-yourself routine that puts this into practice, see restaurant menu photos without a photographer.
Where enhancement closes the gap
Even with good light and correct settings, the last bit of polish — perfect color, gloss, and a clean crop — is tedious to nail manually for a whole menu. FoodPhoto.ai takes a real photo of your real dish and corrects lighting, color, gloss, and crop without changing the food. It’s honest enhancement, not fabrication, so your settings get you a clean base and the enhance step finishes it consistently across the menu. FoodPhoto begins with two previews on your own dish, with a verified account and no card. Free previews are significantly slower than paid plans and are prepared in a separate queue: about 30–35 seconds in normal conditions, and longer when the service is busy or the edit is complex. Keep the chat open and do not repeat the request while it processes. See the current plans and usage estimates for photos, menus and campaigns.
The takeaway
The best camera settings for food photography are the boring ones: low ISO, fast-enough shutter, a mid aperture, and white balance matched to your light. Memorize those four defaults, fix your light first, and you’ll get sharp, clean, accurate menu photos every time — no manual-mode obsession required.
Frequently asked questions
What are the best camera settings for food photography?
Keep ISO as low as your light allows to reduce noise, use a shutter speed fast enough to freeze hand shake (around 1/125s or faster handheld), use a mid aperture like f/4–f/8 for enough of the dish in focus, and set white balance to match your light source so colors stay accurate. If light is good, these defaults handle almost everything.
What camera settings should I use on my phone for food photos?
In your phone’s Pro or manual mode, lock white balance to your light, keep ISO low, and avoid very slow shutter speeds that cause blur. If you don’t have manual control, tap to focus on the dish, drag exposure down slightly to protect highlights, and shoot in good soft light — the auto settings will do the rest.
What ISO is best for food photography?
The lowest ISO your light allows, often ISO 100–400. Low ISO keeps the image clean and noise-free. If you have to raise ISO to get a usable shutter speed, your real problem is light — add or move toward a soft light source instead.
Do camera settings matter more than lighting for food photos?
No. Lighting matters far more. Good settings on bad light still produce a flat, off-color photo. Fix the light first — soft and consistent — and simple default settings will handle the rest.


