

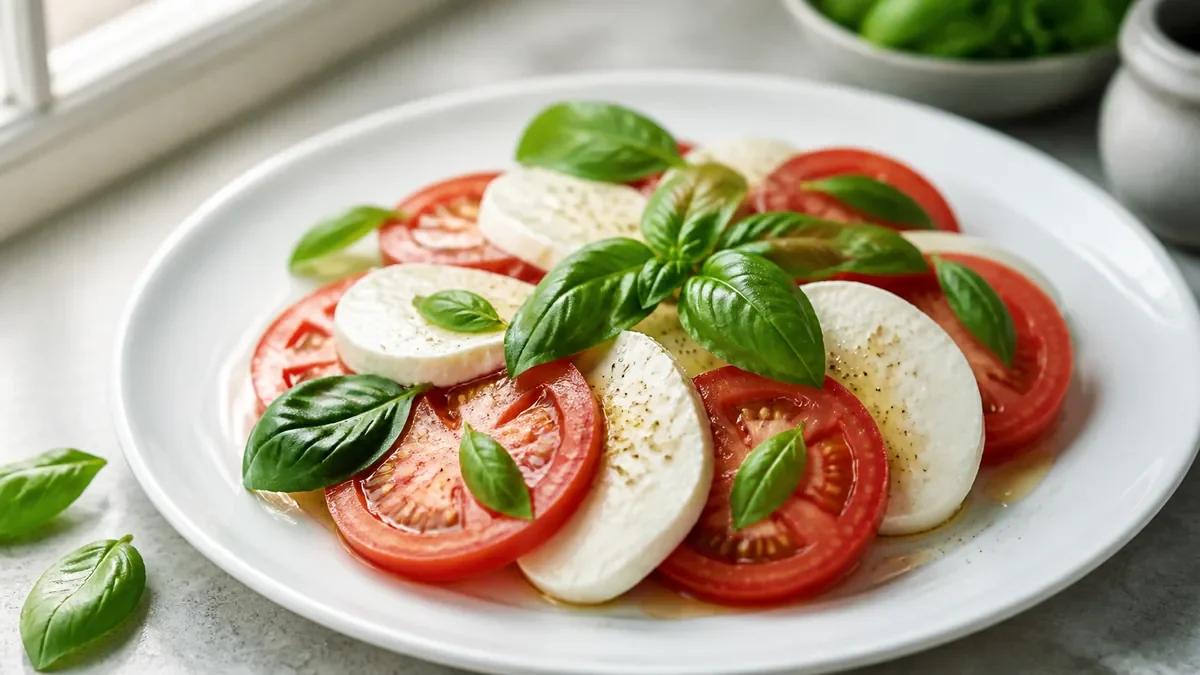
A reliable phone food photography lighting setup for a restaurant uses one consistent light direction, a stable shooting station, locked exposure and white balance, and a repeatable capture sequence. Start with soft side light from a window or diffused LED, control shadows with a white card, shoot at the same angles, and keep each dish true to what a guest will receive. After capture, use honest enhancement to correct light, background, crop, and consistency before exporting menu-ready images.
The short answer
You do not need a studio, expensive camera, or complicated lighting rig to create useful restaurant menu photos. You need a controlled station and a simple standard operating procedure (SOP) that any trained team member can repeat.
The basic setup is:
- One large window or diffused LED placed to the side of the dish
- A white foam board, menu board, or clean plate used as a reflector
- A stable table with a neutral, non-reflective surface
- A phone lens cleaned before every batch
- A fixed shooting distance and camera angle
- Locked focus, exposure, and color where your phone allows it
- A naming and handoff process for editing and upload
The goal is accuracy first. A menu image should make the real dish look appealing while preserving its ingredients, portion, color, texture, and presentation.
1. Build a small, repeatable photo station
Choose a station that can remain available during the photo session. A temporary setup is fine, but avoid moving between tables or photographing some dishes in the kitchen and others near the front window. Different locations create differences in color, shadows, reflections, and background.
A useful station needs enough room for the largest plate, the phone, and a reflector. Keep the surface clean and neutral. Matte white, light gray, pale wood, or another restrained background usually works better than a patterned tablecloth. The background should support the dish without competing with it.
Place a small piece of tape on the table to mark the plate position. Add another mark for the phone tripod or the place where the photographer stands. These marks make batch capture faster and improve consistency when a second person takes over.
Before the session, decide which formats you need. A square image, a vertical social image, and a wide website image may require different framing. Capture enough space around the dish to allow cropping, but do not place the food so far away that the phone has to crop aggressively later.
For a broader operating process, use the restaurant menu photo SOP and adapt its presentation and review steps to this lighting station.
2. Use window light when it is stable
Window light is inexpensive and often flattering, but it changes throughout the day. Use it when the window is not receiving direct, harsh sunlight and when your team can complete the batch before the light shifts noticeably.
Position the dish about 45 to 90 degrees from the window rather than directly in front of it. Side light reveals texture in grilled food, pastry, noodles, and layered dishes. Slightly backlighting the dish can make translucent ingredients and steam more visible, but it may create a dark front edge that needs a reflector.
Soften direct sunlight with a sheer curtain, white fabric, or translucent diffuser rated for safe use. Do not tape loose materials near hot cooking equipment or block emergency access. If the window light is too strong, move the dish farther away rather than increasing contrast in editing.
Use a white card on the side opposite the window. Move it closer to lift shadows and farther away to preserve more contrast. A black card can be useful for a darker, more dramatic style, but use it only if it fits the restaurant’s approved visual direction.
3. Use cheap LEDs when the window is unreliable
A small LED panel or continuous video light can make a more dependable station than a window, especially for restaurants shooting before opening, after service, or in a dark interior. Choose a light with adjustable brightness and color temperature if possible. A basic LED is still useful if you can keep its position and output consistent.
Place the LED to the side and slightly above the dish. Avoid pointing a small, bare LED directly at the plate because it creates hard, distracting shadows and shiny highlights on sauces, oil, and glazed foods.
Diffuse the light with a softbox, diffusion panel, or other manufacturer-approved modifier. If you do not have a modifier, increase the distance between the light and the dish and use a white card to soften the opposite side. Never cover a hot light with paper, plastic, cloth, or an improvised material that could overheat.
Do not mix a warm kitchen bulb with a cool LED unless you deliberately want that effect. Mixed light makes white plates, rice, cream sauces, and pale ingredients difficult to color-correct. Turn off nearby lights or move the station away from them whenever practical.
4. Set white balance before the batch
Auto white balance may change from one photo to the next. That makes a set of menu images look inconsistent even when the dishes were photographed minutes apart. Use a fixed white balance, locked color setting, or a manual camera app if your phone supports it.
Check a neutral object under the actual shooting light. A clean white card can help you see whether the scene is too blue, too yellow, or green. The card is a reference, not a reason to make every image sterile. Warm restaurant lighting can be part of the brand, but it should be intentional and repeatable.
After setting color, photograph one reference frame at the beginning of the batch. If the light changes, take a new reference frame and record the change in the batch notes. Do not rely on memory when several people are working.
Lock exposure after framing the dish. Many phones allow you to press and hold on the subject to lock focus and exposure. Reduce exposure slightly if bright plates or glossy sauces are losing detail. Keep the adjustment consistent across the batch and review the highlights immediately.
5. Control shadows, reflections, and clutter
Shadows are not automatically a problem. Soft shadows give a dish shape and help it sit on the surface. The problem is usually a shadow that is too hard, too dark, or pointing in a different direction from the rest of the menu.
Use these controls:
- Move the light farther away and diffuse it for softer edges.
- Bring a white reflector closer to open dark areas.
- Raise the light slightly if the plate edge is creating a heavy shadow.
- Remove shiny objects that reflect the phone or light source.
- Wipe sauce smears, water drops, fingerprints, and stray crumbs before shooting.
- Keep napkins, cutlery, hands, packaging, and kitchen equipment out of frame unless they are part of the approved composition.
Be careful with reflective soups, metal trays, glossy pizza cheese, and oily sauces. Change the phone or light angle a few degrees instead of trying to fix every reflection in post-production.
6. Choose the angle by dish type
Use one primary angle for the menu so the catalog feels coherent, then allow practical exceptions for dishes that need a different view.
| Dish or menu item | Primary angle | What to show | Common mistake |
|---|---|---|---|
| Burgers and sandwiches | 30 to 45 degrees | Height, layers, fillings | Photographing from above and hiding the stack |
| Pizza and flatbreads | 45 degrees or overhead | Whole shape and toppings | Cutting off the crust or using harsh glare |
| Bowls and salads | Overhead or 30 degrees | Ingredients and arrangement | Letting the bowl rim dominate the frame |
| Noodles and pasta | 30 to 45 degrees | Toppings, sauce, and texture | Flattening the dish with a distant overhead view |
| Drinks | Eye level or 30 degrees | Color, garnish, and glass shape | Losing the rim or creating distracting reflections |
| Desserts and pastries | 30 to 45 degrees | Layers, crumb, topping, and portion | Overexposing pale icing or cream |
Overhead photos work well for flat layouts and bowls. A lower angle works better when height, layering, or a crisp edge is central to the dish. The correct angle is the one that communicates what the customer is ordering.
7. Follow a batch capture sequence
Batching reduces setup time and helps the team maintain a consistent look. Photograph dishes with similar height, plating, and light requirements together. Do not change the light for every item unless the dish genuinely needs it.
Use this capture sequence for each dish:
- Confirm the plated dish matches the approved serving version.
- Clean the phone lens and check the station background.
- Place the dish on the marked position.
- Remove stray crumbs, spills, labels, and unwanted reflections.
- Frame the dish with enough margin for the intended crop.
- Lock focus, exposure, and white balance.
- Capture a primary image at the approved angle.
- Capture one alternate angle if the dish has important height or layers.
- Review sharpness, highlights, shadows, color, and edge cropping immediately.
- Record the dish name, variant, date, and any retake note.
Take more than one frame, but do not create hundreds of nearly identical files. A few deliberate options are easier to review than an unfiltered camera roll.
Batch checklist
- Dish presentation matches the menu or serving standard
- Phone lens is clean
- Light direction matches the station standard
- No mixed color sources are affecting the dish
- Focus and exposure are locked
- White balance is fixed or documented
- Plate is fully inside the safe crop area
- Important toppings and fillings are visible
- Image is sharp at the point a customer needs to see
- File is named according to the restaurant convention
- Retakes are noted before the dish leaves the station
8. Name files so the next person can use them
A good file name prevents confusion when images move from a phone to shared storage, a website, a delivery marketplace, or an AI enhancement workflow. Use a predictable structure such as:
brand_location_dish_variant_angle_date_version
For example:
bistro-central_burger_classic_45deg_2026-07-20_v01.jpg
Avoid spaces, emojis, vague names such as IMG_4821, and names based only on a temporary promotion. If a dish changes, use a new version or date rather than overwriting the original without a record.
Keep the original phone capture. Create edited exports as separate files. This gives the team a reference if a marketplace rejects an image, a guest questions accuracy, or the dish changes later.
9. Hand off images for honest AI enhancement
Once the team has captured accurate source images, FoodPhoto.ai can help standardize the result. Restaurant owners can upload real dish or phone photos and use enhancement to improve light, clean up the background, adjust the crop, and create a more consistent menu set.
The handoff should include the original file, dish name, location, approved serving details, requested crop, and any restrictions. Tell the editor whether the image is for a website, printed menu, delivery marketplace, Google Business Profile, or social channel. Check the current rules for each marketplace before publishing because image requirements and enforcement can change.
AI enhancement should not invent ingredients, enlarge a portion, remove an important component, change the protein, or create a dish the kitchen does not serve. If an image requires that kind of transformation, it is no longer a reliable menu representation. Keep the enhancement focused on the conditions that make a real capture harder to use: uneven light, distracting backgrounds, inconsistent framing, and minor visual cleanup.
For teams without a dedicated photographer, see restaurant menu photos without a photographer. For the enhancement workflow, visit the AI food image generator.
Keep one approved original and write down the lighting, crop and food details the editor must preserve. For guided practice after this handoff, FoodPhoto Academy extends the workflow with lessons on describing light, enhancing real phone photos and correcting AI mistakes without changing the dish.
10. Review before upload
A photo is ready when it is accurate, clear, consistent with the menu set, and suitable for the destination. Review the image at the size customers will actually see. A photo that looks excellent full-screen may become unclear as a small thumbnail.
Check that the dish name and image match, the food is in focus, the most important ingredients are visible, and the crop does not remove the plate, container, or defining garnish. Compare the image with the real serving version. If the kitchen changes a portion or ingredient, schedule a new capture rather than relying on an old image.
Keep a simple approval record with the final file name, date, location, reviewer, and destination. This is especially useful for multi-location restaurants where the same menu item may be plated differently.
Final workflow: capture, enhance, approve, refresh
A phone food photography lighting setup becomes valuable when it is part of a complete operating rhythm. Set up one controlled station, photograph similar dishes in batches, preserve the originals, use fixed naming, and send only accurate source images into enhancement. Then review every final export against the real dish and the current destination requirements.
When you are ready to turn a small batch into a cleaner menu refresh, compare the available FoodPhoto.ai pricing and choose a suitable try pack or menu refresh workflow. Start with a focused set of high-priority dishes, document the station settings, and reuse the process for the next update.
FAQ
What is the best lighting setup for phone food photography in a restaurant?
Use soft window light from the side or a diffused LED panel placed at a similar angle. Keep the light consistent, avoid mixed color temperatures, and use a white card to soften hard shadows.
Can restaurant staff take good menu photos with a phone?
Yes. A phone can produce useful menu photos when staff control the light, lock focus and exposure, keep the dish presentation consistent, and follow the same camera angle for every item.
Should I use AI to improve restaurant food photos?
Use AI for honest enhancement such as correcting exposure, cleaning the background, standardizing crops, and improving consistency. Keep the dish itself accurate and avoid adding ingredients or changing portion size.
What white balance should I use for restaurant food photos?
Use a fixed white balance or lock the phone's color and exposure after checking a neutral reference. The exact setting depends on the light source, but consistency matters more than a single universal number.
Next step
Choose one real dish photo, enhance it, and compare the before/after at delivery-app thumbnail size. If it still looks like the dish your kitchen serves, use the same standard across the rest of your menu.


