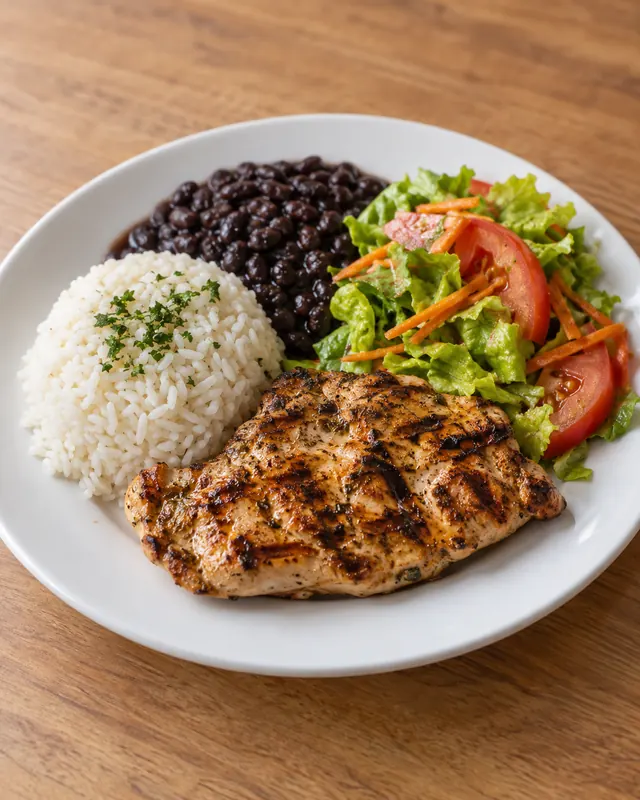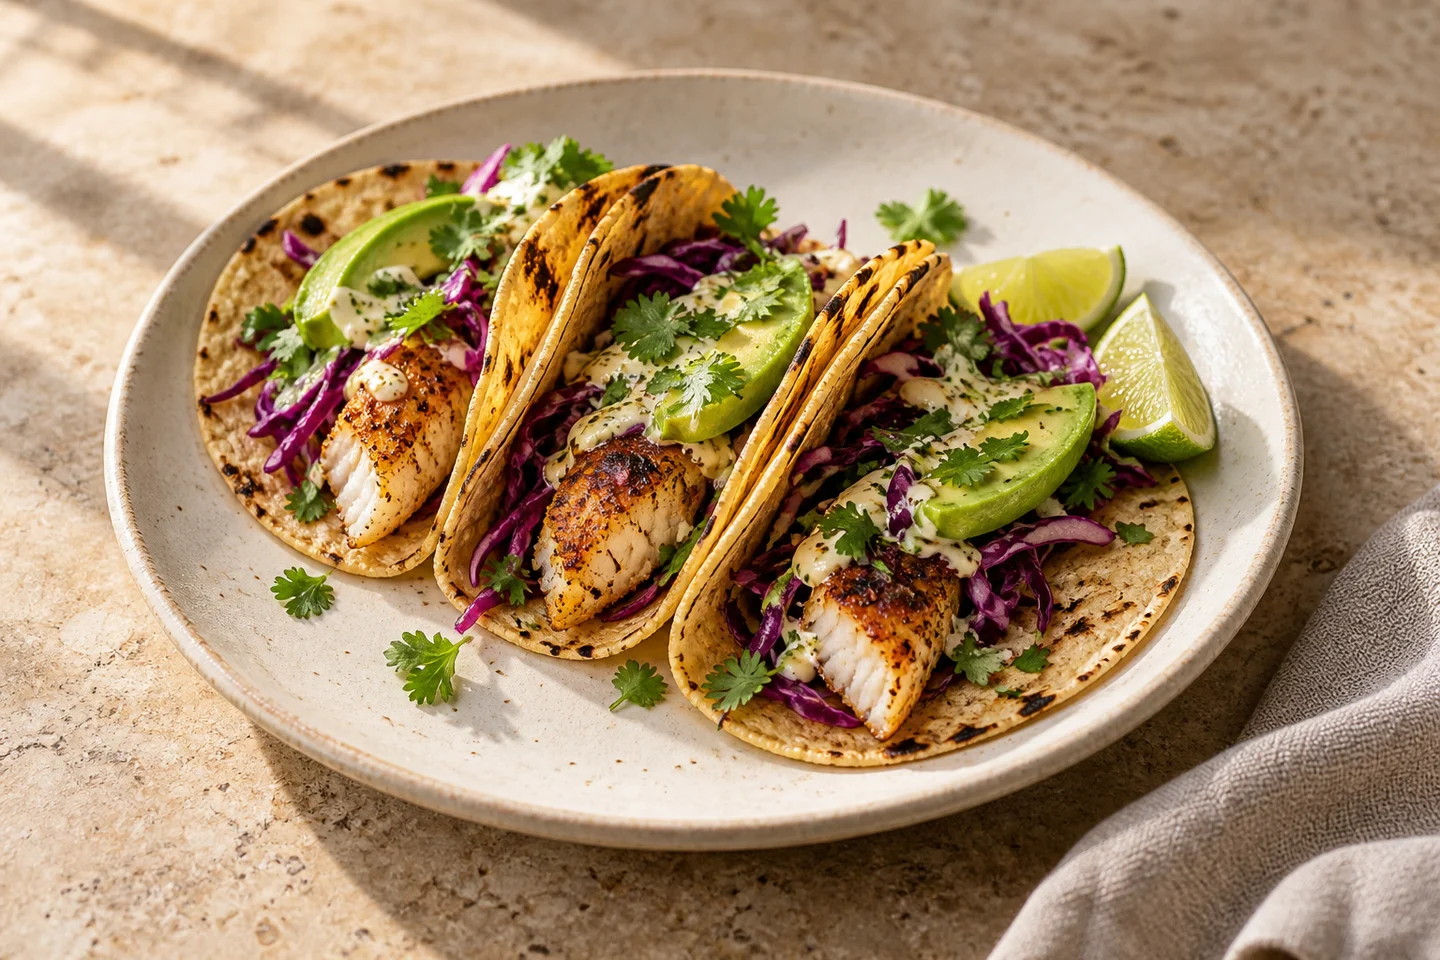
A restaurant photo fix editor should do one job: turn a real, slightly flawed dish capture into a listing-ready image in minutes — fixing light, white balance, crop, sharpness, and background — without changing what the dish is. If your editor needs stock overlays, face-swap-level generation, or a design degree to operate, it is the wrong tool for weekly menu operations. This guide gives you the fix-vs-reshoot decision rule, a 10-minute editor workflow, quality gates, and the honest limits of every fix feature.
The short answer
Fix the capture when the dish is right but the photo is wrong: dim light, yellow cast, tilted frame, messy background, dull colors. Re-shoot when the dish itself is wrong in the frame: wrong portion, missing garnish, wilted herbs, wrong packaging. Editing cannot rescue a photo of the wrong food — it can only present the right food better.
- If the thumbnail looks dark on a phone, fix exposure and shadows first.
- If colors look wrong (gray greens, orange whites), fix white balance before anything else.
- If the dish is small in frame, crop to ≥70% dish fill instead of upscaling.
- If the background is cluttered, clean or blur it — never paste a fake table scene.
- If the food itself looks tired, stop editing and re-plate.
The 10-minute fix workflow
Minutes 0–2 — triage. Open the frame at 100% zoom. Check focus on the hero element, then exposure, then color. If focus missed the dish, discard the frame and pick another capture; sharpening cannot invent focus. Minutes 2–5 — light and color. Lift shadows before touching highlights, neutralize the white balance against something white in the frame (plate rim, napkin), then add modest contrast and saturation — food should look appetizing, not neon. Minutes 5–8 — geometry. Straighten, crop to 4:3 or square with the dish filling the frame, and remove edge intrusions (fingers, menus, other tables). Minutes 8–10 — cleanup and export. Remove crumbs and spots, even out the background, export JPG sRGB at full resolution, and preview at 200px thumbnail width on a phone. That preview is the pass/fail gate.
What each fix feature can and cannot do
| Feature | Honest capability | Limit |
|---|---|---|
| Exposure / shadow lift | Recovers dim phone shots well | Blown highlights (white plates fully clipped) are gone forever |
| White balance | Fixes yellow kitchen light completely | Mixed lighting (window + tube) needs local correction |
| Crop / straighten | Biggest thumbnail improvement per second | Heavy crops magnify noise; start from full resolution |
| Background cleanup | Removes clutter, evens tone | Replacing the whole scene risks misrepresenting the venue |
| Detail / sharpness | Restores texture like crisp skin and grill marks | Cannot fix motion blur or missed focus |
| Style matching | Unifies a 40-item menu to one look | Apply after individual fixes, not instead of them |
The AI food photo editor is built around exactly this sequence — triage, light, geometry, cleanup — on your real captures. Pair it with disciplined capture using the phone photography guide for restaurant owners and the fixer stage shrinks to minutes per dish.
Three typical before/after cases
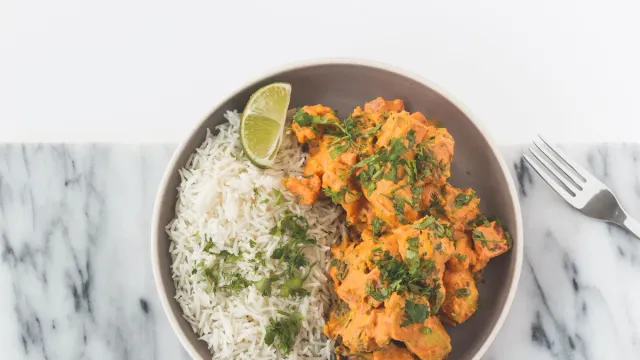
Case 1 — the yellow-lit curry. Before: orange cast from kitchen tubes, dish glowing unnaturally. Fix: white balance to the plate rim, shadows lifted, saturation pulled back 10%. Result: the curry reads as food again; thumbnail taps recover because the color stops alarming scrollers. Case 2 — the distant thali. Before: full table visible, thali a small island in the middle. Fix: straighten, crop to the thali filling 75% of a square frame, background evened. Result: every katori readable at 200px; this single fix often doubles taps. Case 3 — the gray burger. Before: flat daylight, bun grayish, lettuce tired. Fix: gentle warmth, contrast on the cross-section, background de-cluttered, sesame and grill marks sharpened locally. Result: appetizing without adding a single ingredient that is not there. In all three cases the rule held: the dish never changed, only its presentation.
Training whoever shoots to need less fixing
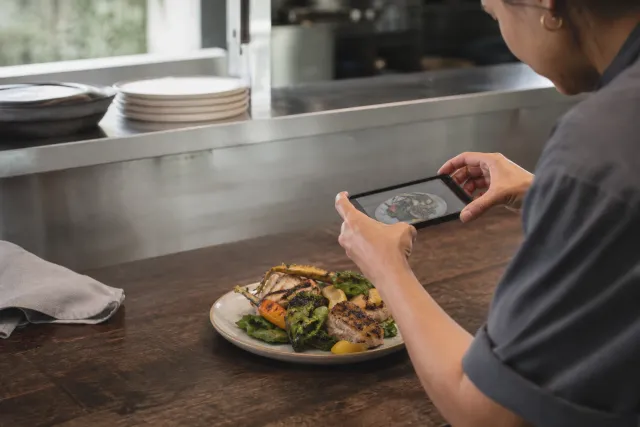
The fixer queue shrinks fastest at the camera. Teach your shooter three habits: light first (window side-light, kitchen tubes off, no on-camera flash on glossy sauces), fill the frame (move closer instead of cropping later), and shoot the real portion (no styling that the pass cannot reproduce at rush). Tape a one-page card to the pass: angle per category, plate color, garnish standard, packaging variant. Review ten captures a week for two minutes each — focus, color, fill — and the fixer session drops from thirty minutes to ten within a month.
Quality gates before publishing
- Sharp at 100% on the hero element; no motion blur, no missed focus.
- Whites read white, greens read green — no color cast at thumbnail size.
- Dish fills ≥70% of frame in the final crop.
- Background clean and plausible for your restaurant; no floating cutlery or warped edges.
- Portion, garnish, and packaging identical to what the kitchen sends.
- Readable and appetizing at 200px on a mid-range phone.
- Before/after pair saved for the asset library with date and editor settings.
Batch operating cadence
Do not fix the whole menu in one heroic weekend. Rank items by sales, fix the top 10 first, publish, and measure taps for two weeks. Then run a weekly 30-minute fixer session: new items, seasonal changes, and the worst-performing thumbnails by click data. A restaurant with 40 delivery items reaches full coverage in about a month at this pace, and every fix lands where the money is. Track which fixes moved the needle — usually crop and white balance — and train whoever shoots to get those right in-camera next time.
When the editor is not the answer
Re-shoot instead of editing when the plating changed, the portion shrank, packaging switched from ceramic to sealed plastic, or the dish photographs fundamentally badly (translucent soups, all-white plates on white tables). Also re-shoot seasonally: a summer tomato salad fixed into autumn looks dishonest next to the real plate. The editor multiplies good captures; it does not replace the kitchen’s presentation standards.
FAQ
When should I fix a food photo instead of re-shooting?
Fix when the dish is right but the photo is wrong (light, color, crop, background). Re-shoot when the dish itself is wrong in frame (portion, garnish, packaging changed).
What is the fastest restaurant photo fix workflow?
Triage focus first, then light and white balance, then crop and geometry, then cleanup and export — about 10 minutes per dish, gated by a 200px phone preview.
How long should fixing one photo take?
About ten minutes with the fixed workflow. If a frame needs more than twenty minutes, the capture was wrong — re-shoot instead.
Do staff need design skills to fix menu photos?
No. The sequence plus a phone-preview gate can be learned in one session by any shift lead.
How should I name and store fixed photos?
Use item-slug plus purpose and date, keep before/after pairs, and store per-app exports from one master in a shared folder.
Can photo editing mislead delivery customers?
Yes, when it changes portion, ingredients, or packaging. Constrain every edit to light, color, crop, and cleanup of the real dish, and re-shoot whenever the food itself changed.
Next step
Take your worst-performing delivery thumbnail, run it through the 10-minute workflow, and A/B it against the original for two weeks. If taps improve, systematize the session weekly.