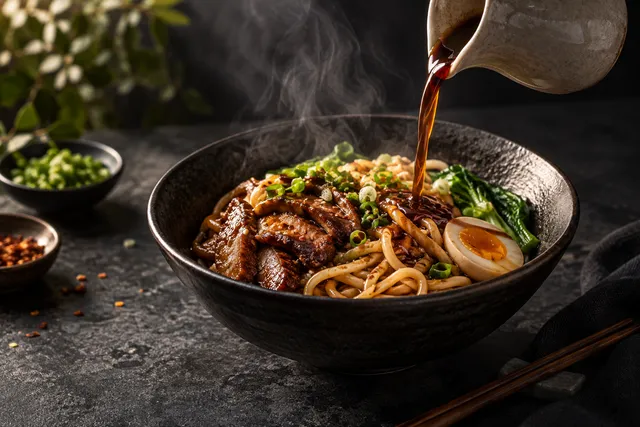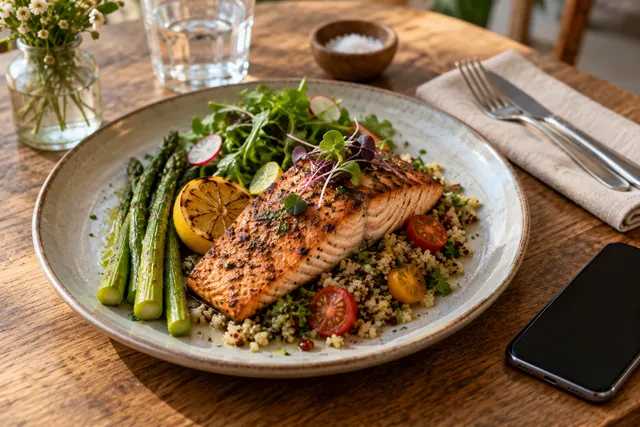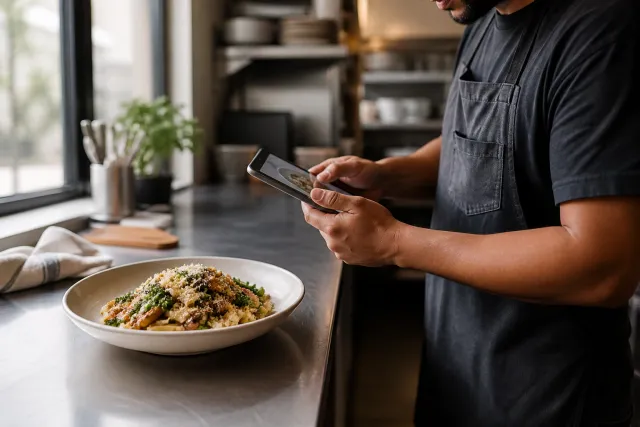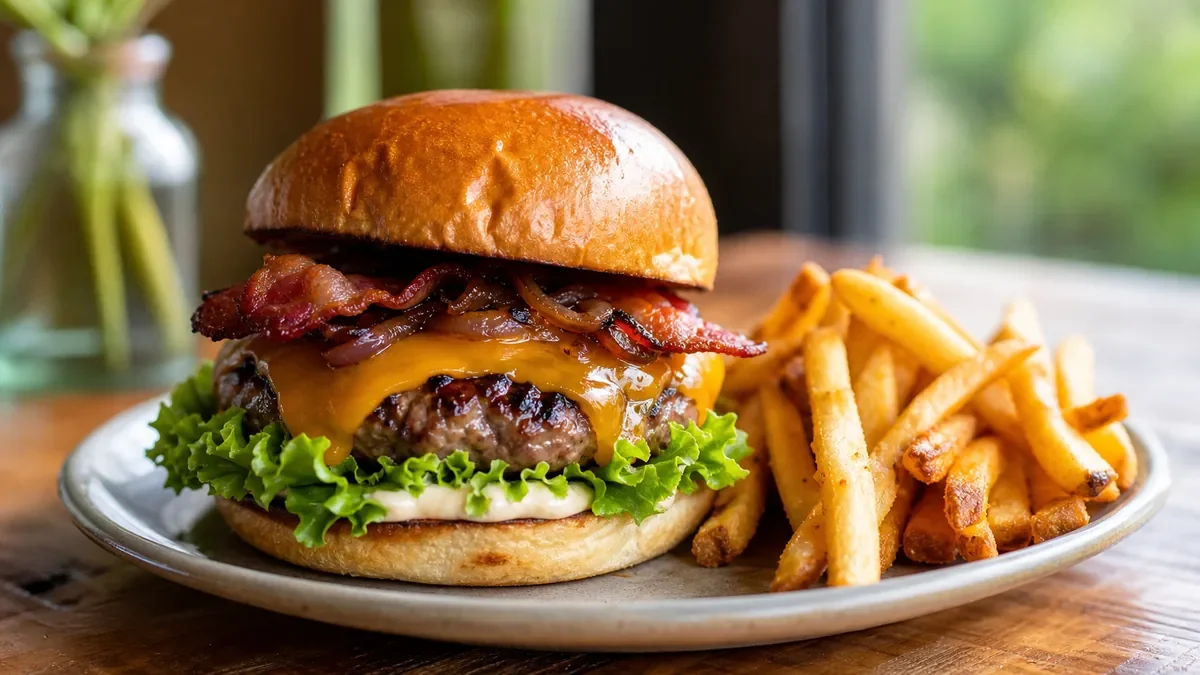
A restaurant menu photo conversion test can show whether better-looking images improve customer action before you spend time and money refreshing the entire menu. The practical approach is to choose a small set of real menu items, record a baseline, improve only their photos, keep prices and promotions stable, publish the images consistently, and review the same funnel metrics after 30 days. The goal is not to invent a benchmark. It is to create a repeatable comparison that helps you decide what to update next.
Short answer
Test a focused group of menu items for 30 days. During the first period, document how those items perform with their current images. Then replace the images with honest, accurate enhancements while holding other meaningful variables steady. Track impressions or views when available, add-to-cart actions, orders, units sold, revenue, refunds, and customer feedback. At the end, compare the before and after periods, note outside factors, and apply a pre-agreed decision rule.
A useful test is operationally simple. Your team should know which images changed, when they changed, what stayed the same, and what result would justify a wider refresh.
Why test photos before refreshing the full menu?
Menu photography can become a large project. A restaurant may have dozens of items, several delivery platforms, a direct-order site, a Google Business Profile, social accounts, and printed or QR-code menus. Updating everything at once may improve the presentation, but it makes it harder to understand which changes helped and which created extra work without a clear return.
A controlled test gives you a smaller decision surface. You can learn:
- Whether customers respond differently to clearer, brighter, more appetizing images.
- Which item types benefit most from a photo refresh.
- Whether your current production and upload process preserves image quality.
- Whether platform crops, thumbnails, or mobile layouts reduce the effect of the new photo.
- Which evidence is strong enough to justify a broader menu update.
This is not a laboratory experiment. Restaurant demand changes with weather, holidays, staffing, local events, availability, delivery fees, ranking systems, and promotions. The purpose is to reduce uncertainty, not to claim perfect causation.
Step 1: Define the test before changing anything
Write a one-sentence hypothesis. For example:
If we replace the current images for selected hero items with accurate, consistent, menu-ready photos, those items will produce stronger customer actions during the next 30-day period, all else being reasonably stable.
Next, choose one primary outcome. Depending on the data available, this might be:
- Item orders.
- Units sold.
- Add-to-cart rate.
- Item-page conversion rate.
- Revenue from the selected items.
Use secondary metrics to explain the result, not to search for a favorable number after the fact. If item views rise but orders do not, the photo may be attracting attention without resolving price, description, portion, availability, or trust concerns. If orders rise while impressions fall, the change may reflect a smaller but more qualified audience.
Record the test owner, start date, end date, platforms, item list, image version, and decision rule in one shared document. Include screenshots of the original listings so you can verify what changed.
Step 2: Capture a baseline
A baseline is the reference period before the new photos go live. Use a period that resembles the planned test window where possible. If you are comparing different seasons, holidays, or operating hours, label that limitation clearly.
For each selected item, record:
| Field | What to capture | Why it matters |
|---|---|---|
| Item name and ID | Exact listing name and identifier | Prevents mix-ups across platforms |
| Current image | Original file or screenshot | Confirms the starting version |
| Price and modifiers | Price, size, add-ons, bundles | Pricing changes can affect conversion |
| Availability | Days and hours sold | Missing availability can distort results |
| Impressions or views | If the platform provides them | Shows how much exposure the item received |
| Add-to-cart actions | If available | Helps locate friction before purchase |
| Orders and units | Exact period totals | Measures completed demand |
| Revenue | Item or attributed revenue | Adds commercial context |
| Promotions | Discounts, ads, bundles, coupons | Records other demand influences |
| Notes | Stockouts, delays, events, menu edits | Preserves context for interpretation |
Do not average away unusual events without noting them. A sold-out weekend, a delivery outage, a viral mention, or a major promotion may make the period unsuitable for a simple before-and-after conclusion.
Step 3: Select hero items
A hero item is a menu product that deserves attention because it is important, visible, profitable, distinctive, or strategically useful. You do not need to select only your top sellers. A balanced test group may include:
- One high-volume item with enough regular demand to observe.
- One signature item that represents the restaurant.
- One visually challenging item, such as a bowl, salad, sandwich, dessert, or drink.
- One item with good margins or a useful add-on opportunity.
- One item with traffic but weaker customer action, if the platform exposes that pattern.
Avoid selecting items that are rarely available, frequently changed, seasonal for only part of the test, or dependent on a promotion you cannot keep stable. Also avoid changing every image in the same category if the platform makes it impossible to distinguish item-level results.
Keep a control group when practical. The control group consists of similar items whose photos remain unchanged. It will not remove every source of noise, but it can show whether broad demand moved across the menu during the same period.
Step 4: Create accurate photo improvements
The test should isolate presentation, not misrepresentation. Start with real photos of the actual dishes. FoodPhoto.ai can help improve light, background, crop, and visual consistency, then export menu-ready images. Review every result against the dish that customers receive.
Photo QA should check:
- The food matches the current recipe, portion, ingredients, toppings, and plating.
- Colors look natural rather than heavily filtered.
- Texture remains believable and recognizable.
- Garnishes, sauces, sides, and packaging are not invented or removed in a misleading way.
- The main item is clear at thumbnail size.
- The crop leaves enough breathing room for different platform layouts.
- The background supports the dish without overpowering it.
- The image does not include claims, badges, prices, or text that may become outdated.
- The file opens correctly and meets the current platform’s upload requirements.
Use the restaurant menu photo audit checklist for a broader review before publishing. If your menu includes delivery thumbnails, also review the delivery app photo thumbnail playbook.
Step 5: Keep the test variables under control
The photo should be the main planned change. You cannot control every condition, but you can avoid introducing unnecessary changes during the same period.
Try to keep these stable:
- Item name and description.
- Price, portion, and modifier structure.
- Menu placement and category.
- Opening hours and delivery radius.
- Promotions, paid placement, and discounts.
- Recipe, packaging, and plating.
- Stock availability and item visibility.
- Website or app checkout flow.
If a change is necessary, log it with the date and affected items. A price increase does not invalidate the test, but it changes what you can conclude. You may be able to say that the listing performed differently after a combined photo and price change; you should not attribute the entire difference to the photo.
Step 6: Publish consistently across channels
Upload the intended image to the selected channel at a documented time. Save the final file name and version. Then check the live listing on a phone, not only in an admin dashboard.
Look at the image in the context customers see:
- Search results or category cards.
- The item detail page.
- The cart or recommendation module, if applicable.
- Your direct-order menu.
- Google surfaces where the image may appear.
Platforms can resize, crop, compress, or reject images. Their requirements and policies can change, so check each marketplace’s current rules before uploading. Do not assume that one file or one aspect ratio will display identically everywhere.
If you use FoodPhoto.ai for a larger refresh, the AI menu photos workflow can help you move from real source photos to a consistent set of exports. Keep the test group and control group clearly labeled so the production process does not accidentally change both.
Step 7: Monitor without overreacting
Check the test at a regular cadence, such as once or twice per week. The purpose of interim checks is operational: catch broken uploads, stockouts, accidental price changes, rejected images, or obvious display problems.
Avoid declaring a winner after a few days. Short windows are easily distorted by payday timing, weather, local events, or an unusual order mix. Keep recording the data, but reserve the main decision for the agreed end date unless the test has a clear operational failure.
Use this monitoring checklist:
- Every test item shows the intended image on the live channel.
- The image is readable in the smallest important thumbnail.
- No test item has an unlogged price or description change.
- Stockouts and unusual availability are recorded.
- Promotions and paid placements are documented.
- Item views, carts, orders, units, and revenue are exported or recorded when available.
- Customer complaints or questions about the dish are logged.
- Platform policy or upload changes are noted.
- Control items remain unchanged.
A practical 30-day schedule
Days 1–3: Prepare
Choose the hypothesis, hero items, control items, primary metric, baseline period, and decision rule. Export current data and save screenshots of every listing.
Days 4–7: Produce and QA
Photograph or gather accurate source images. Enhance them, review them against the real dishes, prepare channel-specific files, and document the final versions.
Day 8: Publish
Replace only the selected images. Confirm the live display across the relevant customer journeys. Record the exact publish time.
Days 9–28: Monitor
Check for technical or operational issues. Record metrics on a consistent schedule. Keep other changes logged and avoid making additional creative changes to the test items.
Days 29–30: Analyze and decide
Compare the test group with its baseline and, where possible, with the control group. Review both primary and secondary metrics. Write a short conclusion that includes caveats and the next action.
Use a decision rule before seeing the result
A decision rule keeps the review honest. It should describe what you will do if the evidence is positive, unclear, or negative.
For example:
- Expand the photo refresh if the selected items show a sustained improvement in the primary metric and no meaningful increase in complaints, refunds, or operational problems.
- Extend or repeat the test if exposure is too low, the control group moved sharply, or several major variables changed.
- Stop and revise the creative if the images create confusion, reduce customer trust, or perform worse after accounting for availability and pricing.
Do not set an invented percentage as a universal success threshold. A small restaurant with limited item-level traffic may need a longer observation period or a broader directional signal. A high-volume operator may have enough activity to make a more precise comparison. Use your own baseline, data quality, and business economics.
A simple review table can help:
| Question | Finding | Action |
|---|---|---|
| Did the primary metric move? | Record direction and comparison | Continue, expand, or repeat |
| Did exposure change? | Compare views or impressions | Check placement and platform effects |
| Did carts or orders change differently? | Locate funnel friction | Review price, description, or offer |
| Were there stockouts or promotions? | List affected dates and items | Qualify the conclusion |
| Did customers report mismatched expectations? | Summarize feedback | Correct the image or dish presentation |
What the test can and cannot prove
A successful test can support a practical decision: these listings deserve a wider photo refresh under similar conditions. It may also reveal which item types are worth prioritizing.
It cannot prove that every future item will produce the same result. It cannot separate photo impact from every change in demand. It cannot establish a universal conversion benchmark. It also cannot compensate for poor availability, confusing descriptions, slow fulfillment, pricing problems, or an item that customers simply do not want.
Treat the result as an operating signal. Combine the data with staff observations, customer feedback, contribution margin, and the effort required to maintain the images. If a photo improves clicks but creates inaccurate expectations, it is not a successful restaurant asset.
Make the next refresh easier
Document what worked in a small photo standard: crop preference, background treatment, lighting level, acceptable editing, file naming, channel exports, and approval owner. This turns one test into a repeatable menu refresh workflow.
For restaurants with many locations or frequent menu changes, separate the process into four stages: source capture, enhancement, QA, and publishing. Keep original images and final exports together. Review the live customer experience after every major upload batch.
If the test supports a broader refresh, plan the rollout by business importance rather than trying to update everything at once. Start with signature items, high-traffic products, items with strong margins, and products that appear prominently in discovery surfaces.
Final takeaway
A restaurant menu photo conversion test works best when it is small, documented, and honest. Choose representative hero items, establish a baseline, improve real dish photos, hold other variables steady, publish carefully, and decide using evidence from your own operation. If the result is unclear, learn from the measurement limitations and run a better-controlled follow-up rather than forcing a conclusion.
Ready to prepare the next batch? Review FoodPhoto.ai pricing, try a photo pack, or start with the AI menu photos workflow for an accurate, consistent menu refresh.
FAQ
What should a restaurant menu photo conversion test measure?
Measure the funnel stages you can access consistently, such as item impressions, item views, add-to-cart actions, orders, units sold, and revenue. Choose one primary outcome before starting and keep the measurement window consistent.
How many menu items should I include in a 30-day photo test?
Start with a small, representative group, usually a few high-traffic or strategically important items. A focused test is easier to control, review, and repeat than changing the entire menu at once.
Should I change the food or the photo during the test?
Keep the recipe, price, description, availability, placement, promotions, and service conditions as stable as possible. The photo should be the main planned variable.
Can FoodPhoto.ai create a menu photo from a dish I have not photographed?
FoodPhoto.ai is designed to enhance real dish or phone photos by improving light, background, crop, and consistency. Use an accurate source image rather than creating a fantasy version of a dish.
Next step
Choose one real dish photo, enhance it, and compare the before/after at delivery-app thumbnail size. If it still looks like the dish your kitchen serves, use the same standard across the rest of your menu.