
Bakery and Pastry Shop Food Photography: What to Shoot, How Often, and When to Schedule It
A bakery case changes every day, but the photos that sell it do not. This guide covers which baked goods earn a permanent photo, which get reshot when the recipe or season changes, how to fit a shoot around overnight proofing and morning service, and how to keep the menu looking like one shop across delivery apps, your website, Google Business Profile, and social.
Start with the items that sell the menu
Build the shot list from what customers actually order, not from what photographs best. Pull the last few weeks of register or delivery-app sales and rank items. The top sellers need a photo first, because they carry the menu and they are the ones a first-time customer compares across channels.
Then add the items that are hard to understand from a name alone. A croissant needs no explanation; a kouign-amann, a laminated babka, or a slice of basque cheesecake does. If a customer has to ask what is in it, it needs a photo more than the plain baguette does.
- Top sellers: one clear hero shot each
- Items with unfamiliar names or fillings: one photo plus a cut or crumb shot
- Seasonal and holiday items: shoot once per season, retire the photo when the item leaves
- Custom and celebration cakes: three angles (whole, slice, detail of decoration)
- Drinks, if you sell coffee: one photo showing the cup next to a pastry, for combo offers
Which shots to take for each baked good
Bread and viennoiserie live or die on texture. Shoot a whole loaf or pastry at a three-quarter angle, about 30 to 45 degrees above the table, so the crust and the shape read at thumbnail size. Then shoot a torn or cut cross-section straight on at eye level, roughly 0 degrees, so the crumb structure and lamination are visible. Those two frames do most of the work on a menu.
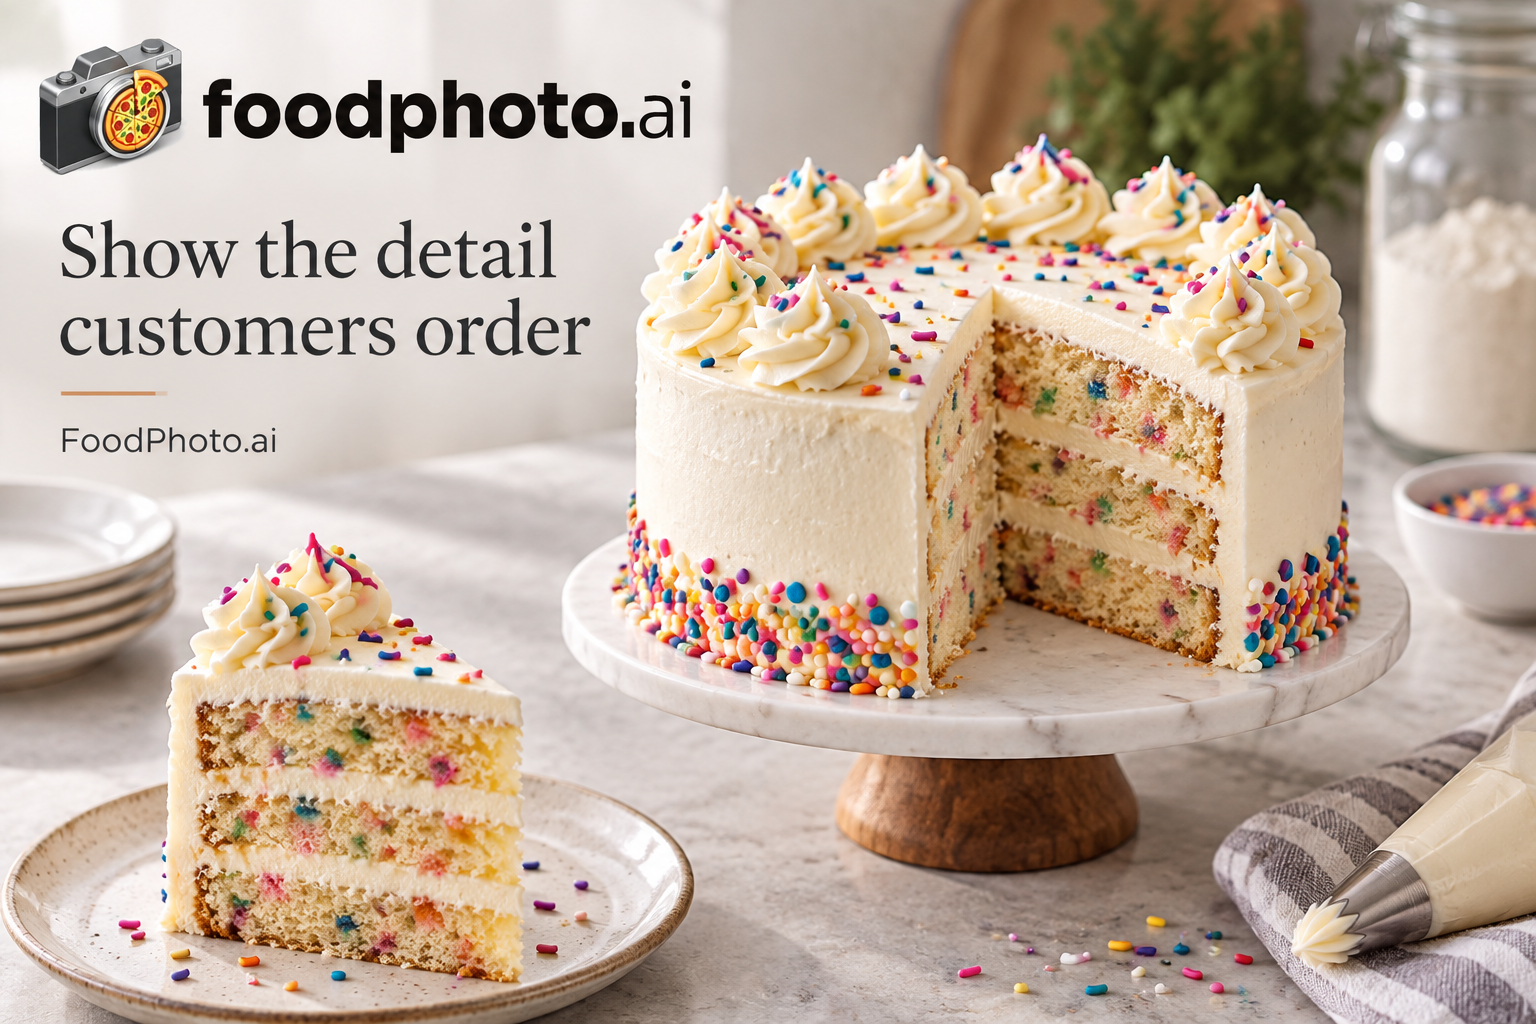
Cakes and tarts need a top-down frame at 90 degrees for the whole item and a side-on slice to show layers and filling. For a delivery-app tile, the item should fill most of the frame; a whole cake photographed from far away turns into a small pale square on a phone.
Light matters more than props in a bakery. Daylight from a window at an angle, not directly overhead, keeps meringue and glaze from blowing out. If you shoot under your display-case lighting, check the white balance on site: warm bulbs make cream look yellow and white icing look beige.
- Whole item: 30 to 45 degrees above the table
- Cross-section or crumb: eye level, 0 degrees
- Whole cake or tart: 90 degrees top-down
- Close detail of one element (seeds, glaze, piped edge) for social
- One frame in the shop context, with the case or counter slightly out of focus
How often to reshoot
Set a rhythm per category rather than reshooting the whole menu at once. Permanent items need a reshoot when the recipe, size, or presentation changes, or when the photo no longer matches what is in the case. That is usually a recipe event, not a calendar event.
Seasonal items should be shot once, early in their run, while the product is at its best and the ingredients are available. Keep the file named by season so nobody reuses last winter's photo for this winter's version.
Do a short review every couple of months: open your delivery-app listing on a phone and your website menu on a laptop and look for photos that are darker, older, or differently styled than the rest. Replace two or three at a time. A full reshoot is rarely necessary and rarely gets scheduled.
Scheduling a shoot around baking and service
Bakers work at night and the case is fullest in the early morning, but that is also when customers arrive. The practical window is usually after the morning rush and before the lunch rebuild, or on a closed day if you have one. Shoot finished product, not dough, so the schedule follows the bake, not the other way around.
Block two to three hours and stage in batches. Set up one surface and one light position, then bring items to it one at a time as they come out or as you pull duplicates from the case. Changing the setup between every item is what turns a two-hour shoot into a full day.
Keep a small set of clean items aside before service, especially the ones that bruise or melt. A pastry that has sat in the case since 6 a.m. will show it. Shoot the freshest version, then return it to the case only if it is still sellable; otherwise treat it as staff tasting.
- Shoot after the morning rush or on a closed day
- Stage one surface and one light position, then batch items
- Pull fresh duplicates before the case fills
- Photograph cakes before they are boxed or decorated for a specific order
- Leave 15 minutes at the end to check images on a phone screen, not just the camera
Keeping the whole menu consistent
Consistency in a bakery means the same background, the same light direction, and the same crop logic across every item. Pick one neutral surface, such as a plain board, parchment, or a marble slab, and use it for everything that goes on the menu. Save the styled props and linens for social, where variety helps.
Crop to a fixed system. A square 1:1 works for menu grids and many delivery-app tiles; a 16:9 landscape works for a website banner or Google Business Profile cover. Shoot slightly wide so you can crop to both without cutting the item.
Keep the food honest. The photo should show the size and portion a customer receives, so avoid shooting a single croissant on a tiny plate that makes it look larger, or a slice cut thicker than what you serve. A photo that oversells gets one order and a refund request.
Where the photos go, and what each channel needs
Your website menu, Google Business Profile, Instagram, a QR menu, and printed menus all use your own photography, and each needs a different crop: a square for the menu grid, a portrait 4:5 for Instagram feed, a wide 16:9 for the profile cover and website banner, and a high-resolution file for print. Delivery apps ask for their own dimensions, and if a platform does not publish pixel specs, check the upload screen for the current requirement rather than guessing.
Some platforms restrict AI-generated or heavily altered food images. If a platform you sell on bans AI-generated images, shoot and upload your own real photograph of the actual item to that platform and keep any editing minimal. Do not assume an edited image will pass review.
FoodPhoto takes a real photo of your own baked good and improves the light, background, and crop for menus, delivery apps, and social while keeping the food as it is, and delivers each photo as a kit of sizes. Use it for your own channels such as the website menu, Instagram, Google Business Profile, QR menu, and print.
Checklist before you publish
- Rank your items by recent sales and photograph the top sellers first
- List items with unfamiliar names or fillings and give each one a photo
- Shoot a whole-item frame at 30 to 45 degrees and a cross-section at eye level
- Fix one background and one light position for the whole menu shoot
- Book the shoot after the morning rush or on a closed day
- Pull fresh duplicates from the case before service starts
- Check every image on a phone screen before you finish
- Review the menu every couple of months and replace two or three weak photos
Questions
How many photos does a bakery need for its menu?
Enough to cover the items a customer cannot identify from the name. In practice that means every top seller, every item with an unusual filling or shape, and every seasonal special, plus one whole and one cut shot for cakes. You do not need a photo of every variation of the same loaf.
Should I photograph bread and pastries under natural light or the display case lights?
Natural window light at an angle gives the most accurate color for crust, crumb, and glaze. Display-case bulbs are usually warm and will push cream, meringue, and white icing toward yellow, so if you shoot under them, set white balance on site against a white plate and check the result on a phone before moving on.
When should a bakery reshoot its food photos?
When a recipe, size, or presentation changes, when a seasonal item enters its run, or when a photo no longer matches what is in the case. A short review every couple of months, comparing your delivery listing on a phone with your website menu, catches the images that have drifted out of style.
Can I use the same photo on my website, delivery apps, and Instagram?
Yes, if you shoot slightly wide and crop per channel. A square 1:1 suits menu grids and many app tiles, 4:5 suits Instagram feed, and 16:9 suits a website banner or Google Business Profile cover. Check each platform's upload screen for its current size requirement, since some do not publish pixel specs.