
What Is the Best AI Food Photography Tool for Delivery?
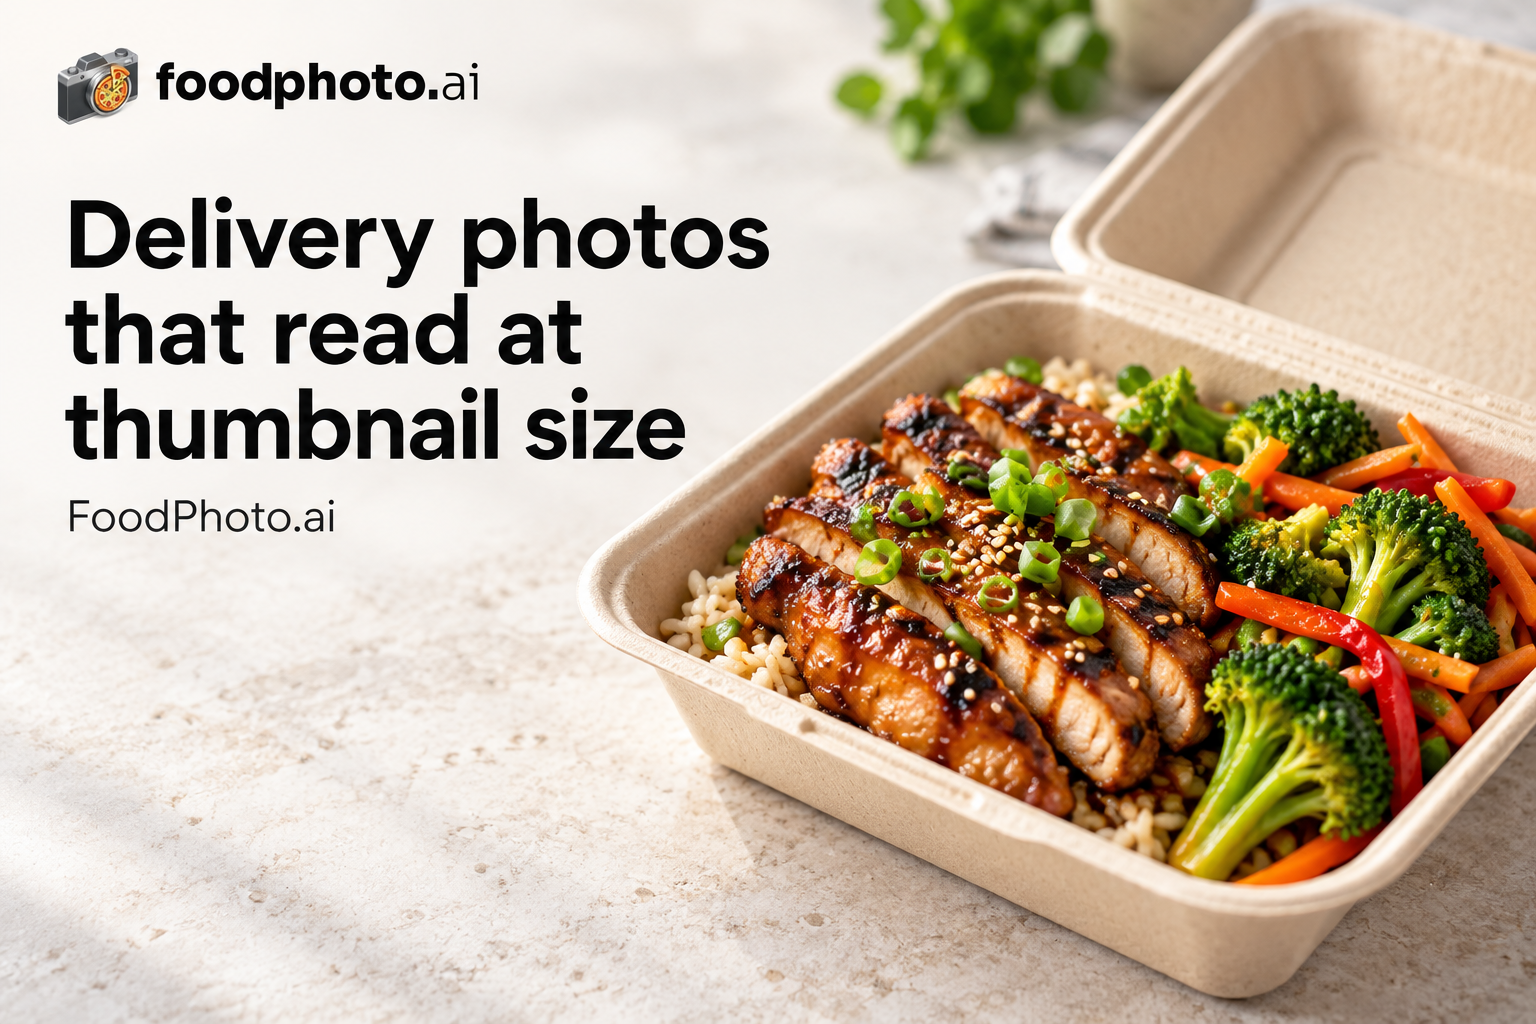
The best AI food photography tool for delivery is the one that keeps a real dish photo recognizable at thumbnail size, leaves the portion honest, and exports the crop your app upload screen expects. Delivery guests order from a small tile on a phone, often while deciding fast, so clarity and accuracy matter more than a dramatic look. This guide covers what to test, what to demand from the tool, and where photography rules differ by platform.
What delivery does to a food photo
A delivery listing compresses your image into a small square tile, sometimes a rounded one, viewed on a phone held at arm's length. Detail disappears first: garnish, sauce texture, the char on a burger patty. What survives is silhouette, color contrast, and whether the main ingredient reads instantly. A bowl shot from directly above at 90 degrees can turn into a flat circle of similar tones; the same bowl at a 30 to 45 degree angle shows layers, depth, and the edge of the bowl.
The second thing delivery does is strip context. On a restaurant table, a linen napkin and a wooden board help. In a grid of twenty competing tiles, they become noise. Shoot tight enough that the food fills roughly 70 to 80 percent of the frame, and expect to lose the outer edges to the crop.
- Shoot at 30 to 45 degrees for burgers, sandwiches, and plated mains so height and layers read.
- Use 90 degrees overhead only for pizza, flatbreads, and composed bowls where the pattern is the point.
- Keep the background plain and darker or lighter than the food, not the same tone.
- Leave breathing room around the plate so a square crop does not cut the rim.
The test every tool should pass before you commit
Do not evaluate a tool on a hero shot you already like. Give it the three hardest items on your menu: something dark (a charred burger, a brownie, a braise), something glossy and monochrome (a sauced pasta, a curry, a noodle dish), and something pale (fried items, mashed potato, a white fish). These are the dishes where automated enhancement tends to blow out highlights, crush shadows, or shift color until the food no longer matches what leaves the kitchen.
Then check the crop. Upload the result into your actual delivery dashboard and look at the tile preview at the smallest size the platform shows. If the tool cannot deliver a square export, you will be cropping by hand or letting the platform crop for you, and platform auto-crop frequently cuts off the top of a stacked burger or the edge of a sushi set. Ask the tool for a 1:1 export at the largest size your dashboard accepts, plus a 16:9 or 4:5 version for your own website and social.
- Run the dark, glossy, and pale dish test on the same day, same light, same camera position.
- Compare the output side by side with the original at thumbnail size, not full screen.
- Confirm the tool exports 1:1, and check whether it also gives 4:5 and 16:9.
- Verify that ingredients, portion size, and garnish count are unchanged.
What to demand from an AI tool: accuracy, approval, and speed
The single most important requirement is that the tool improves light, background, and crop without inventing food. A tool that adds a second patty, extra cheese pull, or a garnish you do not serve creates a mismatch the guest notices on arrival, and in many markets that mismatch is a consumer-protection problem, not just a bad review. The output should be a better photograph of the same dish, not a different dish.
Second, keep a human approval step. Someone on your team who knows the menu should look at every image before it goes live, because no automated tool can confirm that the portion matches your current spec. Third, check retry speed: when you launch a seasonal item on a Friday, you need a usable tile within the hour, not a reshoot booked for next week.
Be clear about what no tool can promise. FoodPhoto states plainly that it cannot guarantee approval by any platform. Platform review rules, image bans, and moderation decisions sit with the platform, so always check the current upload guidance in your merchant dashboard.
Platform rules change the answer
The right tool depends on where the photo is going. Some platforms do not publish pixel specifications for listing images, so the reliable move is to open the upload screen in your merchant dashboard and read the requirements it shows you, then export to match. Do not trust a blog post, including this one, over the live upload screen.
Where a platform bans AI-generated images, the rule is simple: shoot and upload your own real photograph of your own dish to that platform, and do not route it through any generative process. A tool that enhances the light and crop of a real photo is a different thing from one that generates an image, but if you are unsure how a platform classifies your file, ask their merchant support before uploading.
For the channels you control, the calculus is easier. Your website menu, Instagram, Google Business Profile, a QR menu at the table, and printed menus all accept a well-lit real photo of your dish, and you can standardize the look across all of them.
A practical shooting setup that makes any tool work better
Most of the quality gap between delivery listings comes from the source photo, not the software. Shoot near a window with indirect daylight, never direct sun, and turn off overhead tungsten lights that mix color temperatures. Put the plate on a plain surface that contrasts with the food. Use a phone at eye level to the plate for angle shots, and brace it on a stack of menus or a box for overheads so the frame stays square to the table.
Tap to focus and expose on the brightest part of the food, then pull exposure down slightly; it is easier to lift shadows than to recover blown highlights on a white plate. Wipe the rim of the plate and remove stray crumbs, because cleanup tools cannot always tell a crumb from a texture. Shoot three frames per dish: a tight one, a slightly wider one with room for a square crop, and one at a second angle for social.
Batch your shoots by menu section so lighting stays consistent across the listing. A menu where every tile has the same light direction and background reads as more trustworthy than one with mixed styles.
- Shoot 3 frames per dish: tight, wider for crop safety, and a second angle.
- Keep the same background and light direction across the whole menu section.
- Expose for the brightest food area and let shadows sit slightly dark.
- Photograph new specials the day they launch so the tile is never a placeholder.
Where FoodPhoto fits
FoodPhoto takes a real photo of the restaurant's own dish and improves light, background, and crop for menus, delivery apps, and social, keeping the food as it is. Every photo comes as a kit of sizes, including a hero image, delivery-app sizes, Instagram formats, and a Google Business Profile version, which suits kitchens that need repeatable tiles without booking a new shoot for every special. It does not generate a different dish and cannot guarantee approval by any platform, so treat the platform's own upload screen as the final authority and use FoodPhoto for your own channels and for preparing real photos you then check against each platform's rules.
Checklist before you publish
- Photograph your three hardest dishes: one dark, one glossy, one pale.
- View every candidate output at thumbnail size before judging it.
- Confirm ingredient count, portion, and garnish are unchanged from the original.
- Export a 1:1 crop plus 4:5 and 16:9 versions for your own channels.
- Open each platform's live upload screen and match its stated requirements.
- Assign one person to approve every image before it goes live.
- Re-shoot seasonal items on launch day rather than reusing an old tile.
Questions
Can I use AI-enhanced photos on delivery apps?
It depends on the platform. Some accept real photographs that have been adjusted for light and crop, while others ban AI-generated images outright. Enhancement of a real photo is not the same as generating a new image, but check the platform's current merchant rules and upload screen, and contact their support if you are unsure how your file will be classified.
What size should delivery menu photos be?
Not every platform publishes pixel specifications, so the reliable answer is to check the upload screen in your merchant dashboard, which shows the current requirement for your listing. As a working default, export a square 1:1 image at the largest size the dashboard accepts, and keep a wider original so you can recrop if the platform changes its tile shape.
Why do my food photos look bad in the app but fine on my phone?
The app shrinks the image to a small tile, where low contrast and busy backgrounds disappear into mush. Retreat: shoot closer so the food fills most of the frame, use a plain background that contrasts with the dish, and check the result at thumbnail size before uploading rather than judging it full screen.
Do I need a professional photographer for delivery photos?
Not necessarily. Consistent indirect daylight, a plain surface, a stable phone position, and a tight frame get most restaurants to a usable standard. What a photographer adds is control over light direction and consistency across a large menu, which matters more as your listing grows past a few dozen items.