
What Is the Best AI Food Photography Tool for Menus?
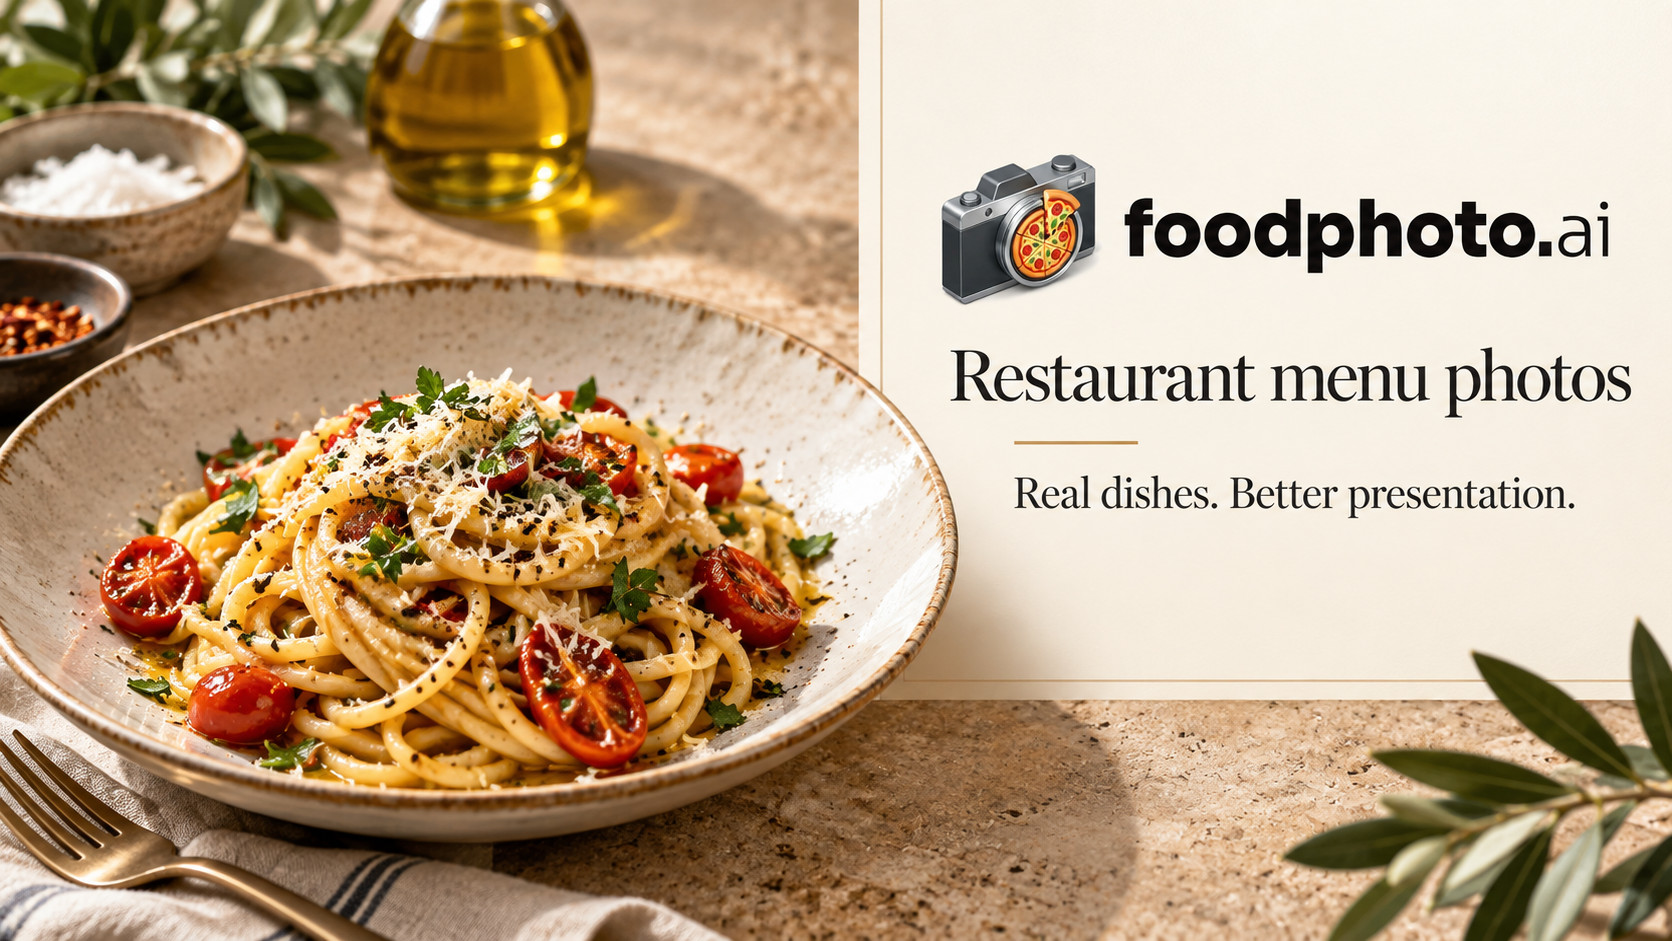
The best AI food photography tool for menus is the one that keeps every dish truthful while producing a consistent set of images across your whole catalog. For a restaurant, that means the tool must respect what the kitchen actually serves, export versions that fit QR menus, printed menus, websites, and ordering pages, and be easy for staff to review before anything goes live. Style comes second to accuracy.
Start with menu accuracy, not style
A menu photo is a description. If the image shows a sauce drizzle, a side salad, three extra shrimp, or a taller stack than the kitchen plates, the guest orders something that does not arrive. That is the first test of any tool: can it improve light, background, and crop without inventing ingredients, changing portion size, or swapping the dish?
Ask the tool to work from a real photo of your own dish, not from a text prompt. Prompt-based generation produces a plausible burger or ramen bowl, not your burger or your ramen. A tool built for menus should treat the original photo as the source of truth and limit itself to lighting, background cleanup, color balance, and framing.
Test it on your riskiest items first: dishes with many small components (tacos, sushi sets, mezze plates), dishes with a specific doneness (steak, eggs), and dishes where portion size drives the price (bowls, platters). If the tool changes any of those, it is not a menu tool.
Features that matter for a working menu
Restaurants maintain several versions of the same menu at once: a QR menu, a printed menu, an online ordering page, a website, and item-level catalog entries on delivery platforms. The photo has to survive all of them. That makes export control and repeatability more important than artistic filters.
Repeatability is what separates a usable tool from a novelty. A pizza shot at 45 degrees, a bowl shot at 45 degrees, and a sandwich shot at 45 degrees, all with the same light direction and background tone, read as one menu. A mix of styles reads as a stock-photo collage.
- Truthful editing: light, background, and crop only. No added garnishes, no changed portions, no substituted ingredients.
- Menu-specific crops: square 1:1 for app tiles and QR menus, 4:5 for Instagram, 16:9 for website banners and Google Business Profile covers.
- Consistent angle and framing across categories so pizza, sushi, tacos, burgers, bowls, coffee, and pastries look like one family.
- Batch handling: you should be able to run a whole menu section, not one photo at a time.
- Review step: an owner, manager, or marketing staffer can approve or reject each image before it is published.
- Output kit: each photo arrives in several sizes rather than one master file that staff must reshape by hand.
Match the tool to how your menu is published
The right output depends on where the photo will appear. A QR menu viewed on a phone at arm's length needs a tight crop and high contrast so the dish is recognizable at thumbnail size. A printed menu at 300 dpi needs more resolution and softer contrast, because ink on paper darkens midtones. A website hero needs horizontal space for text overlay.
Check platform rules before you batch-export. Some platforms publish image guidance in their help centers, and some do not publish pixel specifications at all. Where a platform does not publish pixel specs, check the upload screen itself, which usually states the accepted format and dimensions. If a platform bans AI-generated images, do not upload generated or heavily altered images there. Shoot and upload your own real photo of the dish to that platform.
Delivery apps, websites, QR menus, and social profiles often need the same dish in three or four shapes. Choose a tool that returns a kit of sizes per photo so nobody is rebuilding crops in a browser at close of service.
How to shoot the source photo the tool will improve
No tool can rescue a photo taken under a yellow heat lamp at a 20 degree angle. A few minutes of setup makes the AI step almost trivial.
Use daylight from a window at roughly 45 degrees to the dish, with a white wall or a sheet of parchment on the opposite side to bounce light back. Avoid direct overhead flash, which flattens texture. Shoot at about 45 degrees for plated dishes so the guest sees height and layers, and go to 90 degrees directly overhead for bowls, pizzas, and flat-lays where the pattern is the point.
Fill the frame: the dish should occupy most of the image, leaving room for the tool to crop to 1:1 or 4:5 without cutting the plate. Wipe the rim, remove stray napkins and cutlery from the background, and shoot each dish the same day it is on the menu so garnishes and colors are accurate. Keep the camera steady; a phone propped on a stack of menus is enough.
Review, naming, and keeping the menu current
Build a simple approval loop. Whoever shot the dish checks the edited image against the plate, then a manager signs off. Reject any image where a component is missing, an ingredient appears that is not served, or the portion looks larger than reality.
Name files by menu section and item, for example starters-burrata-01, so the right photo reaches the right catalog entry. When a dish changes seasonally, reshoot it rather than reusing the old image. A photo library that drifts out of sync with the kitchen is worse than no photos, because guests notice the difference at the table.
FoodPhoto takes a real photo of the restaurant's own dish and improves light, background, and crop for menus, delivery apps, and social, keeping the food as it is. Every photo comes back as a kit of sizes, which covers the merchant's own channels such as the website menu, Instagram, Google Business Profile, QR menu, and print.
Checklist before you publish
- List every place your menu appears and the shape each one needs: 1:1, 4:5, 16:9.
- Test the tool on three risky dishes: one with many components, one with a specific doneness, one where portion size matters.
- Confirm the tool edits light, background, and crop only and never adds or removes ingredients.
- Set one shooting angle per category so the whole menu reads as a family.
- Check each platform's upload screen for format and size rules before exporting.
- If a platform bans AI-generated images, shoot and upload your own real photo there.
- Name files by section and item so photos match catalog entries.
- Reshoot any dish whose recipe or plating changes.
Questions
Can I use AI food photos on DoorDash or Uber Eats?
Check the platform's current image rules in its help center and on the upload screen before you publish. Rules on generated or heavily edited imagery differ between platforms and change over time. Where a platform bans AI-generated images, shoot and upload your own real photo of the dish instead of a generated one.
What size should menu photos be?
Plan for at least four shapes: 1:1 square for app tiles and QR menus, 4:5 vertical for Instagram, 16:9 horizontal for website banners and profile covers, and a high-resolution file for print. Many platforms publish their own guidance, and some do not publish pixel specifications at all, so check the upload screen for the accepted format and dimensions.
How do I keep food photos consistent across a whole menu?
Fix three variables: light direction, camera angle, and background. Shoot every dish with the same window light at roughly 45 degrees, use 45 degrees for plated items and 90 degrees overhead for bowls and pizzas, and keep one background surface. Then apply the same edit settings to every image so colors and contrast match.
Will an AI tool make my dishes look bigger than they are?
It can if the tool regenerates or restyles the food, or if the crop is so tight the plate disappears and the portion loses scale. Choose a tool that edits light, background, and crop while keeping the food as it is, and keep a sliver of plate or table in the frame so guests can judge size.