
Restaurant Photography in São Paulo: A Practical Guide for Delivery and Menus
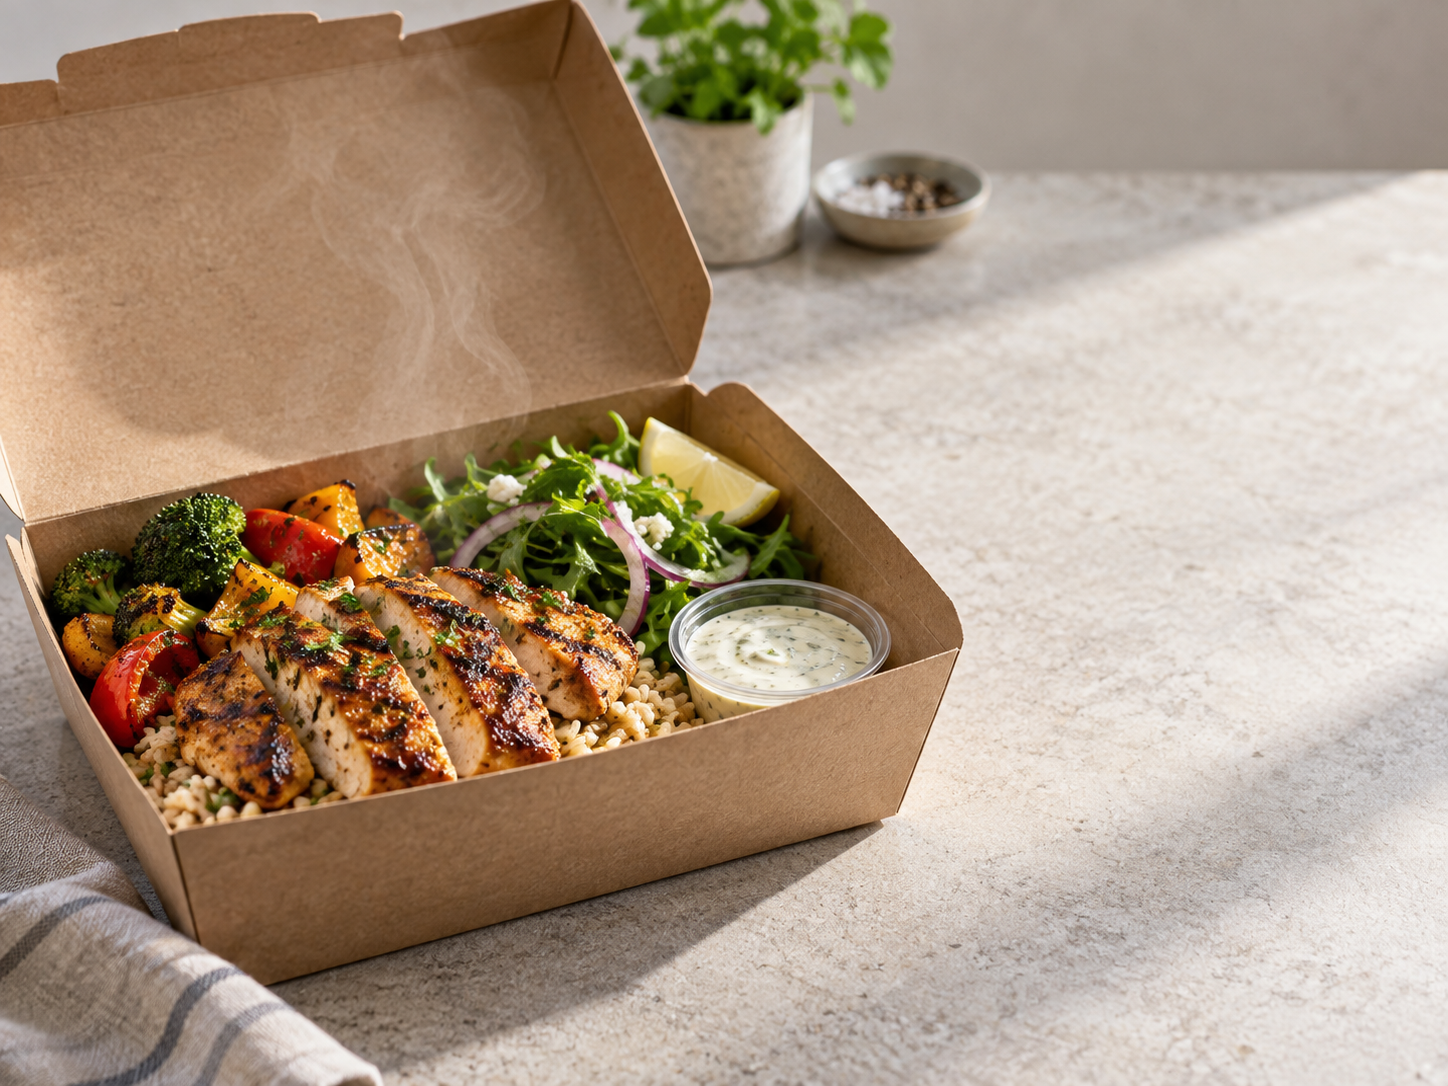
São Paulo sits almost on the Tropic of Capricorn, so the light you get through a window changes more across the year than cooks from higher latitudes expect. This guide covers where your photos end up, how to shoot them with the daylight you actually have, and what to check before you upload.
Where São Paulo restaurant photos actually go
Most restaurants in São Paulo need the same dish shot for several destinations, and each one rewards a different crop. Delivery apps show a small square thumbnail on a phone, so the food has to fill the frame and read at a glance. Google Business Profile and your own website show wider images where the plate, the table and a bit of the room can breathe. Printed menus and QR menus need enough resolution to stay sharp on paper or a large screen.
The practical answer is to shoot once, properly, and crop per destination rather than shooting separately for each. Frame slightly wider than the final image so you have room to make a 1:1 square for the app, a 16:9 or 4:3 landscape for the website and Google, and a vertical 4:5 or 9:16 for social. Keep the dish centered enough that a square crop does not cut off the edges of the plate.
- Square 1:1 for delivery app thumbnails and grid views
- Landscape 16:9 or 4:3 for website headers and Google Business Profile
- Vertical 4:5 or 9:16 for social posts and stories
- High-resolution original kept for print and QR menus
Delivery platforms used in Brazil
The delivery platforms listed for Brazil are iFood, Rappi and 99Food. This site publishes photo spec pages for iFood (/delivery-photo-specs/ifood/brazil/) and Rappi (/delivery-photo-specs/rappi/brazil/), which cover the image rules those two platforms apply in Brazil. Where a platform does not publish pixel specs, this site says so, and the right move is to check the upload screen in the merchant app or portal, which shows the accepted format and any size warning before you confirm.
Whatever the platform, the same three things cause most rejections or bad-looking listings: a photo that is too small, a crop that cuts the dish, and a color cast from shooting under mixed lighting. Shoot at the largest size your phone or camera allows, keep the dish inside a generous margin, and avoid mixing daylight with overhead tungsten or fluorescent light in the same frame.
A seasonal window-light schedule for São Paulo
São Paulo's daylight swings a long way between solstices. Around the December solstice the city gets about 13 h 27 min of daylight and the noon sun stands about 90 degrees above the horizon, almost directly overhead. Around the June solstice it gets about 10 h 33 min and the noon sun is about 43 degrees above the horizon, a much lower, more slanted light.
That difference changes which window works and when. In December the sun is so high at midday that a window facing the street receives little direct sun and mostly bright skylight, which is soft and even and good for shooting all late morning. In June the low sun pushes deep into windows on the sun-facing side, so direct beams arrive at a shallow angle and you get strong contrast and long shadows across the table.
A workable routine: shoot between about 9 and 11 in the morning or 3 and 5 in the afternoon, when the sun is off the vertical and the light has some direction without being harsh. Place the dish 50 to 80 cm from the window, just inside the direct beam, so it is lit by the bright edge of the light rather than full sun. Put a white card, a napkin or a sheet of baking paper on the opposite side to lift the shadow side. If the light is still too hard, hang a thin white cloth over the window to diffuse it.
- December and January: high sun, soft window light most of the day, shoot mid-morning
- June and July: low sun, strong beams, shoot later in the morning and use a diffuser
- March, April, September, October: moderate angles, the easiest months for window light
- Overcast days: even light all day, good for reflective dishes and glossy sauces
Shooting the food people order in São Paulo
Brazilian cooking gives you a useful range of textures to practice on. Feijoada is dark, dense and low-contrast, so it needs a light background and a low camera angle around 20 to 30 degrees above the table to show the layers of beans and meat. Pão de queijo is pale gold on a pale plate, which disappears without contrast: use a darker surface, shoot from about 45 degrees, and catch the light on the crust. Coxinha and other fried snacks look best with a hard-ish side light that shows the crumb texture, so shoot them closer to the window and further from the diffuser.
Italian and Japanese dishes are also widely available in the city, and they follow the same rule: match the light to the surface. A glossy sushi piece wants a soft, broad light source so the highlights are long and clean rather than a single hot spot. A pizza wants a slightly higher angle, around 60 to 70 degrees, so the whole round reads and the toppings are visible.
Keep the plate as served. Do not rearrange the dish into something the kitchen would not send out, because the photo has to match what arrives at the customer's door.
Camera settings and phone habits that hold up
Use the main rear camera, not the front one, and turn off any beauty or portrait mode that blurs the background. Lock focus and exposure by tapping the dish, then pull the exposure slider down slightly: phone cameras tend to brighten food until pale dishes lose detail. Clean the lens before every session, since kitchen air leaves a film that softens everything.
Shoot at eye level with the table for stacked dishes and burgers, around 45 degrees for most plates, and straight down at 90 degrees for flat dishes, sharing boards and full tables. Take several frames of each dish at slightly different exposures so you have a clean one to work with. Keep a small notebook or note on your phone of which dish is which, because a menu shoot of twenty items is easy to muddle.
Your own channels and keeping photos accurate
For your website, Instagram, Google Business Profile, QR menu and printed menu, you control the crop and the style, so use the same look across all of them: same surface, same light direction, same angle per dish type. Consistency is what makes a menu look deliberate rather than assembled from different days. Update the photos when a dish changes, since a photo of a plate that no longer matches the kitchen is worse than no photo.
FoodPhoto takes a real photo of your own dish and improves the light, background and crop for menus, delivery apps and social, keeping the food as it is, and every photo comes as a kit of sizes. It cannot guarantee approval by any platform, so always upload and check the result in each app yourself.
Checklist before you publish
- Shoot each dish once, framed wide enough for a 1:1 crop and a 16:9 crop
- Place the dish 50 to 80 cm from the window, just inside the direct beam
- Use a white card on the shadow side and a thin cloth to diffuse hard sun
- Lock focus and exposure on the dish, then pull exposure down slightly
- Clean the phone lens before every session
- Shoot at 45 degrees for most plates, 90 degrees for flat dishes, table level for stacked items
- Check the upload screen in the merchant app for the accepted size before confirming
- Reshoot any dish whose recipe or plating has changed
Questions
What size should restaurant photos be for iFood and Rappi?
Neither platform's exact pixel requirements are published on this site for Brazil beyond the spec pages for iFood and Rappi, so the reliable answer is to check the upload screen in the merchant app or portal, which shows the accepted format and flags images that are too small. As a habit, shoot at the largest size your phone allows and keep the dish well inside the frame so a square crop does not cut it.
What time of day is best for photographing food in São Paulo?
Mid-morning, roughly 9 to 11, and mid-afternoon, roughly 3 to 5, give the most usable window light for most of the year. Around the December solstice the noon sun is almost directly overhead at about 90 degrees, so midday light through a window is soft and bright. Around the June solstice the noon sun is only about 43 degrees high, so direct beams reach deeper into the room and you need a diffuser or a later start.
Do I need a professional photographer for a delivery menu?
Not necessarily. A phone on a tripod or propped steady, next to a window, with a white card for fill and a clean lens, produces images that read well in delivery apps and on your website. What matters more than the camera is consistency: the same surface, angle and light direction for every dish, and an accurate plate that matches what the kitchen sends out.
How do I stop fried food and glossy dishes from looking greasy in photos?
Use softer, broader light and move the dish slightly away from the direct beam. Hard light creates a single hot highlight on oil and sauce that reads as grease. Diffusing the window with a thin white cloth, or shooting on an overcast day, spreads the highlight and shows texture instead of glare.