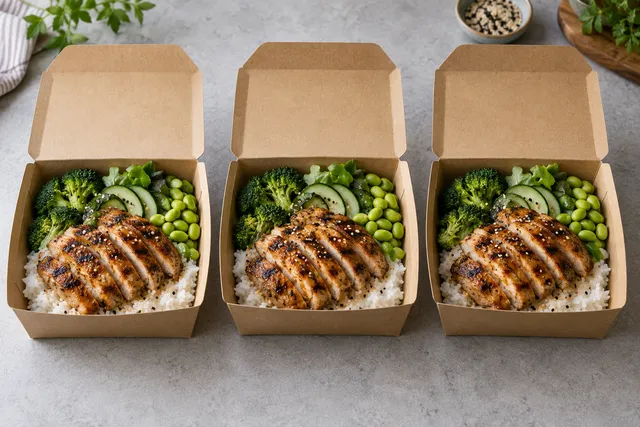
You do not need a photographer to get clean, appetizing DoorDash photos — you need a repeatable setup and a short process you can run in a real kitchen. This guide shows exactly how to take better food photos for DoorDash using a phone, one light source, and a consistent shot list, so your thumbnails read clearly and your menu looks like one brand. Listings with strong, consistent photos win the scroll; blurry or dark snapshots get skipped.
The whole system comes down to four steps: build a station, shoot the menu like an ops task, fix the three common problems, then export and publish in priority order.
Step 1: Build your DoorDash photo station
Keep it simple and keep it standing so you can shoot any day in fifteen minutes:
- One surface: white, light wood, or neutral stone.
- One light direction: side light from a window or a single soft LED.
- One reflector: a white foam board opposite the light.
If the station stays set up, updating photos becomes a quick task instead of a project. Position the table a couple of feet from the window, with the light coming across the dish from the side rather than behind or directly overhead. For the reasoning behind side light, see our food photo lighting fundamentals.
Step 2: Shoot the menu like an ops task
Run it like prep, not like an art project:
- Shoot top sellers first — they get the most views, so they move conversion the most.
- Shoot in batches — all bowls, then all burgers, then all drinks — so framing and light stay consistent.
- Keep framing consistent so the menu looks professional and unified.
Take 8–12 frames per dish and pick one winner. A default shot list of a 45° angle (your menu default), an overhead for bowls and pizzas, and a tight texture shot covers almost everything.
Frame for the DoorDash thumbnail
DoorDash uses landscape photos but crops the center to a square for thumbnails. Compose with the dish centered and the hero ingredient in the middle 60% of the frame so garnishes and sides at the edges do not get cut. Run a quick thumbnail test: shrink the photo until it is tiny and confirm you can still tell what the dish is in one second. The thumbnail-first approach is the single highest-ROI habit, and we go deeper on it in delivery app photo optimization.
Step 3: Fix the three most common problems
Almost every weak DoorDash photo is one of these, and all three are quick fixes:
| Problem | Cause | Fix |
|---|---|---|
| Yellow cast | Mixed overhead kitchen lights | Turn them off; use one clean light source (window) |
| Dark photo | Not enough light on the dish | Move closer to the window; add the foam-board reflector |
| Messy background | Clutter in frame | Remove everything that is not the dish; wipe plate edges |
The key takeaway: fix lighting and clutter at capture time, because a clean input is what makes the enhanced result look professional.
Step 4: Enhance, export, and publish
Once you have sharp, clean base photos, enhance them for consistency rather than drama — brighter even lighting, accurate color, and a clean background across the whole menu. An honest enhancement tool corrects lighting and background clutter on your real dish without inventing food, which keeps you accurate and compliant. You can run a single photo through the FoodPhoto.ai to see the before/after first.
Then export DoorDash-safe crops (and the other surfaces you use) and publish in impact order: top sellers, high-margin items, then specials. For the exact sizes, aspect ratios, and content rules across every major platform, use our complete guide to delivery app AI photo requirements.
A quick per-category cheat sheet
Different dishes fail in different ways on DoorDash. Use these defaults:
- Burgers and stacked sandwiches: 45° angle, tight crop to show height, diffuse light so cheese and sauce do not glare.
- Bowls (rice, poke, salads): overhead or steep 45°, clean rims, emphasize color contrast so ingredients read.
- Pizza: overhead for a whole pie, 45° for a slice; pull one slice slightly to show layers; let steam settle so the lens stays clear.
- Fried food: blot excess oil, use side light for crisp texture, keep the background simple — show crispness, not grease.
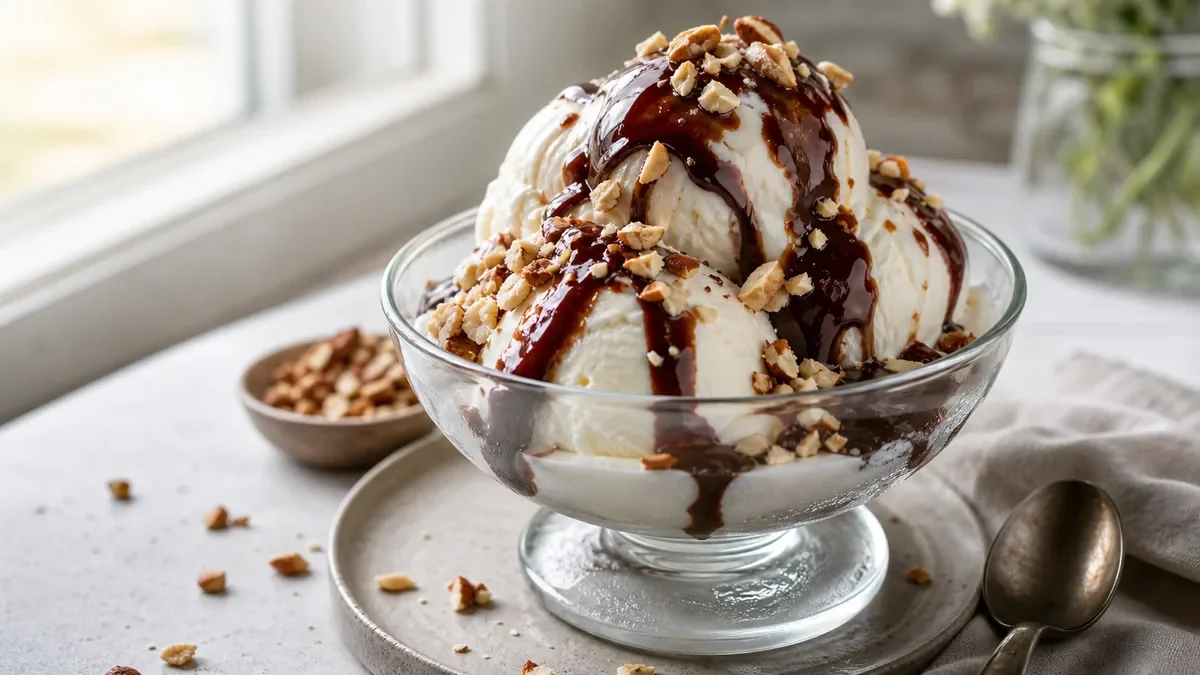
- Drinks and desserts: straight-on for drinks with a clean glass; close texture for desserts with clean plate edges. These often get added to an order when they look good.
Keep the framing consistent within each category and your whole menu reads as one professional brand instead of a random collection of days.
What clean inputs let enhancement do
DoorDash thumbnails reward clarity, and clarity starts at capture. When your base photo is sharp, well lit, and uncluttered, honest enhancement can take it the rest of the way — evening out exposure, correcting a slight color cast, cleaning the background, and producing the DoorDash-safe crop — all without changing the food. When the input is blurry or chaotic, no tool can rescue it, which is why the station and shot list above matter more than any edit. Get the input right, then let enhancement standardize the look across every item.
Keep it honest
DoorDash and every other platform care about one thing above all: the photo must fairly represent the dish the customer receives. Use enhancement to improve lighting, color, and cleanup — never to change the portion or add ingredients you do not serve. A photo that over-promises wins the first click and loses the customer at the door, which costs you refunds and reviews. A good gut check is to show the enhanced photo to someone on the line and ask whether it matches what you serve today.
Which photos to enhance vs. reshoot
Not every weak photo needs a reshoot, and not every reshoot is worth your time. Use this simple rule so you spend effort where it counts:
| Photo condition | Action | Why |
|---|---|---|
| Sharp, well-framed, but dim or yellow | Enhance | Lighting and color are exactly what enhancement fixes |
| Good composition, cluttered background | Enhance | Background cleanup is a fast, honest fix |
| Right dish, slightly off crop for the tile | Enhance | Re-cropping from a good master beats a reshoot |
| Blurry or soft focus | Reshoot | No tool can add detail that isn’t there |
| Badly framed (subject too small, cut off) | Reshoot | Composition has to be fixed at capture |
| Doesn’t match what you serve today | Reshoot | Accuracy comes first — an honest photo or none |
The pattern: enhancement standardizes light, color, background, and crop on a photo that’s already sharp and honest. It cannot rescue blur or a bad composition, which is why the station and shot list in Steps 1–2 carry more weight than any edit. When in doubt, fix it at capture.
Build a DoorDash-ready master, then export
The fastest operators don’t shoot per-platform — they shoot once and export many. For each dish, keep one clean master (your best, brightest, sharpest frame) and pull crops from it: a 16:9 landscape export for DoorDash, a 5:4 to 6:4 export for Uber Eats, and a vertical for social. Keep the hero ingredient centered so it survives thumbnail previews without treating the square preview as the upload spec. A predictable file naming convention keeps masters and exports from getting mixed up, and the weekly photo sprint turns the whole loop into a 60-minute routine.
Make it a habit, not a one-off
The reason most restaurants slip back to bad photos is that they treat it as a project instead of a routine. Put a short weekly or monthly pass on the calendar, keep the station standing, and refresh your top sellers regularly. If you want the full step-by-step version of the shoot itself, follow our restaurant menu photo SOP.
Get the station, the shot list, and the honest enhancement in place and your DoorDash listings will look clean, consistent, and orderable. When you are ready to polish a batch, start with a $5 pack of 10 photos and check pricing to keep your whole menu current.
Need consistent menu photos without a full reshoot? Start with real dish photos and improve lighting, background, and platform-ready crops in the FoodPhoto.ai studio.
FAQ
How do I take better food photos for DoorDash without a photographer?
Build a simple standing station — one neutral surface, side light from a window, and a white foam-board reflector — then shoot a consistent set of angles for every dish, fill the frame, and keep the background clean. Enhance for lighting and color, export DoorDash-safe crops, and publish your top sellers first. The repeatable setup matters more than gear.
What is the best angle for DoorDash photos?
A 45-degree angle is the best default for most plated items and stacked dishes like burgers and sandwiches because it shows height and texture. Use overhead for bowls, salads, and pizzas. DoorDash crops the center for thumbnails, so keep the hero ingredient in the middle 60 percent of the frame.
Why do my DoorDash photos look yellow or dark?
Yellow usually comes from mixed overhead kitchen lights — turn them off and use one clean light source, ideally a window from the side. Dark photos mean not enough light reaches the dish; move closer to the window and add a white foam board opposite it to bounce light back and lift shadows.
Do I have to reshoot photos or can I enhance the ones I have?
Enhance when a photo is sharp and well framed but needs better lighting, cleaner background, or a platform-safe crop. Reshoot when it is blurry, badly framed, or does not match what you serve. Enhancement fixes lighting and clutter; it cannot fix blur or a bad composition.
Related guides
- DoorDash photo checklist for busy kitchens
- Phone food photography guide for owners
- DoorDash photo requirements
Ready to upgrade your menu photos? Open the FoodPhoto.ai studio or see plans and pricing.
Confirm DoorDash’s current image specs in the delivery app photo size & requirements hub.