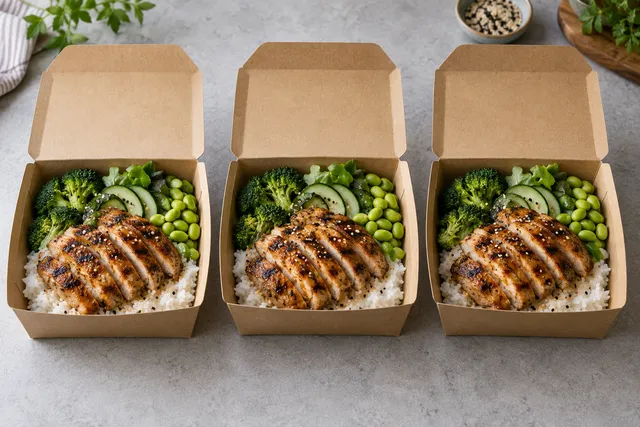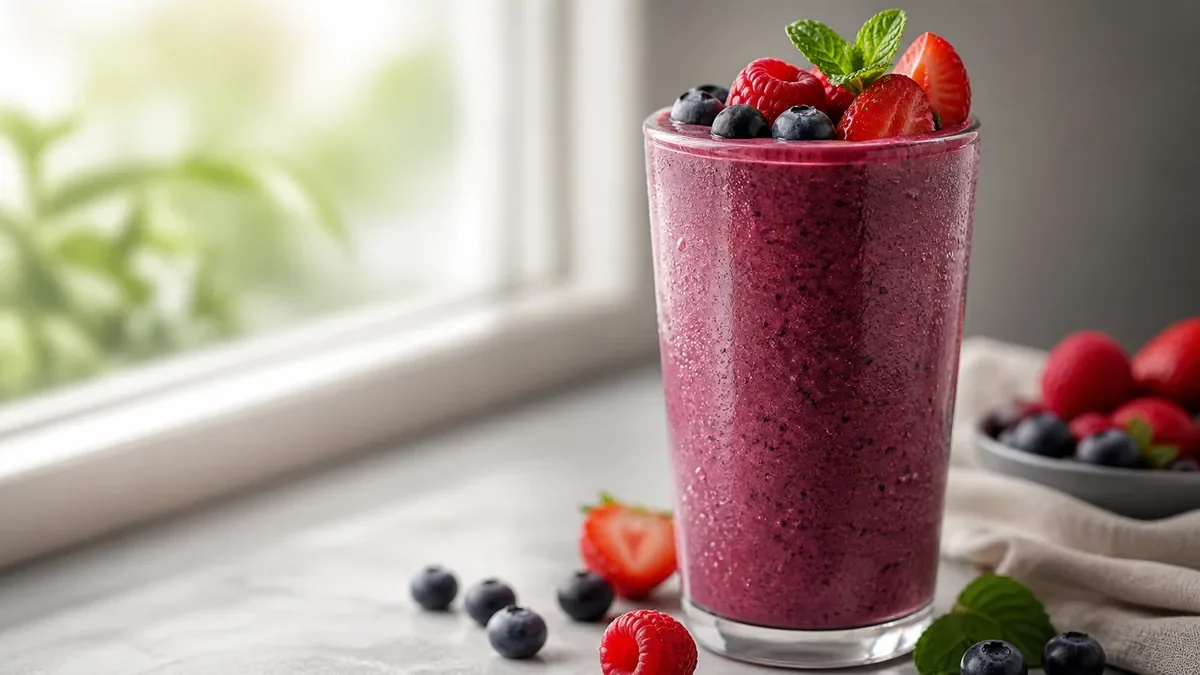
You do not need a studio or a day off to get professional DoorDash food photos. You need a tight checklist you can run between tickets: bright, simple, centered shots of your best sellers, framed so the app's crop never cuts off the food, and a fast enhancement step that makes everything look like one brand. This guide is that checklist, built for busy kitchens that cannot stop service for a photoshoot.
The principle behind all of it: bright, simple, centered, and crop-safe wins the DoorDash scroll. Everything below makes that repeatable.
Start with the dishes that pay you
Do not photograph the whole menu at once. Upgrade your top three to five items first: the highest-selling and highest-margin dishes. Those are the photos that actually move orders, and getting them right delivers the fastest return. Work through the rest of the menu later, on a schedule.
The shot checklist (about 10 minutes per dish)
For each hero dish, capture a small set of frames so you have options:
- 45-degree default angle. Shows height, layers, and texture for most dishes.
- Overhead (flat lay) for bowls, salads, pizzas, and platters where the top reads best.
- Close texture shot to catch crisp edges, glossy sauce, melt, or steam.
Plate a fresh, full portion the way a customer receives it, wipe the plate rim, add the final garnish last, and shoot. Pick the strongest frame and move on.
The framing checklist (prevents bad crops)
DoorDash displays thumbnails and crops from the center, so frame defensively:
- Plate fully visible with margin on all sides.
- Hero ingredient centered so it survives a square crop.
- Background clean and uncluttered, no kitchen mess or hands in frame.
- No key toppings near the edges, or the crop removes them.
If you shoot too tight, the thumbnail loses the bun, the rim, or the garnish. A little breathing room is free insurance. For the exact size and crop rules across platforms, see our DoorDash + Uber Eats photo requirements guide.
The lighting checklist
Delivery photos are viewed on phones in bright settings, so they need to be bright and true to color.
- Shoot near a window or in even, diffused light when possible.
- Avoid dim photos, heavy shadows, and yellow casts.
- Keep color accurate so the dish looks fresh, not artificial.
Kitchens rarely have perfect light, which is the gap a quick enhancement step closes. Upload your real photo to FoodPhoto.ai and it corrects lighting, neutralizes color, adds natural gloss, and cleans the background without changing the food. A fast lunch-rush snapshot becomes a clean, professional listing image. Watch it work in the a $5 pack of 10 photos.
The upload checklist
Before each photo goes live:
- Confirm it passes the thumbnail test. Zoom out to tile size; can you tell what it is in one second?
- Keep the style consistent across the menu (same background, angle, and light).
- Replace old photos as you go so you never mix a 2019 look with a 2026 look.
Mixing styles makes a menu feel inconsistent and dated. A uniform look reads as a real, professional brand.
A simple weekly process
The kitchens with great DoorDash menus are not shooting more; they run a small weekly rhythm:
| Cadence | What to do |
|---|---|
| Weekly | Reshoot one or two items, capture any new special, enhance, upload |
| Monthly | Refresh your top sellers and audit for dated photos |
| Quarterly | Full menu pass to confirm every item is clean and consistent |
This same rhythm feeds your other channels too. The top-restaurant photo system shows how high-volume operators turn it into a growth engine across delivery, web, and social.
Common DoorDash photo mistakes (and the fix)
Most underperforming listings fail in the same predictable ways. Watch for these:
| Mistake | Why it hurts | Fix |
|---|---|---|
| Dim, yellow photos | Looks stale and unappetizing in the tile | Brighten and neutralize color in enhancement |
| Tight crops | App cuts off the bun or garnish | Leave margin; center the hero |
| Mixed styles | Menu looks like a scrapbook, not a brand | Lock one angle, background, and light |
| Busy backgrounds | Distracts from the food | Use a clean, simple surface |
| Missing top sellers | Best dishes have no photo to sell them | Photograph highest-margin items first |
| Oversized photos | Soft or slow to load | Export sensible, platform-spec sizes |
Fixing even two or three of these usually lifts how appetizing a listing looks immediately, because the tile finally reads clearly at a glance.
Why photos move DoorDash orders
On DoorDash, the photo is the first and sometimes only thing a hungry customer evaluates before tapping. A clear, bright, accurate image does three jobs at once: it tells the customer what they are getting, it signals that the restaurant is professional and active, and it justifies the price. Items with strong photos tend to win the comparison against items with weak or missing ones, which is why upgrading your top sellers first delivers the fastest return. The photo is doing the selling whether you optimized it or not, so it pays to make it intentional.
Keep it honest
A photo that oversells the portion or the toppings leads to refund requests and bad ratings, both of which hurt your standing in the app. Enhance the real dish; never fabricate one. Accurate, appetizing, consistent photos are what build trust and repeat orders.
How fast can you upgrade a whole menu?
Faster than most owners expect. Because the system works dish by dish, you are never blocked waiting on a full production. A realistic pace for a busy kitchen:
- Day one: shoot and enhance your top five sellers, upload them.
- Each following week: add five to ten more items during a short sprint.
- Within a month: the entire menu has clean, consistent, current photos.
The key is to start with the items that earn the most and never let perfect be the enemy of done. A good photo of every dish beats a perfect photo of a few.
Run the shot, framing, lighting, and upload checklists on your top sellers first, then work through the menu a few dishes a week. When you want a fast, consistent way to clean up and export DoorDash photos, see our simple credit-based pricing and upgrade your listing in an afternoon.
FAQ
What dishes should get DoorDash photos first?
Start with top sellers, high-margin items, and dishes with no image. These photos have the highest chance of improving conversion quickly.
How should DoorDash food photos be framed?
Keep the plate visible, center the hero ingredient, leave margin for square crops, and avoid placing key toppings near the edge.
What are common DoorDash photo mistakes?
Dim yellow light, tight crops, mixed styles, busy backgrounds, missing top sellers, and oversized or poorly exported images.
How fast can a restaurant upgrade DoorDash photos?
A busy kitchen can refresh the top five sellers on day one, then add five to ten more items each week until the full menu is current.
Related guides
- Better DoorDash photos without a photographer
- Delivery app photo QA checklist
- DoorDash photo requirements
Ready to upgrade your menu photos? Open the FoodPhoto.ai studio or see plans and pricing.
Double-check DoorDash’s current upload rules in the delivery app photo size & requirements hub.