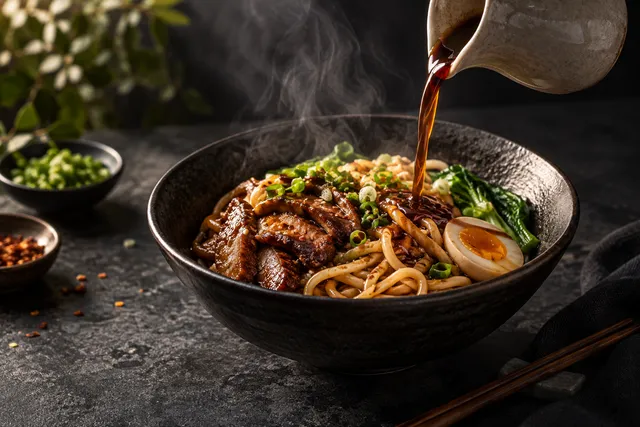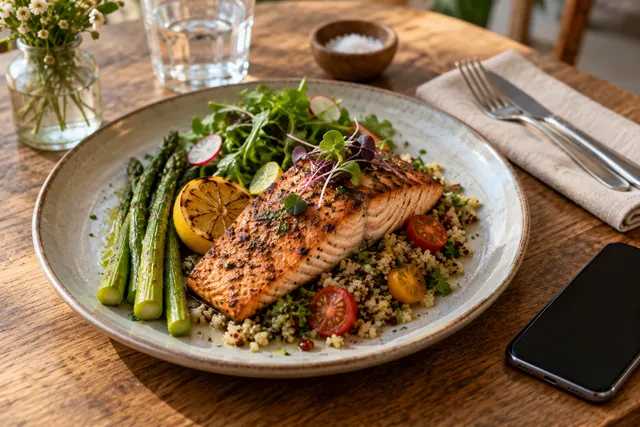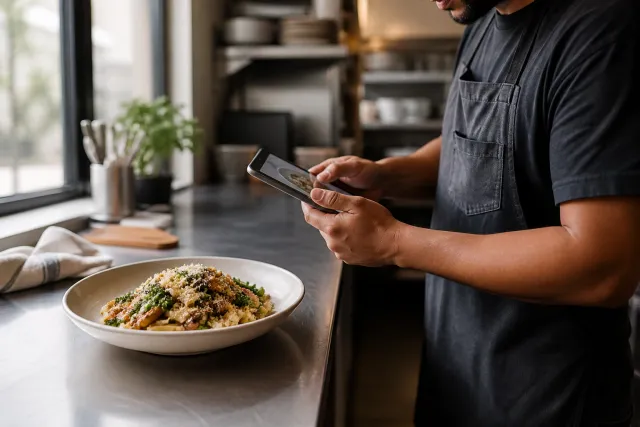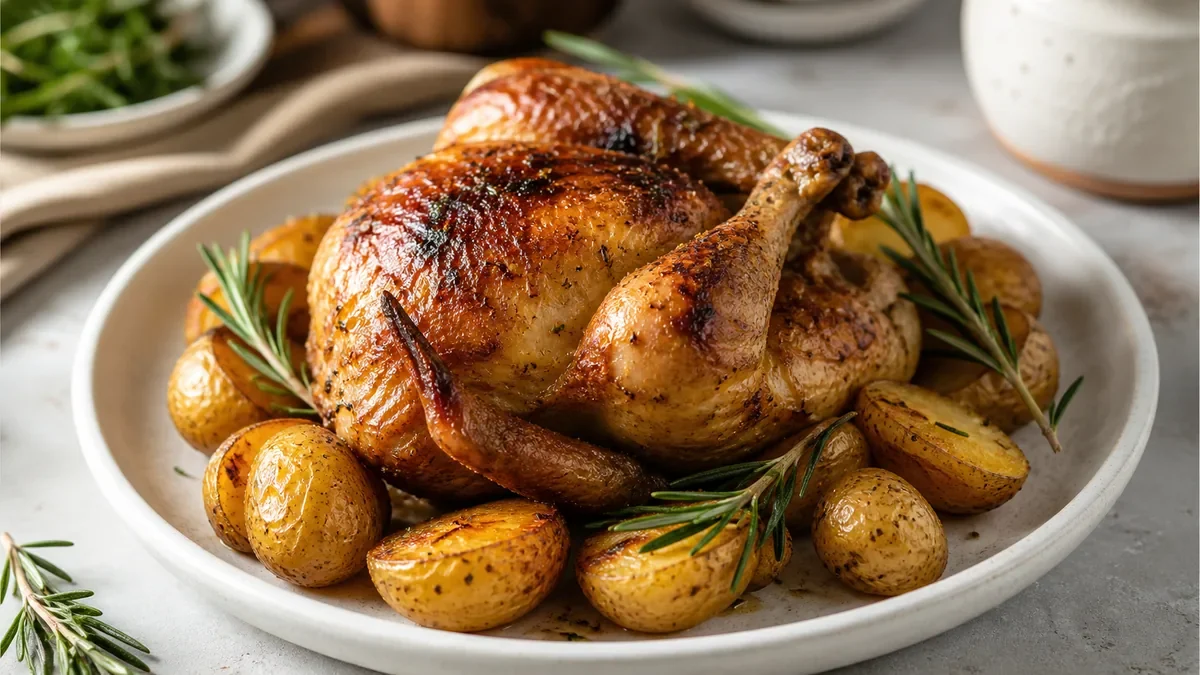
Seasonal menu photography is a launch process, not a single photo shoot. Approve the dishes first, capture real reference photos with a phone or camera, improve light and consistency without changing what is served, export the correct versions, update every customer-facing channel, and schedule a final accuracy check before launch. After the offer ends, retire the images so customers do not see unavailable dishes.
The short answer
A reliable seasonal menu photography checklist has eight stages:
- Confirm the dish, ingredients, portion, garnish, price, and availability.
- Set a launch deadline and assign one owner for the image workflow.
- Capture clear reference photos of every seasonal item.
- Enhance light, background, crop, and consistency while keeping the food honest.
- Create channel-ready exports for delivery apps, Google, your website, and social.
- Review every image against the approved dish and current menu information.
- Publish, then check the live customer view on each important channel.
- Retire or replace the assets when the seasonal offer ends.
This approach helps operators avoid the most common launch failures: missing images, outdated offers, inconsistent crops, inaccurate garnishes, and photos that look attractive but do not match the delivered dish.
1. Start with dish approval, not photography
The photo process should begin only after the kitchen and marketing teams agree on what is actually being sold. Seasonal dishes often change during testing. A garnish may be removed, a side may be replaced, or a portion may be adjusted before launch. Photographing too early creates avoidable rework.
Create a simple approved-dish record for each item. Include:
- Final dish name and short customer-facing description
- Ingredients that must be visible
- Optional ingredients or substitutions
- Portion size and serving vessel
- Garnish, sauce, topping, and side details
- Final price and availability dates
- Dine-in, pickup, delivery, or channel restrictions
- The person responsible for final approval
Pay particular attention to claims. If the menu says a bowl includes toasted seeds, extra sauce, fresh herbs, or a particular protein, the image should not contradict that description. If the item varies by location or day, use an image that remains representative and explain meaningful variation in the menu copy.
For multi-location operations, decide whether every restaurant will use the same image. A shared asset can support consistency, but only when the actual dish, portion, and presentation are sufficiently similar. Otherwise, create a location-specific review step.
2. Build a deadline-driven launch plan
Work backward from the date customers should see the seasonal offer. The publishing date is not the same as the photography date. You need time for corrections, exports, approvals, and platform review.
A practical schedule might look like this:
| Timing | Owner | Deliverable |
|---|---|---|
| 10–14 days before launch | Menu or culinary lead | Approved dish list and presentation notes |
| 7–10 days before launch | Store or content lead | Reference photos captured and labeled |
| 5–7 days before launch | Marketing or operator | Enhanced images reviewed |
| 3–5 days before launch | Content owner | Channel-specific exports prepared |
| 1–2 days before launch | Manager | Menu, image, price, and availability QA |
| Launch day | Assigned publisher | Channels updated and live views checked |
| End of offer | Marketing or manager | Expired assets removed or archived |
The exact timing depends on your team and platforms. The important principle is to leave a correction window. If a seasonal image is still awaiting approval on launch morning, the process is already too late.
Maintain one shared folder or workspace with a clear naming convention. A useful filename can include the item, location, season, version, and date, such as summer-peach-salad-berlin-v2-2026-07.jpg. Keep the approved source photo and final export together so the team can trace what changed.
For a recurring rhythm, connect this launch plan to a restaurant photo refresh calendar and use a weekly restaurant photo sprint to clear small batches before they become urgent.
3. Capture useful phone reference photos
You do not need a studio to create a strong source image. You do need a repeatable capture setup. The purpose of the reference photo is to show the real dish clearly enough for review and enhancement.
Use the following capture routine:
- Clean the phone lens before shooting.
- Use soft natural light or a broad, diffused light source.
- Avoid direct overhead glare and harsh mixed lighting.
- Place the dish on a clean, neutral surface.
- Capture the full portion, including relevant sides and toppings.
- Take one three-quarter view and one overhead or near-overhead view when useful.
- Keep the camera lens parallel to the table for straight-on views.
- Avoid extreme wide-angle distortion from a very close distance.
- Photograph the dish before it wilts, melts, dries, or loses texture.
- Capture packaging separately if the delivery presentation differs from dine-in service.
The best angle depends on the food. A layered dessert may benefit from a three-quarter view, while a grain bowl can be easier to understand from above. A sandwich may need enough height to show the filling. Choose the angle that helps a customer understand the actual item, not merely the angle that hides its defining details.
Do not crop away important information during capture. Leave some space around the dish so you can create multiple exports later. If the item is sold in a container, include a real container reference where that presentation affects customer expectations.
4. Enhance honestly and consistently
After capture, improve the image so it is readable and consistent with the rest of the menu. FoodPhoto.ai is designed for this stage: restaurant owners upload real dish or phone photos, then use the workflow to improve light, background, crop, and consistency while retaining the dish as the source of truth.
Good enhancement can help with:
- Uneven exposure or dull indoor lighting
- Distracting backgrounds and table clutter
- Inconsistent framing across a seasonal collection
- Excessive empty space or awkward crops
- Mild color imbalance caused by indoor lighting
- Menu sets that feel visually unrelated
The boundary is accuracy. Do not add ingredients, enlarge portions, invent textures, or turn a simple seasonal dish into fantasy food. A customer should receive something recognizably consistent with the image. If an image needs heavy transformation to look appealing, revisit the dish presentation or capture conditions instead.
Use the same visual decisions across the launch set. Decide whether the collection uses a light or dark background, how much negative space is acceptable, whether plates or packaging remain visible, and how tightly dishes are framed. Seasonal work can have its own mood, but it should still belong to the restaurant’s broader visual system. See seasonal food photography: adapting your style for guidance on changing mood without losing recognition.
5. Prepare exports for every channel
One master image rarely works perfectly everywhere. Delivery apps may use small thumbnails, your website may need a larger responsive image, Google may display a different crop, and social platforms may favor vertical compositions. Prepare channel-specific versions from the approved master.
Check the current requirements for each marketplace before uploading. Image dimensions, file limits, permitted content, cropping behavior, and review rules can change. Do not rely on an old export sheet or a remembered specification.
Your export checklist should cover:
- Delivery app menu image
- Website menu or ordering page image
- Google Business Profile image, where relevant
- Social feed or story version
- Promotional banner or email version, if needed
- Thumbnail crop for internal menu systems
- Alternate location or language versions, if applicable
Keep the main dish visible at small size. A detailed garnish that looks good in a large website image may disappear in a delivery thumbnail. Check the crop at the approximate size customers will see, and avoid placing important food details near edges that may be cut off.
Use a consistent file type and quality setting that meets the destination’s requirements. Include useful metadata in your internal record even if the platform strips it during upload: dish name, source date, version, approved-by person, and planned retirement date.
6. Run a pre-publish accuracy review
The final review should compare the image, menu copy, price, availability, and actual service presentation. It should not be treated as a quick visual thumbs-up.
Seasonal menu image checklist
- Dish name matches the approved menu.
- Visible ingredients match the recipe or approved description.
- Portion and serving vessel are representative.
- Garnishes and sauces are not misleading.
- Image does not show an unavailable side or topping.
- Color and texture remain believable after enhancement.
- No accidental text, watermark, reflection, or unrelated object appears.
- Crop keeps the dish legible at thumbnail size.
- File opens correctly and is named clearly.
- Export matches the destination’s current requirements.
- Alt text describes the dish naturally where the channel supports it.
- Price, dietary labels, and availability dates are correct.
- Seasonal expiration or removal date is recorded.
Have someone outside the image workflow perform the last comparison when possible. A fresh reviewer is more likely to notice that the photo shows a lemon wedge the kitchen no longer serves or that the website says “two sides” while the image shows one.
For SEO, write descriptive alt text rather than keyword strings. For example, “Grilled peach and burrata salad with arugula and basil” is more useful than repeating “seasonal menu photography checklist.” Image SEO supports accessibility and context, but it cannot compensate for an unclear dish or inaccurate menu listing.
7. Update channels in a controlled order
Use a publishing order that matches how your restaurant sells the offer. Start with the channel that customers use to place orders, then update discovery and promotional channels.
A typical order is:
- Ordering system or delivery menu
- Restaurant website menu
- Google Business Profile and other discovery listings
- Social media profiles and scheduled posts
- Email, SMS, paid ads, and printed or in-store materials
Record when each channel was updated and who completed it. If different systems sync with one another, confirm whether an update will overwrite a manually uploaded image. A central menu system may change the correct source but leave a stale image cached elsewhere.
Open the customer-facing view after publishing. Do not assume that a successful upload means the image is visible, correctly cropped, or attached to the right item. Check from a mobile device when possible, because many customers encounter food menus on phones.
8. Monitor the launch and retire the assets
The launch is not complete when the files are uploaded. Watch for practical issues during the first service period. Staff may discover that the dish is plated differently under real service pressure, a delivery container may obscure the food, or an item may sell out earlier than planned.
Ask the team to report mismatches quickly. If the image creates an expectation the kitchen cannot reliably meet, revise the image or the presentation. Trust is more valuable than preserving a polished asset.
Set a retirement date at the start of the project. When the seasonal offer ends:
- Remove the item from ordering menus and delivery platforms.
- Replace or remove images on the website and discovery profiles.
- Cancel scheduled social posts and paid creative.
- Archive the approved source and final exports.
- Record what should be reused next season and what should be recaptured.
- Check search and ordering pages for leftover references.
Retirement is especially important for limited-time offers. An old image attached to a current menu item can be more damaging than having no image at all.
A lightweight operating template
For each seasonal item, keep one record with these fields:
| Field | Example |
|---|---|
| Item | Summer peach salad |
| Launch date | Approved internal date |
| Retirement date | End of promotion |
| Source photo | Original phone capture |
| Final master | Approved enhanced image |
| Channels | Ordering, website, Google, social |
| Owner | Person responsible for publishing |
| Reviewer | Person responsible for accuracy |
| Notes | Packaging differs for delivery |
This small amount of structure prevents seasonal launches from becoming a search through chat messages, camera rolls, and old exports.
Final takeaway
A seasonal menu photography checklist should protect both speed and customer trust. Approve the dish before capture, use real reference photos, enhance with restraint, export for each channel, review the live listings, and retire assets when the offer ends. FoodPhoto.ai can help turn a workable phone photo into a consistent, menu-ready asset while keeping the real dish at the center of the workflow.
When your next seasonal menu is approved, start with the FoodPhoto.ai pricing and try-pack options, then organize the work as a focused menu refresh workflow. A clear source image, one accountable reviewer, and a firm launch deadline are usually enough to move from kitchen approval to accurate customer-facing photography with less last-minute effort.
FAQ
What should a seasonal menu photography checklist include?
Include dish approval, photo capture, honest enhancement, crops and exports, channel updates, accuracy review, launch monitoring, and retirement of expired assets.
Can restaurants use phone photos for seasonal menu launches?
Yes. A well-lit phone photo can provide a useful source image. Consistent framing, accurate ingredients, careful enhancement, and channel-specific exports matter more than expensive equipment.
How early should restaurants prepare seasonal menu photos?
Start as soon as dishes and serving details are approved. Allow time for capture, review, corrections, exports, publishing, and a final check on every live channel.
Should seasonal menu photos be different for delivery apps and social media?
The source image can be shared, but crops, dimensions, text treatment, and composition may need to differ by channel. Always check current marketplace requirements before uploading.
Next step
Choose one real dish photo, enhance it, and compare the before/after at delivery-app thumbnail size. If it still looks like the dish your kitchen serves, use the same standard across the rest of your menu.