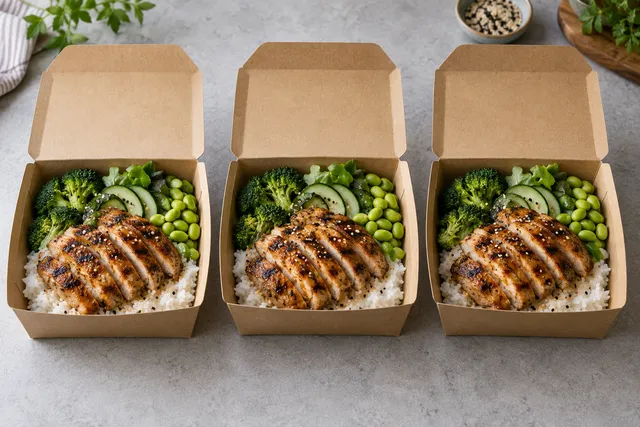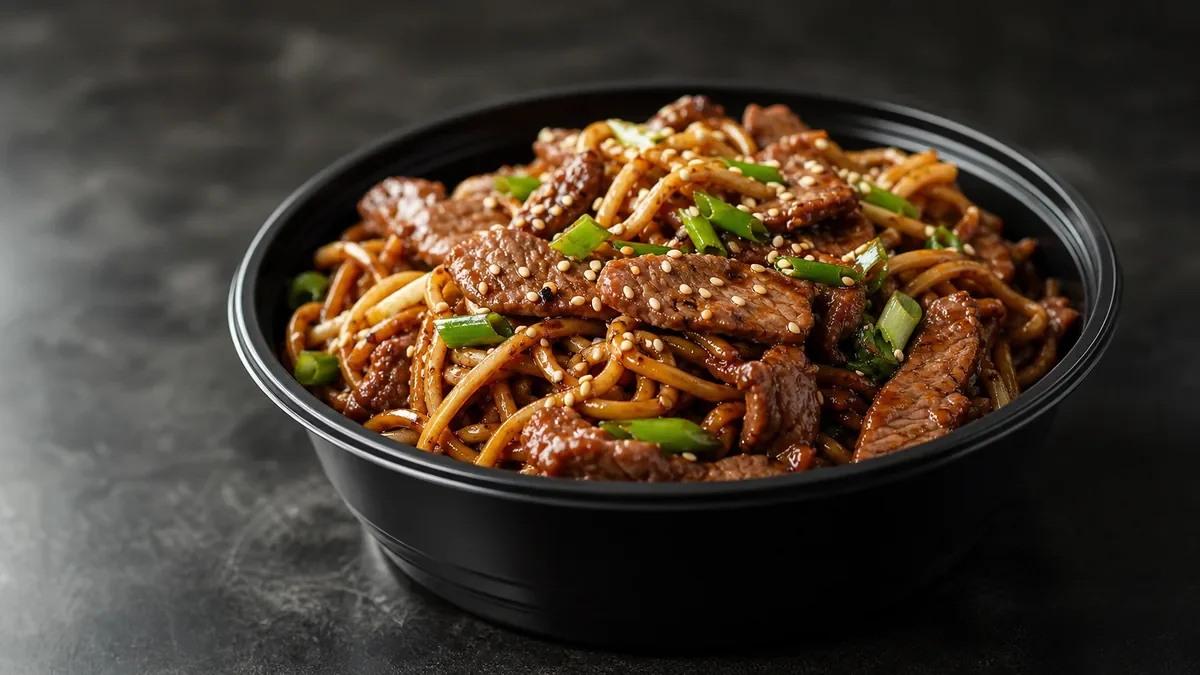
Uber Eats: verified guidance and working exports
Uber’s restaurant-submitted menu guidance recommends ratios from 5:4 to 6:4, permits JPG, PNG or GIF up to 10 MB, and lists width 550–10000 px and height 440–10000 px. Photograph the single actual item, center it with crop space, and keep text and watermarks out. This is merchant guidance; user-submitted photo rules are a separate policy.
| Dimensions | Width 550–10000 px; height 440–10000 px |
|---|---|
| Recommended ratio | 5:4 to 6:4 |
| Formats and cap | JPG, PNG or GIF; up to 10 MB |
| Content | One actual item, centered; no text or watermark |
Uber Eats primary guidance · checked October 2, 2026. This table describes the scope of that source; the destination account remains the final check.
The short answer
For a restaurant workflow in 2026, use this approach:
- Start with a real photo of the actual dish or a very accurate representation of the menu item.
- Edit for brightness, color, background cleanliness, and consistency.
- Compose with the important food detail in the center.
- Export a square version for menu thumbnails.
- Keep a landscape version for wider placements when needed.
- Review every image at mobile thumbnail size before uploading.
- Recheck the current marketplace photo rules before large menu updates.
FoodPhoto.ai is built for this kind of workflow: restaurant owners upload real dish or phone photos, then the image is improved for light, background, crop, and consistency without turning the food into fantasy food.
For a tighter platform-specific reference, keep the FoodPhoto.ai Uber Eats spec page handy: Uber Eats photo specs.
What restaurants usually get wrong about Uber Eats image sizing
Most failed delivery app photos are not only a file-size problem. They are usually a crop problem.
A restaurant may upload a technically large image, but the app turns it into a small tile where the main dish is off-center. A vertical phone photo might have too much table above and below the plate. A wide shot might look polished on desktop but lose the main ingredient when shown as a square card. A close crop might look dramatic in a gallery but become confusing when Uber Eats trims the edges.
The operator question should be: Will this image still sell the dish when it is cropped, compressed, and viewed quickly on a phone?
That is why thumbnail-first thinking matters more than memorizing one number. Exact requirements can shift, but the display behavior remains predictable: the app needs clean, sharp, fast-loading food images that customers understand instantly.
Recommended working sizes for restaurant teams
Always verify the current marketplace rules in your Uber Eats merchant dashboard or support documentation before upload. As a working production system, these export targets are practical for most restaurant photo libraries.
| Use case | Recommended working export | Crop priority | Operator note |
|---|---|---|---|
| Menu item thumbnail | Square, high resolution | Dish centered | Best default for most item photos |
| Category or feature image | Landscape, high resolution | Dish plus context | Keep key food detail away from edges |
| Source archive | Largest edited version | Flexible | Save before resizing for future platforms |
| QA preview | Mobile thumbnail size | Recognition | Check if the dish is obvious in 1 second |
Do not build your whole photo process around the smallest accepted upload. Keep a clean master image, then export platform-ready versions. This prevents quality loss when you later need the same dish photo for DoorDash, Google Business Profile, a website menu, catering pages, or social posts.
If you manage multiple delivery platforms, compare requirements in the broader delivery photo specs guide and keep one master folder per dish.
Thumbnail-first crop rules
A good Uber Eats photo should work even when displayed small. Customers scroll quickly. The image has to identify the item before the item name does all the work.
Use these crop rules:
- Keep the hero ingredient near the center.
- Leave margin around the dish so automatic crops do not cut it off.
- Avoid placing sauces, toppings, or labels at the extreme edge.
- Do not rely on tiny garnish to explain the dish.
- Avoid overhead shots where the food blends into a busy table.
- Keep packaging visible only when it helps set expectations.
- Remove distracting clutter, hands, receipts, prep tools, and background mess.
- Make the portion size look truthful.
For burgers, sandwiches, wraps, pizza slices, wings, sushi, tacos, bowls, salads, ramen, and desserts, the crop has to show structure. A customer should know whether the item is stacked, sliced, sauced, fried, grilled, boxed, plated, or served in a bowl.
The mistake is treating the photo like a full restaurant ad. Uber Eats menu images are more like product images. They need appetite appeal, but they also need clarity.
Square versus landscape: what to export
Restaurants often ask whether Uber Eats photos should be square or landscape. The safest answer is: compose once, export both when your workflow allows it.
A square version is usually the best operational default because delivery app item tiles often behave like square or near-square thumbnails. A landscape version is useful for wider menu placements, hero areas, category tiles, ads, or reuse across other channels.
The key is not to shoot two different photos for every dish. Instead, create one strong edited master image with enough space around the dish, then crop from that master.
A practical export set looks like this:
| File | Purpose | Crop guidance |
|---|---|---|
dish-name_master.jpg |
Internal archive | Full edited image, no aggressive crop |
dish-name_square.jpg |
Uber Eats menu item | Dish centered, safe margins on all sides |
dish-name_landscape.jpg |
Wider placements | Dish centered or slightly offset, no edge cutoff |
dish-name_thumb-check.jpg |
QA preview | Small version used only for review |
If you use FoodPhoto.ai for Uber Eats menu photos, build the square and landscape exports into your normal publishing checklist instead of treating them as one-off fixes.
Image QA before upload
Before you upload a batch of menu photos, run a quick QA pass. This is where restaurants catch the problems that hurt conversion: dull lighting, wrong crop, inconsistent backgrounds, misleading portion sizes, and images that look fine large but confusing small.
Use this checklist for every photo:
- The dish matches the menu item customers will receive.
- The crop works as a square thumbnail.
- The food is centered with safe space around it.
- The image is sharp enough after export.
- The lighting makes the food look fresh, not gray or greasy.
- The background is clean and not distracting.
- No text, badges, prices, logos, or promotional claims are baked into the image.
- No ingredients, sides, toppings, or packaging are shown unless included.
- The color looks natural, not oversaturated.
- The item is recognizable when viewed small on a phone.
- The file name clearly identifies the dish.
- The latest Uber Eats or marketplace rules have been checked before upload.
This is also where honest AI enhancement matters. It is reasonable to fix dim lighting, remove a messy background, improve crop, and create consistency across a menu. It is not reasonable to add cheese pulls, extra toppings, larger portions, premium ingredients, or side dishes that are not included.
How photo size affects sales behavior
Image size itself does not sell the dish. The image experience does.
On Uber Eats, customers often compare several similar items in seconds: two burgers, three bowls, five sushi rolls, or a list of chicken entrees. A sharp, well-cropped photo can reduce hesitation because the customer understands what they are ordering. A dark or awkwardly cropped image creates friction.
The photo needs to answer silent questions:
- What is the main protein or ingredient?
- Is it fried, grilled, sauced, baked, or fresh?
- How is it served?
- Is it a bowl, plate, box, wrap, slice, roll, or combo?
- Does it look like a full meal or a small side?
- Does the image feel clean and current?
For more detail on the commercial side, read how better photos can increase Uber Eats sales. The practical takeaway is simple: better photos reduce uncertainty, and uncertainty is one of the easiest reasons for a customer to keep scrolling.
A repeatable Uber Eats menu refresh loop
The best restaurant photo systems are boring in a useful way. They do not depend on a big photo shoot every year. They use a repeatable loop that keeps the menu accurate.
Use this workflow monthly or whenever you change menu items:
- Export a list of active Uber Eats items.
- Mark items with missing, outdated, seasonal, or low-quality photos.
- Prioritize top sellers, high-margin items, bundles, and confusing dishes first.
- Take quick real dish photos in consistent light.
- Enhance the images for brightness, background, crop, and consistency.
- Export square and landscape versions.
- Run thumbnail QA.
- Upload in batches.
- Check live app previews after processing.
- Keep the approved master images in a shared folder.
This loop is easier than waiting until the menu looks visibly stale. It also helps multi-location teams avoid the common problem where each store uploads a different crop, lighting style, or background.
For FoodPhoto.ai users, the natural workflow is: upload phone shots, create consistent menu-ready images, export platform crops, then refresh the next batch. A try pack works well when you want to test a handful of best sellers before refreshing the full menu.
File naming and menu organization
Good file names do not directly fix photo quality, but they prevent operational errors. If your team manages 50, 100, or 300 dishes, unclear file names lead to wrong uploads.
Use names that include the dish, platform crop, and date or version.
Example:
spicy-chicken-sandwich_square_2026-07.jpg
spicy-chicken-sandwich_landscape_2026-07.jpg
beef-burrito-bowl_square_2026-07.jpg
mango-lassi_square_2026-07.jpg
Avoid names like IMG_4821.jpg, final-final.jpg, or new-burger-photo.jpg. These names slow down every future menu refresh.
A simple folder structure works:
/menu-photos
  /masters
  /uber-eats-square
  /uber-eats-landscape
  /archive
If you operate multiple locations, add location codes only when the dish is actually different by location. If the dish is identical, use one approved master image to keep the customer experience consistent.
What not to do with Uber Eats menu photos
Some shortcuts create more problems than they solve.
Do not upload screenshots from Instagram or your website. They are often compressed, oddly cropped, and may include text or interface elements. Do not use a photo of a different dish because it looks close enough. Do not show ingredients that cost extra unless the menu item includes them by default. Do not use a heavily stylized AI image that no longer represents what your kitchen serves.
Also avoid over-designed promotional graphics. Uber Eats item photos are not the place for price callouts, discount labels, phone numbers, QR codes, review badges, or menu descriptions. The app already has structured fields for names, descriptions, and pricing. The image should show the food.
If your current images are inconsistent, start with the highest-impact items. You do not need to fix the whole menu in one day. A controlled batch is better than a rushed library full of mismatched crops.
A simple production standard for 2026
For restaurant operators, the standard should be clear enough that a manager can follow it without becoming a photographer.
Use this production rule:
| Standard | Requirement |
|---|---|
| Accuracy | The photo must represent the real menu item |
| Crop | The dish must work in a square thumbnail |
| Quality | The image must stay sharp after export and upload |
| Consistency | Lighting and background should feel like one brand |
| Compliance | Current marketplace rules must be checked before publishing |
| Refresh | Photos should be reviewed when items, plating, packaging, or seasons change |
This gives your team a practical standard instead of a vague instruction like “make the photos better.”
How FoodPhoto.ai fits the workflow
FoodPhoto.ai is useful when you already have real dish photos but they are not platform-ready. A phone photo might have poor lighting, a cluttered prep background, an awkward crop, or inconsistent color compared with the rest of the menu. FoodPhoto.ai helps clean those issues up and export images that are easier to use on Uber Eats and other restaurant channels.
The important distinction is honesty. The goal is not to invent a perfect version of your dish. The goal is to make the real dish easier to understand and more appealing in the app.
A practical first test is to choose 10 to 20 items:
- Best sellers with weak photos.
- High-margin dishes with no photo.
- Items customers often misunderstand.
- New seasonal items.
- Combos or family meals that need clearer presentation.
Run those through a consistent edit and crop workflow, then compare the live app experience before and after. Look at the thumbnails, not just the full-size files.
Final upload checklist
Before your next Uber Eats refresh, confirm:
- You checked current Uber Eats or marketplace image rules for your account.
- Every dish has a square-safe crop.
- Important food detail is not close to the edge.
- The image is bright, sharp, and natural.
- The photo accurately represents the item.
- No fake ingredients, exaggerated portions, or misleading sides were added.
- File names are clear.
- Master images are saved for future reuse.
- Someone reviewed the photos on a phone before upload.
If you want a simple starting point, pick a small batch of important dishes, improve the real photos, export square and landscape versions, and upload only after thumbnail QA.
FoodPhoto.ai can help with that exact menu refresh workflow: upload real dish photos, clean up lighting and backgrounds, create consistent crops, and prepare menu-ready exports. Start with a small try pack or review the options on pricing, then build a repeatable refresh loop for your Uber Eats menu.
FAQ
What are the Uber Eats photo size requirements for restaurants?
Uber Eats requirements can change by market and merchant tool, so restaurants should check the current Uber Eats or marketplace upload guidance before publishing. In practice, you should prepare clean, high-resolution food images that work in both square and landscape crops, keep the dish centered, avoid text overlays, and export files large enough to stay sharp after platform resizing.
Should Uber Eats menu photos be square or landscape?
Plan for both. Many delivery app surfaces show square or near-square thumbnails, while some hero or category placements may use wider landscape crops. The safest workflow is to compose with a thumbnail-safe center area, then export square and landscape versions from the same approved image.
Why do my Uber Eats photos look cropped after upload?
Delivery apps often generate thumbnails and responsive previews automatically. If the dish, garnish, label, or container edge sits too close to the border, the platform crop can cut it off. Leave breathing room around the food and check the image at small mobile thumbnail size before uploading.
Can I use AI-enhanced food photos on Uber Eats?
Use cautious, honest enhancement. Improve lighting, crop, background, color consistency, and cleanup, but do not create ingredients, portion sizes, toppings, sides, or packaging that customers will not receive. Always check the current marketplace rules for your account and market.
Next step
Choose one real dish photo, enhance it, and compare the before/after at delivery-app thumbnail size. If it still looks like the dish your kitchen serves, use the same standard across the rest of your menu.