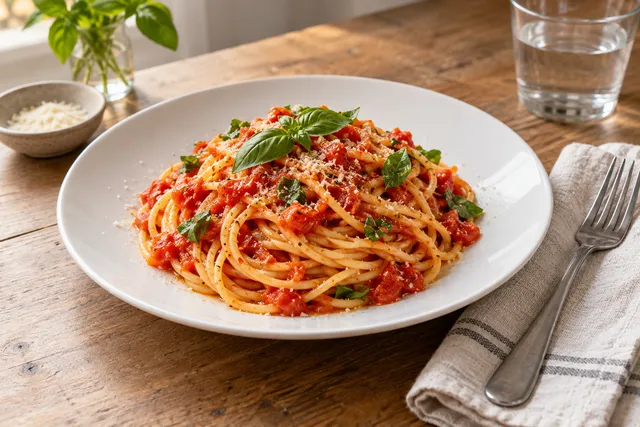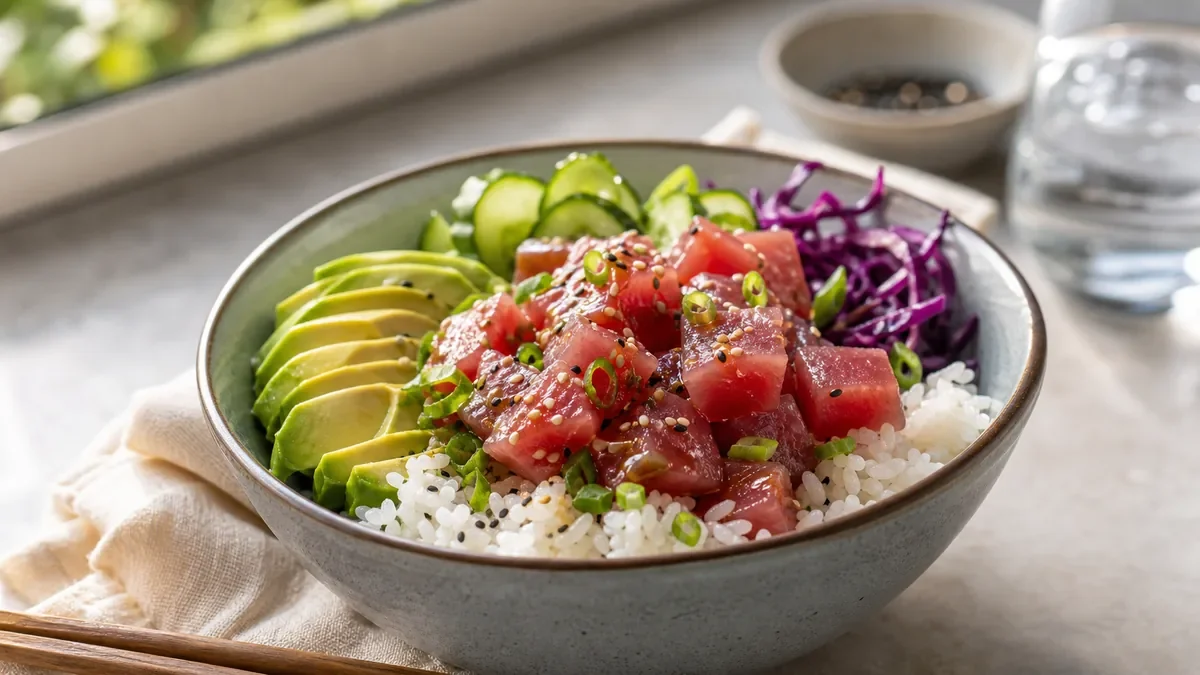
A reliable AI food photo allergen accuracy review compares the final image with the dish the customer will actually receive. Before publishing, confirm ingredient identity, allergen-sensitive garnishes, sauces, substitutions, portion size, sides, and preparation cues. If the image creates uncertainty, pause publication and escalate it to the kitchen or menu owner.
The short answer
AI enhancement is safest when it improves a real dish photo without changing the dish’s identity. The main question is not whether the image looks attractive; it is whether a reasonable customer could infer an ingredient, topping, garnish, side, or portion that is not included.
For each image, review four sources together:
- The current recipe or build sheet.
- The approved menu description.
- The restaurant’s allergen matrix or ingredient reference.
- The portion and plating standard.
A marketing or operations reviewer can complete the first pass. Kitchen leadership should make the final call when an image involves allergen-sensitive ingredients, frequent substitutions, unclear sauces, or a dish that varies by location.
FoodPhoto.ai can help restaurant owners improve light, background, crop, and visual consistency from real dish or phone photos. The workflow should remain an honest enhancement process: make the food easier to understand, not more extravagant than the food served.
Why allergen accuracy matters in a menu image
Customers use photos as product information. A visible nut garnish, creamy sauce, cheese topping, breaded coating, sesame sprinkle, or side salad can shape what they believe is included. Even when a menu description is technically correct, an image may create a conflicting expectation.
The problem is broader than a clearly visible allergen. A photo can also imply a preparation method or ingredient family that matters to a customer’s decision. A glossy sauce may suggest dairy. A toasted topping may suggest nuts or seeds. A garnish may imply that an ingredient is part of the standard recipe rather than an optional decoration.
The image does not replace the restaurant’s allergen disclosure process, and a photo review cannot determine whether a kitchen is free from cross-contact. It does provide an important accuracy check: the visual claim should not contradict the approved product information.
Operators should also account for service variation. A dish might be photographed with a garnish that is used only at one location, shown during a seasonal promotion, or removed when a customer requests a substitution. If the image is reused across delivery apps, ordering pages, social channels, or printed menus, the review should cover the full publishing context.
For broader questions about responsible editing and customer trust, use the FoodPhoto.ai food photo ethics guide. It is useful to define the line between presentation improvement and visual misrepresentation before a team starts producing images at scale.
The pre-publication AI food photo allergen checklist
Use this checklist for every final image, including images that appear to be only lightly edited.
1. Confirm the dish identity
- Does the image show the correct menu item and variation?
- Is the recipe name matched to the current menu record?
- Is the protein, filling, base, grain, noodle, or vegetable correct?
- Does the image accidentally resemble a different item?
- If the restaurant sells several similar dishes, could a customer confuse them?
An image that looks like the wrong dish can create an ingredient issue even when no new ingredient has been added. For example, a curry shown with a different protein, a salad shown with cheese, or a sandwich shown with a different bread may cause customers to rely on the wrong assumptions.
2. Check every visible ingredient
Compare the final image with the approved build sheet, not memory. Review the plate from the center outward and identify every visible item:
- Main ingredients.
- Sauces and dressings.
- Toppings and fillings.
- Garnishes and herbs.
- Side dishes.
- Dips and condiments.
- Crumbs, coatings, or visible inclusions.
- Decorative elements that could be mistaken for food.
Mark each item as standard, optional, removable, substituted, or not served. If an ingredient appears in the photo but is absent from the standard build, remove it, update the menu claim if appropriate, or stop the image from being published until the product owner decides.
3. Inspect allergen-sensitive garnishes
Garnishes are easy to overlook because they may be added for visual balance rather than as a core part of the dish. That is precisely why they require a deliberate check.
Look for visual signals such as:
- Nuts or nut fragments.
- Seeds, including sesame-like toppings.
- Cheese shavings or creamy finishes.
- Yogurt, sour cream, butter, or aioli.
- Breadcrumbs, croutons, or fried coatings.
- Wheat-based noodles, pastry, or bread.
- Shellfish, fish flakes, or seafood garnish.
- Egg-based sauces or visible mayonnaise.
- Soy-based glazes or tofu.
Do not assume that a small garnish is unimportant. If a customer could reasonably interpret it as part of the dish, it belongs in the review. Also check whether an editing tool has sharpened, multiplied, recolored, or repositioned a garnish in a way that makes it appear more prominent than it is.
4. Verify sauces, dressings, and hidden components
Sauces can be visually ambiguous. A pale drizzle may look like cream, yogurt, mayonnaise, or a non-dairy alternative. A dark glaze may imply soy, oyster sauce, or another ingredient that is not in the menu build.
Ask:
- Is the sauce shown the one served with this item?
- Is it included by default or available only on request?
- Does the image show more sauce than the standard portion?
- Are dipping sauces visible even though they are sold separately?
- Has an AI edit made a thin coating look like a substantial ingredient?
- Does the image suggest a topping is mixed into the dish when it is actually optional?
If a sauce is difficult to identify visually, the image should not be used to make a stronger claim than the written menu. Consider a less ambiguous angle or a simpler composition.
A practical review table
| Review area | What to compare | Stop or escalate when |
|---|---|---|
| Dish identity | Photo, item name, recipe, variation | The image resembles another menu item |
| Main ingredients | Current build sheet and image | Protein, filling, base, or grain differs |
| Garnishes | Plating standard and allergen matrix | A garnish suggests an allergen or is not standard |
| Sauces | Included components and serving size | The sauce is unclear, optional, or visually exaggerated |
| Substitutions | Common requests and location rules | The photo represents only one variation as universal |
| Portion | Standard serving and container | The image implies more food than the customer receives |
| Preparation | Actual cooking and finish | The image implies a different method or coating |
| Publishing context | Caption, description, platform listing | Copy and image make conflicting claims |
| Approval | Assigned owner and review date | No qualified person owns the final decision |
Review substitutions and customization carefully
Many restaurant photos show the “ideal” version of a dish, while customers may order substitutions. That is acceptable only when the image is clearly understood as a representative presentation and does not imply that every customization is included.
The higher-risk situations are dishes with common ingredient swaps, such as dairy-free cheese, gluten-free bread, plant-based proteins, alternative milks, dressing on the side, or removal of a topping. A single image may not represent every version. Do not solve this by creating a visually overloaded image that shows all possible components.
Instead, decide what the image represents:
- The default recipe.
- A named variation.
- A customizable base dish.
- A promotional bundle or meal.
- A location-specific preparation.
Use the item title and nearby copy to reduce ambiguity. If the image represents the default recipe, review it against that default. If a separate image is needed for a specific dietary or allergen-sensitive variation, treat it as a separate product asset with its own review.
Check portion truth and serving context
Portion accuracy is part of ingredient accuracy because a photo can imply that a side, topping, or extra serving is included. Common visual mismatches include a burger with a larger stack of toppings, a bowl filled above the standard line, multiple pieces where the menu includes one, or a meal shown with a drink that is not part of the item.
Review the container, plate, and surrounding elements. Remove props that could be mistaken for included food. If cutlery, sauces, drinks, sides, or dipping cups are present only for styling, make sure the context does not suggest they are included with the purchase.
AI enhancement can also make portions appear denser or more abundant by tightening the crop, increasing contrast, or duplicating visual texture. The goal is not to make a normal serving look sparse; it is to preserve a fair expectation of what arrives.
Use a two-person approval workflow
A simple ownership model reduces last-minute uncertainty:
- The content or marketing owner checks the image against the menu title, description, and publishing destination.
- The kitchen, culinary, or operations owner checks ingredients, garnishes, portions, substitutions, and preparation cues.
- The publishing owner records the approval date, location or menu version, and any limitations.
- The team reopens the review when the recipe, supplier, garnish, packaging, or menu copy changes.
For a small restaurant, one person may perform multiple roles, but the responsibilities should still be explicit. A manager who knows the menu may approve a low-risk sandwich image. A dish involving several sauces, shared garnishes, or frequent substitutions deserves kitchen confirmation.
Your restaurant AI photo policy template can help document permitted edits, prohibited changes, approval roles, and escalation rules. You can also review the related AI food photo policy for restaurants when formalizing the process across locations.
When to escalate instead of publishing
Pause the image and ask kitchen leadership or the menu owner when:
- The final ingredient cannot be identified confidently.
- The image shows a topping, garnish, or side absent from the build sheet.
- The dish has changed since the source photo was taken.
- A substitution is presented as the default recipe.
- The image implies a dietary claim that the restaurant has not approved.
- The editing process changed the shape or apparent contents of the food.
- Multiple locations plate the item differently.
- The menu description and image cannot be reconciled.
- The team is unsure whether an item is included or sold separately.
- The photo may be used in an ad where the visual claim is especially prominent.
Escalation is not a failure of the workflow. It is the correct response when a reviewer cannot establish what the customer is being shown.
Keep the editing boundary clear
A safe enhancement workflow starts with a real dish or phone photo and improves presentation details such as exposure, background, crop, alignment, and consistency. It should not add ingredients, invent toppings, replace a protein, create a larger serving, or turn a different dish into the one being sold.
Before using an AI tool, define the allowed edit categories. For example, lighting and background cleanup may be approved for routine production, while ingredient changes require a new source image and kitchen review. Keep original photos and final exports together so the team can compare them when questions arise.
Also review the final file at the size customers will see. Small thumbnails can make garnishes and sauces harder to interpret, while large social images may emphasize details that are barely noticeable on a menu. Accuracy should be evaluated in the real publishing context, not only in the editor.
Final publishing review
Before uploading an AI-enhanced food image, confirm that:
- The file shows the correct item and variation.
- Every visible food component is approved.
- Allergen-sensitive garnishes and sauces have been checked.
- Optional, substituted, or separately sold items are not implied as standard.
- Portion and serving context are truthful.
- The image does not conflict with the menu description or allergen information.
- The current marketplace rules have been checked before upload.
- A named reviewer has approved the image.
- The source and final files can be retrieved if the menu changes.
- The image is scheduled for replacement when the recipe or presentation changes.
Marketplace requirements can change, and different delivery services may apply their own standards for menu imagery, disclosures, or prohibited content. Check the current rules for each platform before publishing, especially when the same image is reused across multiple ordering channels.
Build this into your menu refresh workflow
Allergen accuracy should be a repeatable gate, not a one-time concern. Add the checklist to new-item launches, seasonal updates, location rollouts, delivery-app uploads, and routine menu refreshes. If your restaurant has many items, start with dishes that contain several toppings, sauces, sides, or common substitutions.
The strongest process is easy for the team to follow: compare the image with the current product information, identify anything visually uncertain, escalate decisions to the right kitchen owner, and record approval before publication. That creates a clearer connection between attractive food photography and the food customers actually receive.
When you are ready to refresh a menu, FoodPhoto.ai can help turn real dish or phone photos into consistent, menu-ready assets while keeping the dish identity intact. Explore the FoodPhoto.ai pricing, try a pack, or use the workflow to prepare your next menu refresh.
FAQ
Can AI food photos create allergen risks for restaurants?
Yes. An edited image can visually suggest an ingredient, garnish, sauce, topping, side, or portion that the customer will not receive. The risk comes from misleading representation, so every image should be checked against the approved dish specification before publishing.
How can restaurant teams check AI-enhanced food photos for allergen accuracy?
Compare the image with the current recipe, menu description, allergen matrix, and portion standard. Look for added or missing ingredients, allergen-sensitive garnishes, substitutions, sauces, toppings, and visual cues that imply a different preparation.
Should kitchen leadership approve AI food photos?
For dishes with frequent substitutions, allergen-sensitive ingredients, complex garnishes, or high customer-safety risk, kitchen leadership should approve the final image. Marketing or operations can perform the first review, but the escalation owner should be clear.
What should FoodPhoto.ai be used for?
FoodPhoto.ai is designed to enhance real dish or phone photos by improving light, background, crop, and consistency. It should support honest menu representation rather than inventing fantasy ingredients or changing what the restaurant serves.
Next step
Choose one real dish photo, enhance it, and compare the before/after at delivery-app thumbnail size. If it still looks like the dish your kitchen serves, use the same standard across the rest of your menu.