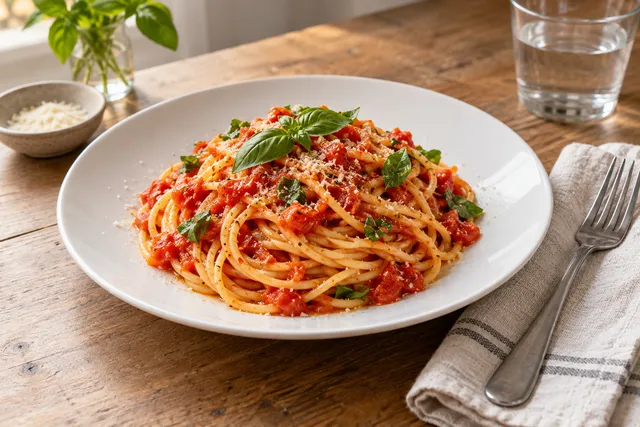
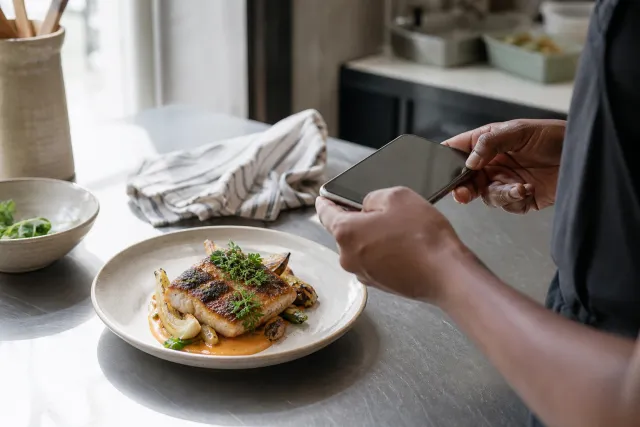
A photo that looks crisp on a phone can print soft. The cause is almost always pixels: a print needs far more of them per centimetre than a screen does, and a crop that was fine for a delivery tile may be far too small for a menu page. Fixing this is straightforward once you know the printed size of the image.
Print size decides pixels, not the other way round. Decide how large the photo will appear on the page, then check that the file has enough resolution for that size before you approve it.
Quick answer
For a photo printed at around 300 pixels per inch, a 10 cm wide image needs roughly 1180 pixels of width, and a 15 cm wide image needs roughly 1770 pixels. Keep the master file as large as you can, export a copy at the final size in sRGB, sharpen lightly for print, proof it on the actual paper, and hand the printer one folder with a clear naming scheme and no embedded colour surprises.
Working out the pixels you need
| Printed width | At 300 ppi | At 200 ppi | Practical note |
|---|---|---|---|
| 6 cm | About 710 px | About 470 px | Thumbnail or sidebar image |
| 10 cm | About 1180 px | About 790 px | Small menu photo |
| 15 cm | About 1770 px | About 1180 px | Half-page photo |
| 20 cm | About 2360 px | About 1570 px | Large feature photo |
| Full A4 width, 21 cm | About 2480 px | About 1650 px | Full-width image on a single page |
300 ppi is the usual commercial target. 200 ppi is often acceptable on uncoated or textured paper where fine detail is less visible anyway. Below about 150 ppi, softness becomes obvious even on matte stock.
The important consequence: a photo exported for a delivery app at 640 pixels wide cannot be enlarged to a 15 cm print without visible softness. Keep the largest approved file as your master, and derive the small versions from it. That is the same master-and-exports discipline used for thumbnail crops.
Colour: sRGB, and why the printer matters
- Export in sRGB unless your printer explicitly asks for something else. Most commercial menu printing is done from sRGB files, and converting to CMYK yourself usually produces duller colour than letting the printer's workflow handle it.
- Ask the printer one question: "Do you want sRGB or CMYK, and at what ppi?" The answer overrides every general rule.
- Expect paper to change the look. Uncoated stock absorbs ink and reduces contrast and saturation. A photo that looks vivid on a coated proof can look flat on recycled paper.
- Never judge colour on a laptop screen. Screens vary widely. Judge on the proof, and if colour matters a lot, ask for a printed proof of one page before the full run.
- Do not fix paper dullness with extra saturation. Oversaturated food looks artificial and, on some papers, blocks up in the shadows.
Sharpening and file preparation for print
- Start from the largest approved file. Not from a delivery export, not from a screenshot.
- Crop to the final aspect ratio the layout needs, then check the pixel width against the table above.
- Resize to the final print size in one step and apply a light sharpening pass at that size. Sharpening before resizing is wasted.
- Check the file format. High-quality JPEG is usually fine; TIFF or PNG if the printer asks for lossless. Avoid re-saving a JPEG repeatedly.
- Name files so the layout is obvious and keep the master separate from the print export.
- Send one folder with the images, a note about the paper and finish, and any placeholder text that must not print.
Worked example (illustrative)
A restaurant prepares a new lunch menu. The photos were originally shot for the delivery app and the largest approved file is 1200 pixels wide. The layout wants a 15 cm image at the top of the page, which needs about 1770 pixels at 300 ppi.
The team has three options: reduce the printed size to about 10 cm, use the file at 200 ppi and accept slightly softer detail on the textured paper they have chosen, or reshoot the dish at a larger size. They choose the smaller print size for the two supporting images and reshoot the hero dish. The menu prints sharp because the decision was made from the printed size, not from the file. This example is illustrative.
Print and screen are two different exports
| Attribute | Screen export | Print export |
|---|---|---|
| Typical width | 640 to 1600 px | 1500 to 3000 px depending on printed size |
| Sharpening | Light, for screens | Light, at final size, for paper |
| Colour | sRGB | sRGB unless the printer specifies otherwise |
| Judged on | A phone screen | A paper proof |
| Reuse | Delivery tiles, web, social | Do not downscale print exports for the web if a better master exists |
Keeping the two exports separate prevents the most common failure: a small screen file quietly becoming the source for a large printed image. The same rule applies to the rest of the workflow in our guide to taking a menu photo from phone to delivery app.
Limitations
- Printers have their own workflows and requirements. Their instructions always win over the general guidance here.
- Upscaling software can make a small file larger, but it cannot invent detail that was never captured. Treat upscaling as a last resort, not a fix for a missing master.
- Paper, ink, lamination and finish all change the final appearance. A digital proof is not a paper proof.
- Print menus go out of date. Keep the master files and the layout file together so a price change does not force a reshoot. Our menu update workflow covers the operational side.
- No export setting makes an untrue photo true. Portion, ingredients and garnish must match what the kitchen serves, in print as much as on screen.
Frequently asked questions
What resolution do restaurant menu photos need for print?
Work to the printed size. At 300 ppi, a 10 cm wide photo needs roughly 1180 pixels, and a 15 cm wide photo needs roughly 1770 pixels. Ask the printer to confirm their preferred figure.
Should I send sRGB or CMYK files to a printer?
Ask the printer first. Most menu printing is done from sRGB files, and letting the printer convert usually gives better results than converting to CMYK yourself.
Can I print a 640-pixel delivery-app photo in a menu?
Only at a small size, and it will look soft. A 640-pixel file is roughly 5 cm at 300 ppi. For anything larger, go back to the master file or reshoot.
How do I check the photo before the full print run?
Request a paper proof on the same stock and finish. Screens cannot show how uncoated paper absorbs ink, and that difference is largest in dark food photos.
Does a printed menu still matter in 2026?
Yes for dine-in, takeaway counters and events, and it is often the first place a guest meets your food. The same honest, consistent images work across print and screen when you keep one master and export per channel.
Next step
Pick the three photos you plan to print largest, check their pixel width against the printed size, and export a print copy from the master rather than from the delivery tile. If a photo needs a cleaner background, a straight crop or better lighting first, start from the real dish image in the FoodPhoto studio and check the current plans before you process a batch.