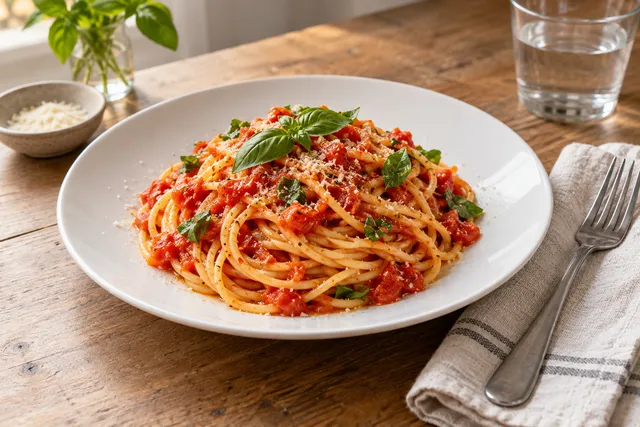
The photo in a WhatsApp menu has a narrow job: help someone recognize an actual dish quickly enough to keep the conversation moving. It is not a miniature poster, and it should not be responsible for carrying information that changes every week. Keep the food clear in the image; keep price, availability and service details in the caption or catalog field.
WhatsApp menu photos for restaurants: square crops, compression-aware exports and a review workflow for accurate chat menus.
That separation makes the work easier to review. A restaurant can improve light, colour or framing without quietly changing the portion it serves. It can also update a price without rebuilding a picture that is still accurate. The useful question is not whether the image looks polished in isolation. It is whether the dish remains recognizable after a square crop, a small preview and the ordinary friction of a chat.
Design for recognition, not decoration
Start with the customer’s first glance. A bowl of rice, a sandwich or a lunch plate should read as one thing before the viewer studies its details. Give the main subject a simple background, enough contrast to separate it from the table and a point of view that shows the ingredients that make the dish distinctive. Fine garnish can add character, but it should not be doing the explaining.
Square crops are useful for many catalogue layouts, but the crop is a decision rather than a guarantee. Leave enough breathing room around the real plate that a tighter version does not cut away the food’s identity. Avoid putting a price, promotion or tiny label inside the image. Those details age faster than the photograph and become difficult to read when the image is reduced.
Preview the candidate at roughly the size a person will see in a phone conversation. Ask three plain questions: Can I name the dish? Can I distinguish its main parts? Does the portion still look like the item the kitchen will fulfil? If the answer to any of them is no, return to the source photo or change the crop before adding more effects.
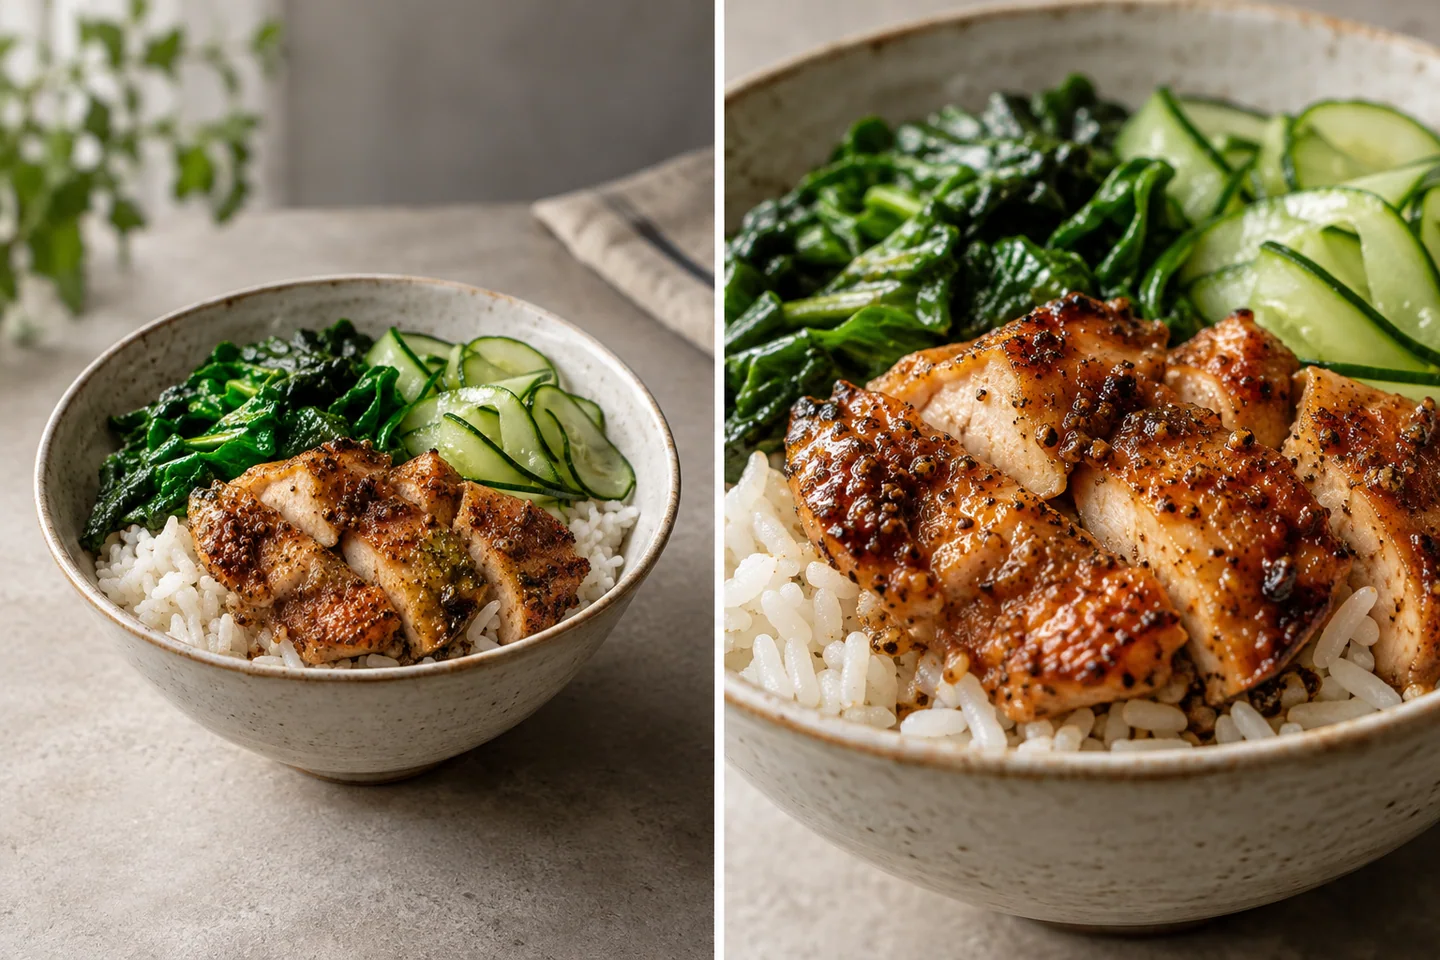
In this illustrative rice-bowl comparison, the left view gives the dish room to breathe and the right view spends more of that room on the food. The tighter view is not better because it is closer; it is useful only if the bowl, rice, greens and protein still make sense together. Treat the image as a visual explanation, not as evidence that a particular crop will improve orders.
Give the photo and the caption separate jobs
The image should answer “What is this?” The accompanying text can answer “What is in it, what does it cost today and how do I ask about it?” Keeping those jobs separate gives the team a small but durable editing rule. When the dish changes, review the photograph. When only the price or service window changes, update the editable field instead of publishing a new picture.
Write the caption from the item that is actually available. Name one distinctive ingredient or texture, but do not turn the description into a promise about taste or size. A simple template is easier for a busy team to maintain than a clever sentence that has to be reinvented for every message:
[Dish name] — [short description with one distinctive ingredient or texture].
Price: [current value in the catalog or message]
Availability: [current service window or date]
Questions or orders: [the restaurant’s normal WhatsApp path]
Keep the brackets as working fields, not as text that reaches a customer. The point of the template is that a staff member can check the current value without touching the image. If your ordering path has a different name, use the restaurant’s normal route and keep it explicit.
From the real dish to an approved square asset
A dependable workflow is small enough to run before a menu update and specific enough that another person can pick it up. It also gives an AI-assisted edit a truth reference. Synthetic polish is not a substitute for knowing what the kitchen serves.
- Define the release target. Record the menu item, the conversation or catalogue surface, the intended crop and the reason for the update. “Make it nicer” is too vague to review.
- Record the real product. Note the ingredients that must remain visible, the portion, the vessel and any packaging that affects recognition. Keep the original capture with the work.
- Choose one visual system. Reuse a light direction, angle, background and export approach across the set. Consistency should make the menu easier to scan, not make different dishes look identical.
- Prepare the channel version. Keep the subject clear, remove distracting detail and choose a square crop only when it serves the surface. Keep changing information out of the pixels.
- Review at phone size. Have the person closest to the food check recipe truth and a second reviewer check legibility and visual consistency. Look at the asset where customers will encounter it.
- Measure and refresh. Save the publication date, reviewer, test window and reason for the next update. Replace the image when the product, portion, vessel or packaging changes, not merely because a calendar reminder arrives.
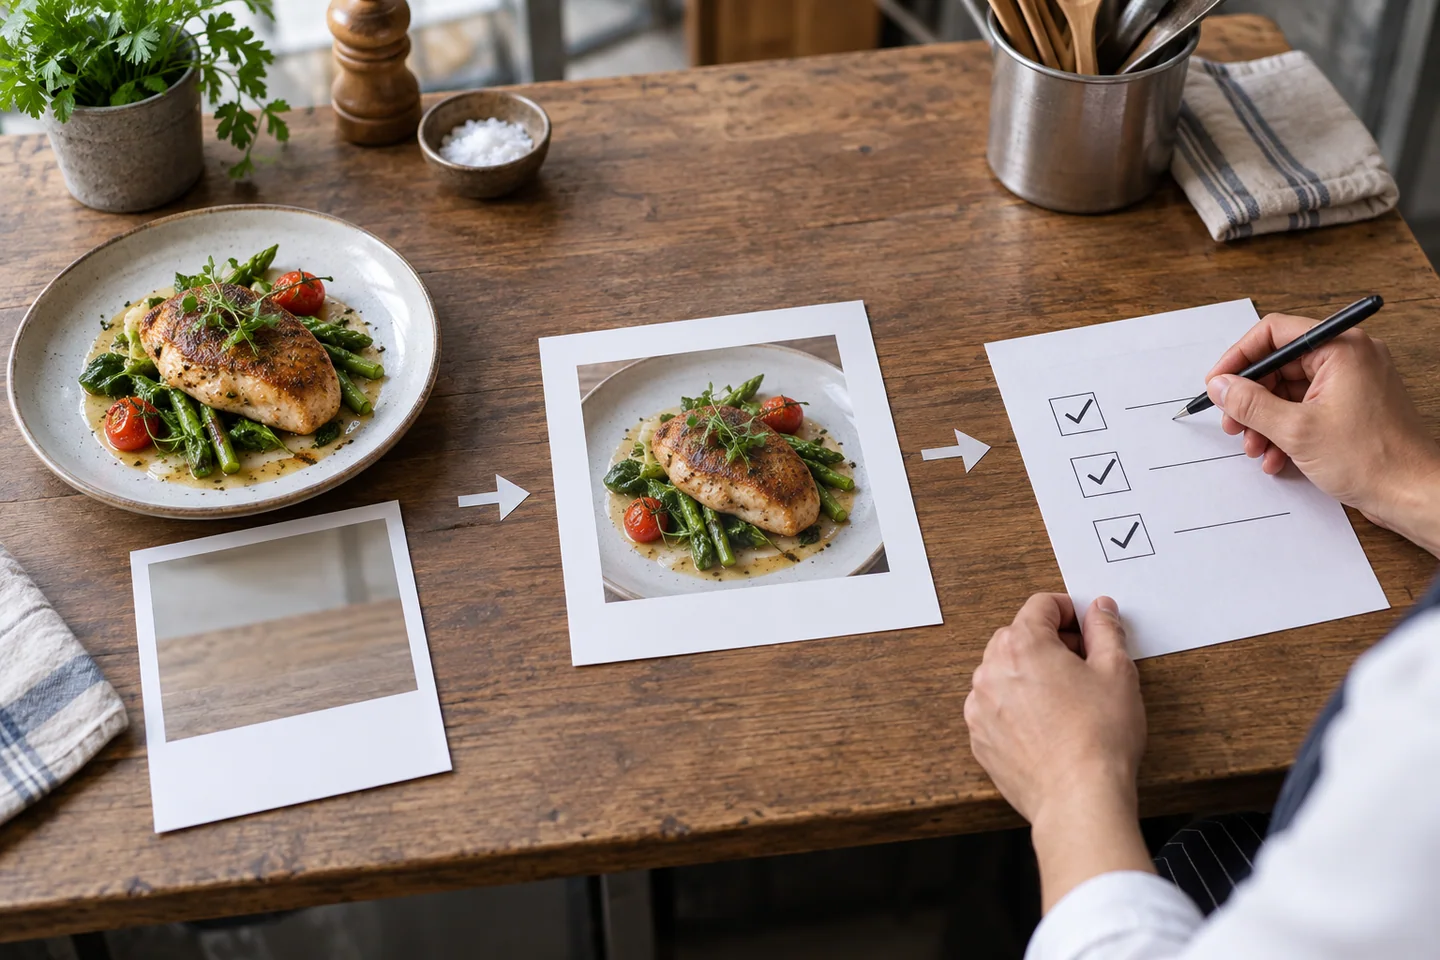
The sequence matters because each stage answers a different question. The source record protects accuracy. The crop protects recognition. The human review protects the final release. If one stage is skipped, the team may end up optimizing an image that no longer represents the order.
Use a release checklist that can survive a busy service
A checklist should make a decision visible, not add ceremony for its own sake. Five gates are enough for a first pass:
| Gate | Pass condition | How to verify |
|---|---|---|
| Product truth | The image matches the current fulfilled item | Compare ingredients, portion and packaging |
| Visual system | Light, colour and framing follow the documented set | Review beside two approved menu assets |
| Channel purpose | The crop helps the intended customer decision | Preview on the actual customer-facing surface |
| Ownership | A named person approved accuracy and release | Record the reviewer and date |
| Freshness | The asset still reflects the current menu | Recheck after a recipe or packaging change |
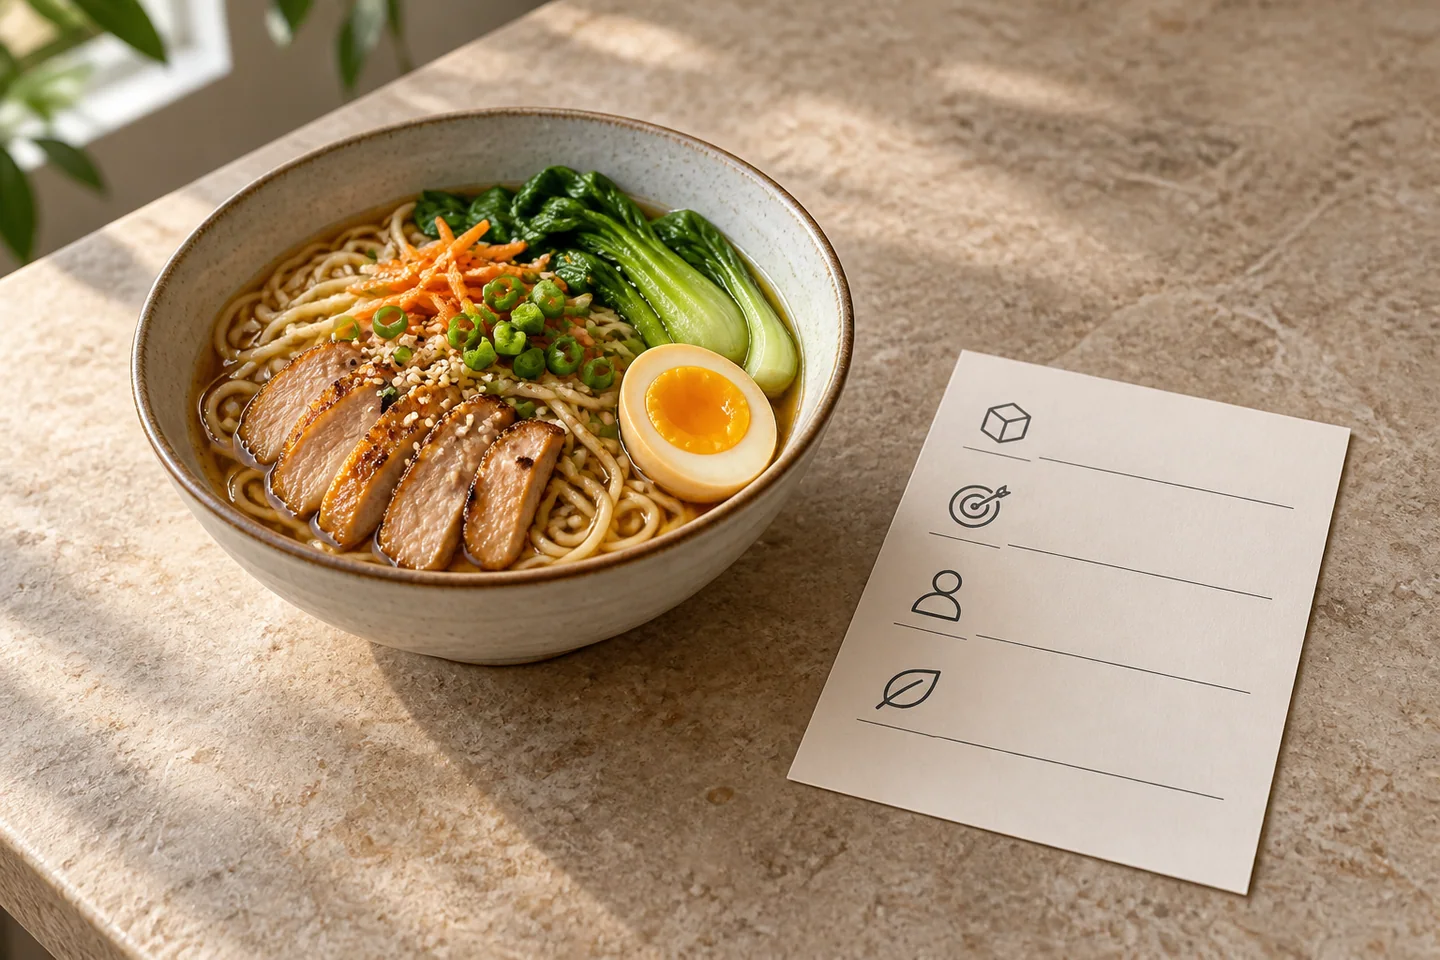
A paper or digital record does not need to contain a long explanation. It needs to connect the approved output to the item it represents, the person who checked it and the conditions under which it remains current. That is what lets a team reverse a bad release without guessing which “final” file was used.
An editable prompt for an AI-assisted draft
If you use an image editor or generative tool, put the fields that matter into the request and keep your real photo as the reference. The following prompt is a starting point, not a promise that a tool will preserve every detail:
Edit the supplied reference photograph of [actual dish].
Preserve the visible ingredients, number and size of food pieces,
serving portion, plate or package shape, and original viewpoint.

Composition: [clear square-friendly framing with the whole dish readable].
Light: [soft window light from the left, gentle shadows, natural colour].
Camera viewpoint: [45-degree dining angle / overhead / other actual view].
Background: [approved quiet surface that does not compete with the food].

Keep the dish representative of the reference. Improve [lighting, colour,
background or framing] without adding ingredients, changing the portion,
inventing garnish or baking price and availability into the image.
Keep food textures distinct and leave areas that do not need editing alone.
No logos, no watermark, no readable text and no invented packaging.
Replace the bracketed fields with choices your team can verify. If the result changes the ingredient list, serving size or packaging, reject it even when the lighting looks attractive. Save the reference, the prompt and the selected output together so the next revision starts from evidence rather than memory.
Evaluate the result without inventing a success claim
When you compare versions, hold the menu item, price, promotion and service window as steady as practical. Record the date, device context and sample size of the review. Describe what you observed—such as whether the dish was recognizable at phone size—instead of turning one review into a universal promise. If the image, offer and caption all changed at once, the result cannot tell you which change mattered.
Useful process measures include approval rate, attempts per approved image, time from capture to publication, rejection rate and the share of live items with current imagery. If the channel exposes commercial measures, item views, add-to-cart actions and orders can add context. Interpret them alongside seasonality, menu changes and promotions. A release is successful operationally when the photo is accurate, current and usable; commercial outcomes need their own measured comparison.
Accuracy, rights and update policy
Use a photo the restaurant owns or is licensed to modify. Do not copy a competitor’s dish, branding or campaign image. Keep an enhanced image representative of what a customer can order, and disclose material synthetic changes when the surrounding context calls for that explanation. Remove or replace the asset when the recipe, portion, vessel or packaging no longer matches.
Keep the original capture, approved output, editable prompt and reviewer decision together. That small chain of evidence protects the customer, gives the kitchen a chance to correct a mismatch and makes future refreshes faster. It also prevents a generated concept from quietly becoming the only record of a real dish.
Put the workflow into practice
Start with one representative item. Open FoodPhoto Studio, add the real dish photo and describe the change you want to make. Compare the result with the original, keep the draft editable and approve it only after the phone-size review. Browse the real transformation examples for ideas, then check the current FoodPhoto plans and usage estimates before planning a larger catalogue.
For the surrounding operating system, see the restaurant menu photo brief template, when to update photos after a menu change and how to keep a restaurant photo library usable. Those decisions belong together: a clear brief produces a truer image, a sensible update rule prevents unnecessary rework and a reliable library keeps the approved version findable.
Two free photos with a verified account. No card. Use them to learn the workflow with your own dish, then keep the final decision with the people who know the food and the menu.
The best chat image is not the one with the most decoration. It is the one that lets a customer recognize a real dish, understand the current information beside it and continue with confidence. Keep that standard visible in the crop, the caption and the release record, and the photo has done its job.