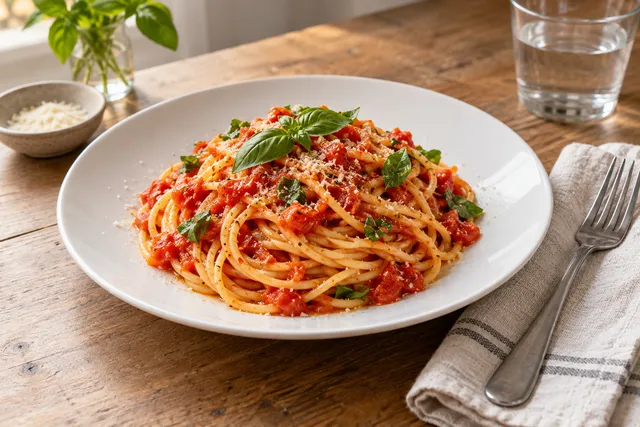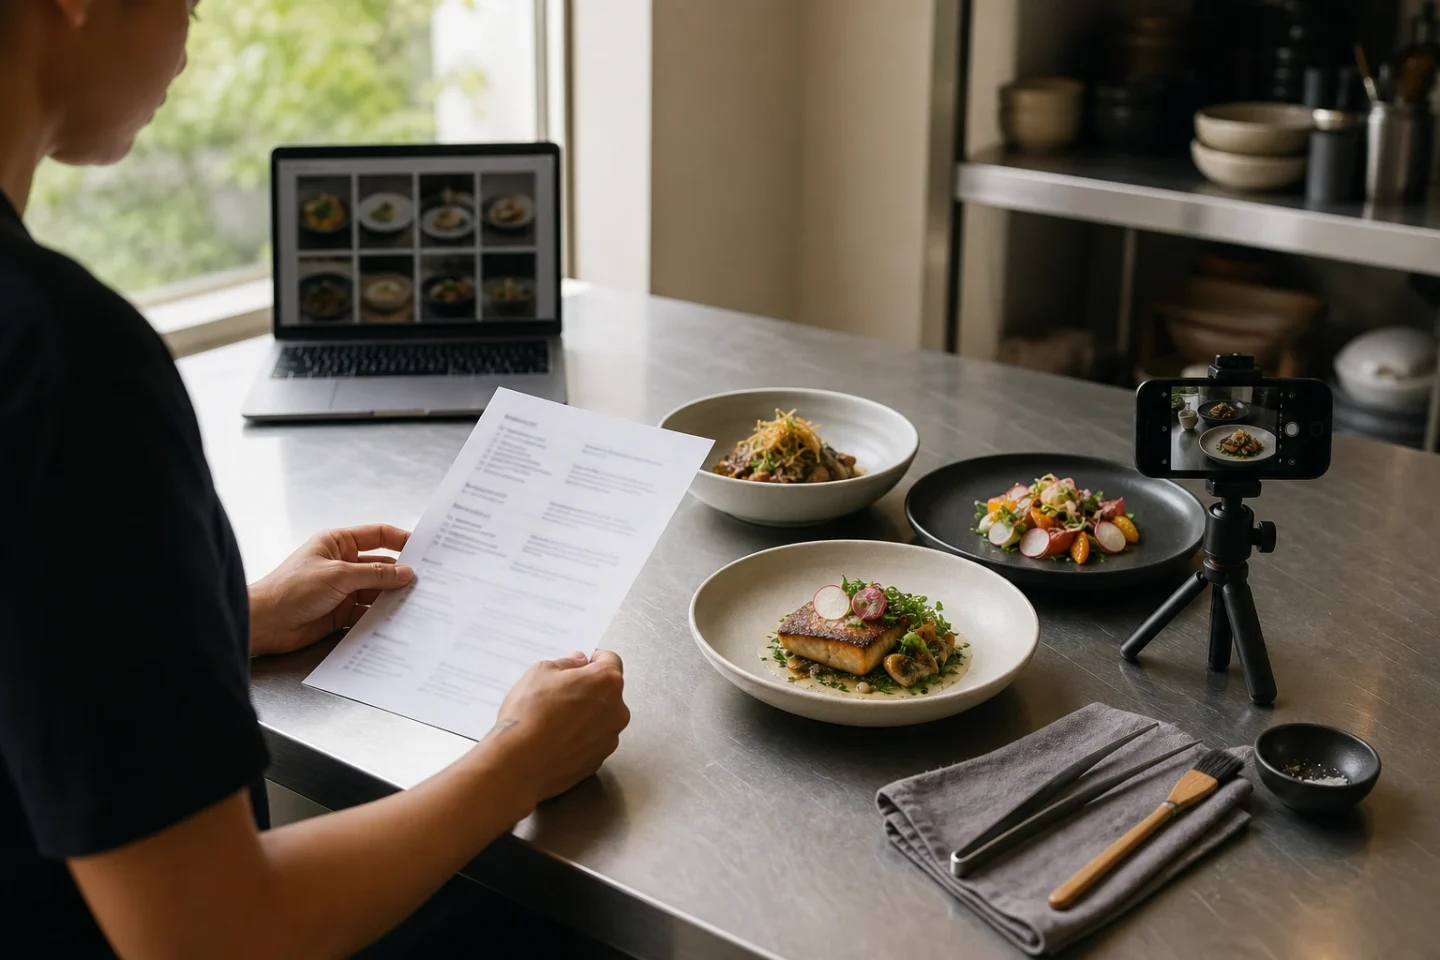
A restaurant menu photo brief template gives photographers, restaurant operators, and AI teams one shared production plan before anyone captures or enhances an image. It should identify the business objective, sales channels, exact dishes, visual rules, accuracy limits, shot list, file exports, owners, deadlines, and approval tests. A useful brief turns vague feedback such as “make it look better” into decisions that can be checked before the images reach a menu, delivery marketplace, website, or social channel.
The short answer
Copy the template below, complete one line for every important decision, and attach the current menu and dish references. Keep the brief specific enough that another person can produce and approve the images without asking what “on brand” means. If you are using FoodPhoto.ai, start with real dish or phone photos, define what may be improved, and state what must not change. The goal is a cleaner, more consistent representation of the food—not an invented dish that creates the wrong customer expectation.
Restaurant menu photo brief template
1. Project overview
Restaurant or brand:
Location or locations:
Brief owner:
Production partner: Photographer, in-house team, or AI team
Approver:
Start date:
Delivery deadline:
Version:
Primary objective: Describe the business result the images should support. Examples include launching a new menu, replacing inconsistent delivery thumbnails, improving a catering page, or preparing a seasonal refresh.
Success condition: State what will be true when the project is complete. For example: “Every active delivery-menu hero dish has one approved square image, one website crop, and a source reference linked to the current recipe.”
Avoid making the objective only about image quality. A technically attractive photograph may still fail if the portion, ingredients, packaging, or crop does not match what the guest receives.
2. Channels and placements
List every destination before production. The same source image may need different crops, dimensions, compression settings, or background treatments for different placements.
| Channel or placement | Required view | Crop or format | Quantity | Notes |
|---|---|---|---|---|
| Delivery marketplace | Dish thumbnail | Usually square or marketplace-defined | Check current rules | |
| Restaurant website | Menu card and detail page | Square, landscape, or responsive | Preserve mobile clarity | |
| Online ordering page | Product image | Marketplace-defined | Test at thumbnail size | |
| Social media | Feed, story, or post | Platform-specific | May need alternate crops | |
| Google Business Profile | Supporting food image | Current platform guidance | Use authentic representation | |
| Print or in-store menu | High-resolution placement | Designer-defined | Confirm bleed and color needs |
Platform specifications and review policies change. Before export, check the current requirements for each marketplace and the account’s own upload interface. Do not treat an old size guide as permanent approval.
3. Dish inventory
Build the dish list from the current menu, not from memory. Include modifiers or variants only when they need separate imagery. Give each item a stable identifier so the same dish can be tracked across the shoot, enhancement queue, menu system, and approval log.
| Dish ID | Menu name | Variant or modifier | Source available | Priority | Owner |
|---|---|---|---|---|---|
For each dish, attach or record:
- The current menu name and description.
- A recipe, plating, or packaging reference where needed.
- The standard portion and permitted garnish.
- Ingredients that must be visible, such as a sauce, filling, topping, or side.
- Ingredients or claims that must not be added, removed, or exaggerated.
- Whether the image represents dine-in plating, takeaway packaging, or delivery presentation.
- Any allergen, dietary, religious, or regional accuracy concerns.
If a dish has changed, replace the old reference instead of asking the production team to infer the change from a message thread.
4. Visual direction
Describe the visual system in observable terms. “Premium” or “Instagrammable” is too broad on its own. Explain the choices that make the image fit the restaurant.
Lighting: Soft window light, controlled diffused light, or another defined approach. State whether highlights should be restrained and whether shadows may remain visible.
Background: For example, warm neutral surface, clean light background, dark tabletop, or transparent cutout. Identify materials that are allowed and those that are not.
Composition: Define the camera angle, subject scale, negative space, garnish visibility, and whether the dish should be centered. Specify if the image must survive a tight square crop.
Color: State the intended temperature and saturation. Avoid instructions that encourage colors to become more vivid than the real food.
Props: List permitted plates, napkins, utensils, tableware, packaging, and contextual elements. If props are optional, say so.
Brand consistency: Reference an approved image set or style guide. Explain what should stay consistent across the batch: camera height, background, shadow direction, plate family, border spacing, or crop behavior.
5. Accuracy constraints
This section protects customer trust. It is especially important when an AI tool is used to clean up a phone capture or standardize a large batch.
Use language such as:
- Preserve the actual dish, ingredients, portion, shape, texture, and serving vessel.
- Correct exposure, white balance, distracting background elements, minor reflections, and inconsistent framing when they do not change the food.
- Do not add ingredients, garnish, steam, sauces, fillings, or side dishes that are not delivered.
- Do not make a small portion appear materially larger.
- Do not remove an ingredient that customers need to recognize.
- Do not turn a packaged delivery item into a plated restaurant presentation unless that is the actual offer.
- Escalate uncertain edits for human review.
FoodPhoto.ai is designed around this kind of honest enhancement: restaurant owners provide real dish or phone photos, then the workflow improves light, background, crop, consistency, and menu-ready exports. Use the AI menu photos page to understand the workflow, and keep the source image available for comparison.
6. Shot list
A shot list should tell the production team what to capture, not merely which dishes exist. Prioritize the dishes that appear first in the ordering flow, have the highest operational importance, or are currently missing usable images.
For each dish, define:
- Primary angle: overhead, 45-degree, eye level, or another approved view.
- Primary crop: usually the channel’s most restrictive crop.
- Optional secondary view: detail, open package, cross-section, or serving context.
- Required visible elements.
- Capture status and retake status.
- Reference image or plating note.
A simple sequence can be:
- Confirm the dish against the current recipe and menu description.
- Plate or package it exactly as a customer receives it.
- Capture a clean primary frame with enough surrounding space for cropping.
- Capture a detail frame only if texture or contents need clarification.
- Record the dish ID, variant, date, and source filename.
- Flag any mismatch before enhancement or export.
For a phone-capture day, add a short setup note covering lens cleanliness, camera height, stable support, available light, surface choice, and a consistent distance from the dish. For a photographer, add equipment and tethering requirements only when they affect the result. For an AI batch, define the minimum source quality and the cases that must be rejected rather than rescued.
7. Production workflow and owners
Assign one accountable owner for every handoff. “The team” is not an owner.
| Stage | Deliverable | Owner | Reviewer | Due date |
|---|---|---|---|---|
| Menu confirmation | Approved dish inventory | |||
| Capture or upload | Labeled source images | |||
| First treatment | Draft menu images | |||
| Accuracy review | Marked corrections | |||
| Final export | Channel-ready files | |||
| Upload and audit | Published image check |
Set a feedback rule before work begins. One consolidated review from the approver is usually clearer than several overlapping comments from staff members. Use image IDs and specific notes such as “the sauce is missing from the left side” or “the square crop cuts the bowl rim,” rather than “this feels off.”
If the workflow is large, link the brief to a restaurant menu photo SOP and use the brief for project-specific decisions. The SOP can define the repeatable process; the brief defines this batch.
8. Export specifications
Record the final delivery formats in the brief and confirm them against current destination requirements at upload time.
File naming pattern: brand_dishid_variant_channel_version.ext
Master file: Keep an editable or highest-quality master where appropriate.
Web export: Define file type, maximum file size, color profile, and compression target according to the destination.
Crop set: Export the primary crop plus any approved alternate crops. Do not let an automated crop make the final decision for a dish whose key ingredient sits near the edge.
Metadata and accessibility: Record the menu name, useful internal identifier, and alt text where the publishing system supports it. Alt text should describe the actual dish, not repeat promotional claims.
Archive: Store the source image, approved final, brief version, reviewer, approval date, and any exception notes together. This makes future refreshes much faster and helps explain why an image differs from an older version.
9. Acceptance criteria
Use a checklist that someone can complete without subjective guesswork.
- The image matches the current menu item and variant.
- Ingredients, portion, garnish, packaging, and serving vessel are accurate.
- The dish remains recognizable at the smallest important thumbnail size.
- The crop does not cut off the primary food or essential context.
- Lighting shows useful texture without creating misleading color or gloss.
- Background, props, and styling follow the approved visual direction.
- The image does not include unapproved text, logos, watermarks, or unrelated objects.
- The file type, dimensions, size, and compression fit the destination.
- The filename and dish ID match the menu record.
- A responsible operator has approved the final image.
- Any uncertain enhancement has been escalated and resolved.
- The uploaded result has been checked on a phone or other real customer view.
The final upload check matters because a good export can still display poorly after a platform recompresses it or applies its own crop. Use the restaurant menu photo checklist before uploading to delivery apps as a separate pre-publish control.
Example brief language for AI enhancement
You can add a short instruction block like this to the project:
Enhance the supplied real dish photo for the approved menu placement. Improve exposure, white balance, background cleanliness, framing, and consistency with the reference set. Preserve the actual ingredients, quantity, plating, packaging, texture, and serving vessel. Do not add or remove food, garnish, sauce, steam, or decorative props. If the source does not clearly represent the approved dish, mark it for retake or human review instead of inventing missing details.
This separates permitted correction from creative generation. It also gives the reviewer a standard for rejecting an image when the source itself is inadequate.
Common brief failures
The brief starts with style instead of the menu
A beautiful visual direction cannot compensate for an outdated dish list. Confirm the menu, recipes, variants, and operational availability first.
Every channel gets the same export
A square delivery thumbnail, a responsive website card, and a printed menu may need different crops or resolutions. Plan the crop family before capture so important food is not placed at the edge.
Accuracy is implied
When no one writes down the boundaries, teams make different assumptions. State what can be corrected and what must remain unchanged.
No person owns approval
Assign a final approver who can verify the image against the food served. Production completion and approval completion are separate milestones.
Feedback arrives without identifiers
Dish IDs, versions, filenames, and annotated notes prevent a correction from being applied to the wrong variant.
The team publishes without a real-device check
Review the final image where customers will see it. Thumbnail clarity, crop behavior, and compression are practical acceptance tests, not optional polish.
When to use a photographer, phone capture, or AI enhancement
The brief does not need to force one production method. Use the method that fits the source material, deadline, budget, and consistency requirement.
A photographer may be the best fit for a new brand library, signature dishes, difficult lighting, or campaigns where art direction is central. Phone capture can be effective for a controlled refresh when the operator can plate consistently and provide clear source frames. AI enhancement can help standardize real images across a menu, especially when the main needs are light correction, background cleanup, crop control, and repeatable exports.
The important question is not whether the production method sounds advanced. It is whether the finished image is accurate, useful in the intended channel, and easy to maintain when the menu changes.
Final review and next step
Before publishing, compare the approved image with the actual dish, the current menu record, and the destination’s live display. Keep the brief with the final assets so the next refresh starts from documented decisions rather than guesswork.
If you are preparing a batch from existing restaurant photos, review the FoodPhoto.ai workflow and choose a plan on the pricing page. A clear brief plus a real source-photo set is a practical way to start a menu refresh, whether the next step is a photographer, a phone-capture day, or an AI enhancement batch.
FAQ
What should a restaurant menu photo brief include?
Include the objective, sales channels, dish list, visual direction, accuracy constraints, shot list, file exports, owners, deadlines, and acceptance criteria. The brief should make approval possible without relying on memory or subjective feedback.
Can an AI team use the same brief as a food photographer?
Yes. The core brief is the same, but an AI workflow should add the source-photo requirements, enhancement boundaries, review checkpoints, and a clear rule that the finished image must still represent the real dish accurately.
How do I know when a menu photo is ready to upload?
Confirm that the dish is identifiable and accurate, the crop works at thumbnail size, the background and lighting follow the brief, the file meets the current marketplace requirements, and the owner or assigned approver has signed off.
Next step
Choose one real dish photo, enhance it, and compare the before/after at delivery-app thumbnail size. If it still looks like the dish your kitchen serves, use the same standard across the rest of your menu.