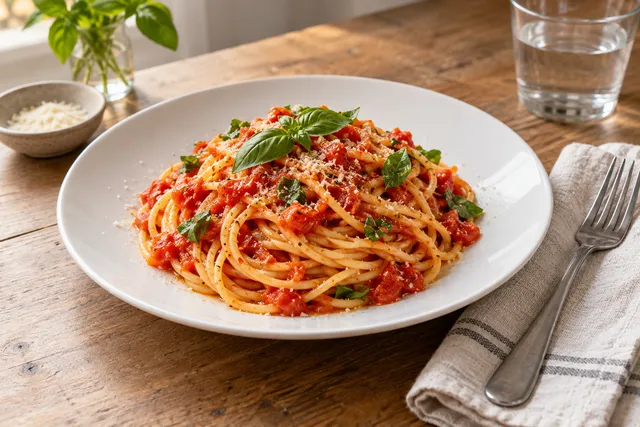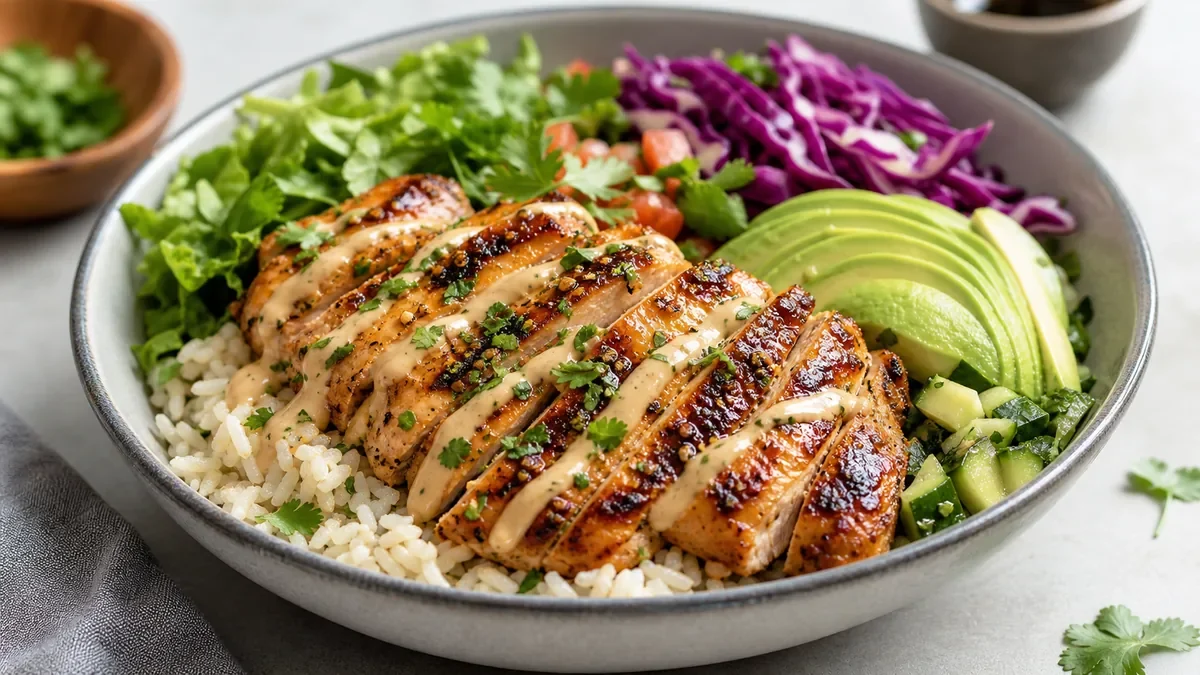
Direct answer: For restaurant menus, an AI food photo generator is safest when it enhances a real dish photo rather than inventing food from text. The workflow should preserve ingredients, portion and plating, then improve lighting, background, crop and consistency for the channels where the image will appear.
Start with your real dish, not a fictional prompt. → See pricing
An ai food photo generator for restaurants should help you turn real dish photos into cleaner, brighter, more consistent menu images without inventing food your kitchen does not serve. The safest 2026 workflow is simple: photograph the actual dish, enhance lighting and presentation quality, verify menu accuracy, check current platform rules, then publish only images that match what guests can really order.
The short answer
Restaurants should treat AI food photography as an editing and production workflow, not a fantasy image machine.
That means starting with a real phone photo of your burger, bowl, pasta, sushi roll, drink, pastry, or catering tray. Then use AI to fix the problems that usually make restaurant photos underperform: bad lighting, cluttered backgrounds, inconsistent crop, dull colors, harsh shadows, and awkward framing.
The line is crossed when AI changes the food itself. If the tool adds extra toppings, makes the portion larger, changes the protein, invents steam, swaps sides, or makes a delivery item look like a styled studio dish, the image may create trust and compliance risk.
FoodPhoto.ai is built around that safer path: upload real dish photos, improve the image, keep the dish recognizable, and export menu-ready assets. If you want to compare options, start with the AI food image generator page, then review the pricing path when you know how many items you need to refresh.
Why restaurants need a different AI workflow
A generic image generator is trying to create something visually impressive. A restaurant operator needs something more specific: a photo that sells the item while staying honest to the actual plate, container, portion, and menu description.
That difference matters because food photos sit close to the buying decision. Guests use them to choose between dishes. Delivery customers use them to decide whether an item is worth the price. Staff may use them as a reference for consistency. If the image is too polished but inaccurate, it can create disappointment after the order arrives.
For restaurants, the best AI food photo workflow has three goals:
- Make the real dish look clean, appetizing, and consistent.
- Avoid visual claims the kitchen cannot fulfill.
- Export images that are practical for websites, menus, ads, and delivery platforms.
This is why enhancement beats invention for most restaurant use cases.
Enhancement vs. fantasy generation
Here is the practical distinction operators should use when evaluating AI food tools.
| Use case | Safer restaurant approach | Riskier approach |
|---|---|---|
| Missing menu image | Take a quick real photo, then enhance it | Generate a dish from a prompt only |
| Bad lighting | Brighten, balance, and clean up shadows | Rebuild the dish so it looks different |
| Messy background | Replace or simplify the background | Add props that imply a different dining experience |
| Weak crop | Reframe for menu thumbnail and delivery app use | Create a dramatic scene unrelated to service reality |
| Inconsistent menu grid | Standardize angle, crop, and background | Mix invented styles across dishes |
| Seasonal special | Photograph the actual special before launch | Publish a concept image before the kitchen finalizes it |
A useful rule: AI can improve the photo, but it should not rewrite the menu item.
If your loaded fries normally include cheddar, scallions, and sauce, the final image should not suddenly show bacon, jalapenos, and a larger basket unless those are actually included. If your ramen is served in a black bowl with one egg half, do not publish an AI version with two eggs, different noodles, and premium toppings.
The safe 2026 workflow
Use this workflow when refreshing a restaurant menu, delivery app listing, website, Google Business Profile, or paid ad creative.
Step 1: Choose the right dishes first
Do not start by trying to improve every photo. Start where better images can remove the most friction.
Prioritize:
- Best-selling items with weak photos
- High-margin items with no photo
- Delivery items that need clear thumbnail appeal
- New seasonal dishes
- Catering trays and family meals
- Items customers often ask about
- Dishes where size, toppings, or packaging need clarification
If you already have many menu images, run a quick review with the restaurant menu photo audit checklist before uploading everything into an AI workflow.
Step 2: Take a real reference photo
You do not need a studio. You do need a real dish.
Use a recent phone camera, clean the lens, and photograph the item in bright indirect light. Avoid deep shadows, neon color casts, and cluttered prep surfaces. For delivery items, consider photographing the food in the same packaging guests will receive if that is important to the buying decision.
Capture two or three versions:
- One straight-on or three-quarter angle for menu browsing
- One overhead angle for bowls, salads, pizzas, trays, or spreads
- One packaging or portion reference if the item is commonly ordered for delivery
The AI tool can help with lighting and background, but the starting photo still matters. A real, clear reference gives the system less room to invent.
Step 3: Enhance only what should be enhanced
In FoodPhoto.ai, the intended workflow is to upload real dish or phone photos and improve the production quality. The enhancement should focus on presentation issues, not menu changes.
Good edits include:
- Brighter, cleaner lighting
- More neutral color balance
- Simpler background
- Better crop for menu grids
- Consistent image style across dishes
- Reduced visual clutter
- Sharper but natural detail
- Menu-ready exports
Avoid edits that change what the guest expects to receive.
Do not accept outputs that:
- Add ingredients not listed on the menu
- Increase portion size
- Change doneness or protein type
- Add garnish your kitchen does not use
- Make packaging look more premium than it is
- Hide important details such as sauce separation or item structure
- Turn a casual item into a plated fine-dining dish
This is the core trust difference between a useful restaurant AI workflow and generic AI food art.
Step 4: Run a menu accuracy check
Before publishing, compare each enhanced image against the dish your kitchen serves today.
Use this checklist:
- [ ] The portion size looks realistic.
- [ ] The main ingredient is correct.
- [ ] Toppings match the menu description.
- [ ] Sauce amount and placement are plausible.
- [ ] Sides, dips, and garnishes are included only if they come with the item.
- [ ] Packaging matches the delivery or pickup experience when shown.
- [ ] The image does not imply a larger combo, bundle, or premium version.
- [ ] The dish is still recognizable to kitchen staff.
- [ ] The photo style is consistent with nearby menu items.
- [ ] The file is cropped clearly for thumbnail viewing.
A good internal test is simple: show the image to a line cook or manager and ask, “Is this what we actually serve?” If the answer needs explanation, revise the image.
Step 5: Check current platform rules
Platform policies can change. Delivery apps, marketplaces, ad networks, and local regulators may have different expectations around image accuracy, AI-generated content, misleading claims, and menu representation.
Before publishing AI-enhanced restaurant photos, check the current rules for each place you plan to use them:
- Your own website
- Online ordering menu
- Delivery marketplaces
- Google Business Profile
- Social ads
- Marketplace ads
- Printed or digital menu boards
For a deeper discussion of the compliance question, read Is AI food photography allowed for restaurants in 2026?. The cautious position is to use AI for honest enhancement, keep source photos, and avoid publishing images that materially misrepresent the item.
Step 6: Export for the channel, not just the image
A strong food photo can still fail if it is cropped badly in a menu grid or delivery thumbnail. Export with the end placement in mind.
Use a consistent naming and review process. Keep one approved master version for each dish, then make channel-specific exports when needed.
Common export considerations:
| Channel | What to check |
|---|---|
| Website menu | Clear crop, fast-loading image, descriptive alt text |
| Online ordering | Dish centered, readable thumbnail, consistent background |
| Delivery apps | Current image size and content rules, no misleading extras |
| Google Business Profile | Realistic representation, no over-styled fantasy images |
| Social media | Strong crop, honest caption, no confusing offer implication |
| Ads | Platform policy, claims, offer accuracy, landing page match |
When in doubt, create the cleanest general-purpose image first, then crop copies for specific channels.
A copyable restaurant workflow
Use this operating procedure for a small menu refresh.
- Pick 10 to 20 priority items.
- Photograph each real dish in clean natural light.
- Upload the best reference image for each item.
- Enhance lighting, background, crop, and consistency.
- Reject any output that changes ingredients, portion size, or plating reality.
- Save the approved master image with the dish name and date.
- Export website and delivery versions separately if needed.
- Have a manager or kitchen lead verify accuracy.
- Publish to one channel first and inspect how thumbnails appear.
- Roll the approved images across the rest of the menu placements.
This workflow is intentionally boring. That is the point. Restaurant photo production should be repeatable, auditable, and easy for a manager to run between service windows.
Pricing path: how many images do you actually need?
Most restaurants do not need to refresh the entire menu on day one. A better pricing decision starts with menu coverage.
Think in three tiers:
| Menu situation | Suggested path |
|---|---|
| You have no photos or very old photos | Start with best sellers and high-margin items |
| You have mixed-quality photos | Audit first, then replace the weakest images |
| You already have decent photos | Standardize style and refresh seasonal or delivery items |
A small $5 pack of 10 photos is often enough to prove whether the workflow fits your menu. Choose a mix of item types: one entree, one handheld, one bowl or salad, one dessert, and one delivery-specific item. If those improve cleanly while staying accurate, expand to the rest of the priority menu.
You can review the current FoodPhoto.ai options on the pricing page. For many operators, the practical path is: try a small batch, approve the style, then schedule a full menu refresh around your next menu update.
Honest limits of AI food photo generators
AI can improve a lot, but it cannot solve every restaurant photo problem.
It cannot know your exact recipe unless the source photo and your review process keep it grounded. It cannot guarantee that every marketplace will accept every image. It cannot replace operational judgment about what the dish really looks like during service. It also should not be used to hide quality issues that guests will notice immediately.
Use human review for:
- Ingredient accuracy
- Portion realism
- Packaging accuracy
- Allergen-sensitive details
- Limited-time offers
- Premium ingredient claims
- Marketplace compliance checks
- Brand style decisions
AI is strongest when it removes production friction. It is weakest when it is asked to invent reality.
What a trustworthy AI food photo tool should provide
When comparing tools, look past the most dramatic example images. Restaurant operators need control, consistency, and speed.
A practical AI food photo generator for restaurants should help with:
- Uploading real dish photos
- Enhancing lighting and background
- Keeping the food recognizable
- Creating consistent menu visuals
- Exporting usable files
- Supporting a repeatable menu refresh process
- Avoiding fake ingredients and fantasy plating
It should also make the review step easy. The operator, not the model, is responsible for deciding whether a photo is menu-safe.
FoodPhoto.ai is positioned for that restaurant-specific job: real dish photos in, cleaner menu-ready images out. For a broader overview of the tool, visit the AI food image generator page.
Final CTA: refresh the menu safely
If you are evaluating an ai food photo generator for restaurants, start with the safest version of the workflow: upload real dishes, enhance the photo, check the result against the menu, and publish only what accurately represents the food guests can order.
Start with a small try pack, use the restaurant menu photo audit checklist to choose priority items, and review the current plans on FoodPhoto.ai pricing. A careful menu refresh can give you cleaner photos without turning your food into something it is not.
FAQ
Can restaurants use an AI food photo generator for menu photos?
Yes, but the safest approach is to enhance real photos of the actual dish rather than create an imaginary dish from a text prompt. Always check current marketplace, delivery app, and advertising rules before publishing.
What should an AI food photo generator change?
It should improve lighting, crop, background, color balance, sharpness, and consistency. It should not add ingredients, change portion size, misrepresent toppings, or make the dish look materially different from what guests receive.
Is it better to generate food photos from text prompts or upload real dish photos?
For restaurants, uploading real dish photos is usually safer. Text-to-image can create attractive food, but it may invent details that create guest trust, menu accuracy, or platform compliance problems.
What photos should I upload first?
Start with your highest-value menu items: best sellers, delivery items, catering trays, seasonal specials, and dishes with weak or missing photos. Use a simple phone shot in clean light, then enhance it for menu use.
Next step
Choose one real dish photo, enhance it, and compare the before/after at delivery-app thumbnail size. If it still looks like the dish your kitchen serves, use the same standard across the rest of your menu.
Enhance real menu photos with FoodPhoto.ai
Start with the current FoodPhoto pricing path
Use the delivery app photo size checker before publishing, then open FoodPhoto Studio with one real dish photo. FoodPhoto begins with two previews on your own dish, with a verified account and no card. Free previews are significantly slower than paid plans and are prepared in a separate queue: about 30–35 seconds in normal conditions, and longer when the service is busy or the edit is complex. Keep the chat open and do not repeat the request while it processes. See the current plans and usage estimates for photos, menus and campaigns.