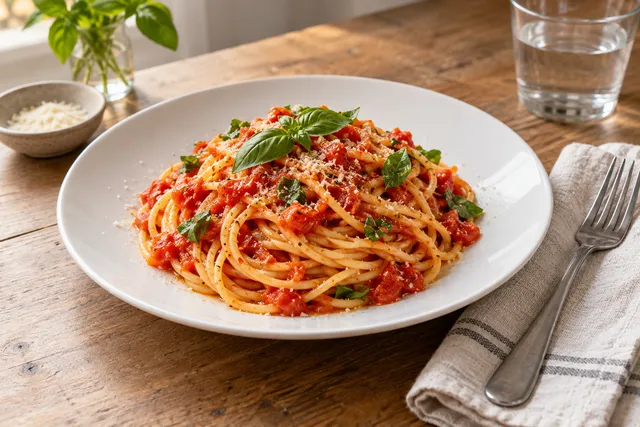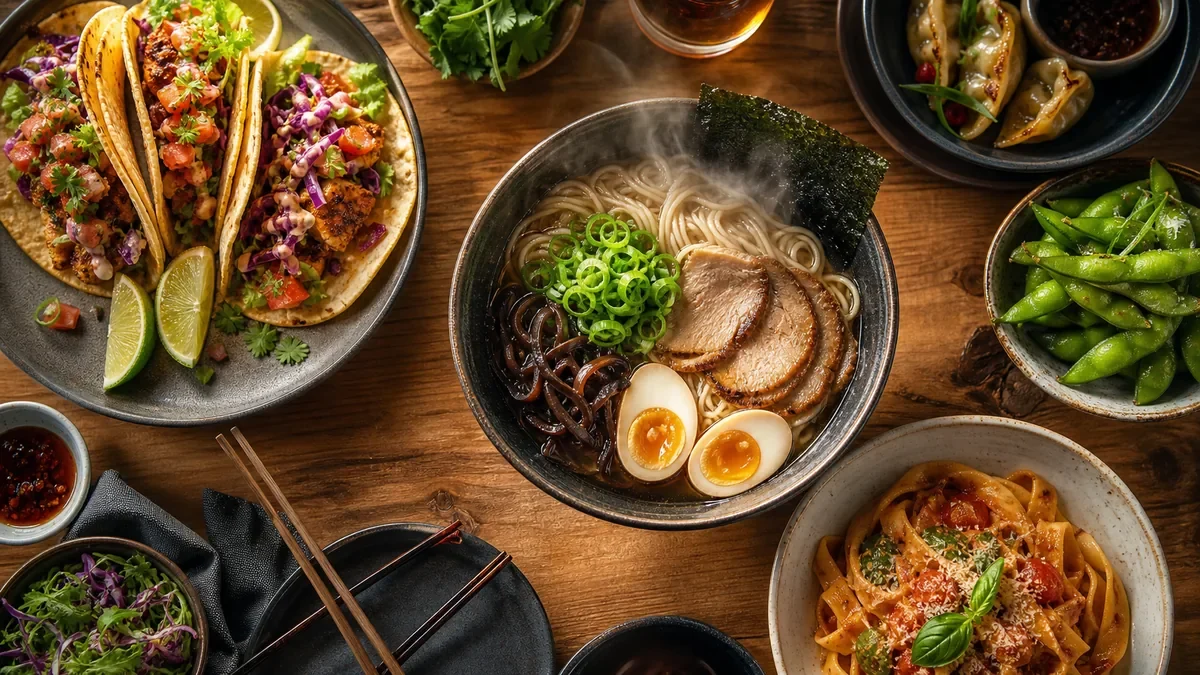
An ai menu photo generator helps restaurants refresh many menu images quickly by improving real dish photos instead of organizing a full studio shoot. The best workflow is not to generate fantasy food from scratch. It is to collect honest phone photos, define a consistent menu standard, enhance images in batches, review them as a set, export in the right sizes, and publish only photos that accurately represent what guests will receive.
The short answer
If your menu photos are outdated, inconsistent, dark, cropped badly, or missing for key dishes, an AI workflow can help you move faster than a traditional shoot. The practical version looks like this:
- Gather real photos of actual dishes from your kitchen.
- Remove duplicates, blurry images, and misleading angles.
- Choose a photo standard for the full menu.
- Use an AI menu photo tool to improve light, background, crop, and consistency.
- QA the results dish by dish.
- Export for your website, QR menu, Google profile, and delivery platforms.
- Check current marketplace rules before uploading AI-enhanced images.
FoodPhoto.ai is built for that kind of workflow: restaurant owners upload real dish or phone photos, then use AI to fix light, background, crop, and consistency so the images are menu-ready. The goal is not fake food. The goal is a cleaner, more consistent version of the food you already serve.
For a dedicated menu workflow, start with AI menu photos. If your team needs a repeatable staff process, pair it with a written restaurant menu photo SOP.
Why full-menu refreshes are different from one-off food photos
One strong burger photo is useful. A full menu refresh is harder.
A menu has patterns. Guests compare items side by side. If one dish is bright, another is yellow, one is overhead, another is shot from the side, and another has a messy prep table in the background, the menu starts to feel uneven. That inconsistency can make the restaurant look less organized even when the food is good.
For operators, the problem is usually not creativity. It is throughput. You may need 40, 80, or 150 images across appetizers, mains, sides, drinks, desserts, catering trays, and seasonal items. Scheduling a photographer for every new item is expensive and slow. Asking staff to take photos whenever a dish comes out creates a folder full of uneven images.
An AI menu photo generator works best when it solves that operational problem: make many real dish images feel like they belong to the same menu.
When an AI menu photo generator makes sense
Use AI enhancement when you already have real food photos or can quickly take them with a phone. It is especially useful when the menu is mostly accurate, but the images need polish.
| Situation | AI menu photo workflow fit | Notes |
|---|---|---|
| Existing phone photos are dark or inconsistent | High | Good source images can often be cleaned up quickly. |
| You need many menu images refreshed at once | High | Batch standards matter more than one perfect hero shot. |
| New seasonal dishes need quick menu coverage | High | Useful when speed matters. |
| Major brand campaign or billboard shoot | Medium | A photographer and stylist may still be better. |
| No real dish photo exists yet | Low to medium | Take a real reference photo first. Avoid inventing a misleading dish. |
| Delivery app images need replacement | Medium | Check current marketplace rules before publishing. |
The important line is honesty. If a guest orders the item, the photo should set the right expectation. AI can remove a distracting background, improve crop, and normalize color. It should not add ingredients, enlarge portions, fake grill marks, or make a dish look materially different from what your kitchen serves.
Step 1: Collect source photos from the kitchen
Start by gathering every real photo you already have. Pull from manager phones, POS item records, delivery app uploads, website folders, Google Business Profile photos, and recent social posts. Do not worry yet about whether every image is polished. At this stage, you are building coverage.
Create a simple folder structure:
01-source-photos02-approved-for-ai03-ai-enhanced04-final-export05-rejected-or-replace
Then rename files with the menu item name and category. For example:
burger-classic-main.jpgchicken-caesar-salad.jpgspicy-tuna-roll-sushi.jpgfamily-meal-chicken-4-person.jpg
This helps avoid one of the most common menu refresh problems: losing track of which photo belongs to which dish. If you have a large menu, use item IDs from your POS or online ordering system in the file name.
Step 2: Reject photos that will create weak results
AI enhancement is not a magic fix for every image. A poor source photo often creates a poor final photo. Before uploading anything, remove images that are likely to fail.
Use this checklist before a photo enters your AI batch:
- The dish is the actual menu item.
- The portion size is accurate.
- The image is sharp enough to see the main ingredients.
- The dish is not blocked by hands, utensils, packaging, or receipts.
- The plate, bowl, tray, or container is mostly visible.
- The photo does not show a messy prep area.
- The color is not so distorted that the food looks wrong.
- The item name is confirmed.
- The image does not include another dish that could confuse guests.
If a dish fails this checklist, retake it quickly. You do not need a studio. Put the dish near a clean window or bright neutral light, clear the background, hold the phone steady, and take a few angles. For restaurants trying to avoid a full photo shoot, this is usually enough to build a better source library. You can also use this companion guide on creating restaurant menu photos without a photographer.
Step 3: Pick one menu photo standard
Do not start enhancing images until you know what the final menu should look like. Consistency is the point.
Choose standards for:
- Crop ratio: square, 4:3, or platform-specific.
- Angle: overhead, three-quarter, or slightly front-facing.
- Background: clean light surface, subtle restaurant texture, or neutral cutout style.
- Brightness: appetizing but not overexposed.
- Shadow: natural and soft.
- Plate visibility: full plate or tighter food-forward crop.
- Garnish policy: keep real garnish only.
- Packaging policy: plated for dine-in, packaged for delivery, or both.
For most restaurant menus, a three-quarter angle with a clean background works well because it shows height, texture, and portion. Overhead can work for bowls, salads, pizzas, pastry boxes, and catering trays. The key is not that every dish uses the same exact camera angle. The key is that the full menu feels intentional.
If your restaurant has multiple channels, you may need two standards: one for website or QR menus and one for delivery apps. Delivery thumbnails are small, so tighter crops often perform better visually. Website menus can usually handle a little more breathing room.
Step 4: Enhance in batches, not one image at a time
A common mistake is editing each item independently. That creates a menu where every photo looks like it came from a different day, light source, and person.
Instead, work in batches by category:
- Burgers and sandwiches
- Pizza and flatbreads
- Bowls and salads
- Sushi and seafood
- Drinks
- Desserts
- Family meals and catering
Batching makes QA easier. You can compare all salads together and see whether one looks too dark, too close, or too artificial. You can compare all pizzas and make sure crust color, crop, and plate style feel consistent.
In FoodPhoto.ai, the practical goal is to upload real dish photos and standardize them for menu use. That means improving light, cleaning up backgrounds, correcting awkward crops, and making the set feel unified. Keep the source dish intact.
Step 5: QA for accuracy before beauty
The best menu photo is not always the most dramatic one. It is the photo that helps the guest choose confidently and does not create disappointment when the order arrives.
Run QA in this order:
- Accuracy: Does the photo show the actual item?
- Portion: Does the size look realistic?
- Ingredients: Are visible ingredients correct?
- Color: Does the food look natural?
- Crop: Will the item be clear as a thumbnail?
- Consistency: Does it fit the rest of the menu?
- Policy: Is it acceptable for the platform where it will be published?
Be especially careful with items that have variable builds, such as loaded bowls, custom pizzas, combo plates, and catering trays. If the photo shows optional add-ons, label the image internally or choose a more standard build.
For delivery marketplaces, use current, cautious judgment. Rules can change, and each platform may treat AI-edited or AI-generated photos differently. Before publishing, check the current photo requirements and content rules for the marketplace you use. When in doubt, use AI to enhance real dish photos rather than creating a fictional version of the item.
Step 6: Export for each menu channel
A full menu refresh usually needs more than one export. Your website, delivery apps, Google profile, POS, and social posts may all have different needs.
Create final folders by destination:
website-menuqr-menugoogle-business-profiledelivery-appssocial-menu-highlightsarchive-originals
Keep image names readable. A file named chicken-parm-sandwich-menu.jpg is easier to manage than IMG_4829-final-final-v3.jpg. Clear naming also helps your team avoid uploading the wrong item later.
For website menus, add descriptive alt text where your CMS allows it. A useful pattern is simple: dish name plus distinguishing details. For example, “Chicken parmesan sandwich with marinara and melted mozzarella.” Avoid keyword stuffing. The goal is accessibility and clarity.
Step 7: Publish in a controlled rollout
Do not replace every image everywhere at 11 p.m. without a backup. Treat the refresh like a menu update.
A simple rollout plan:
- Upload images to a staging folder or draft menu first.
- Check item-photo matching carefully.
- Preview on mobile, not only desktop.
- Confirm thumbnails are not cutting off key food details.
- Publish one channel first, such as your website menu.
- Review live pages after publishing.
- Then update delivery apps and third-party listings.
Mobile preview matters because most guests will see these images on a phone. A beautiful wide image can fail if the dish becomes tiny in a small card. Your QA should include the actual menu layout where the image will appear.
What not to do with AI menu photos
AI can make menu refreshes faster, but there are bad workflows that create trust problems.
Avoid these mistakes:
- Do not create dishes your kitchen does not serve.
- Do not add premium ingredients that are not included.
- Do not make portions look larger than they are.
- Do not use one generic photo for several different items.
- Do not ignore marketplace photo rules.
- Do not approve images only because they look dramatic.
- Do not mix many visual styles across one menu.
- Do not publish without checking item-photo matches.
Restaurant photography has a commercial job: help guests decide. If the photo gets attention but misrepresents the order, it creates refunds, complaints, and lower trust.
A practical one-day menu refresh workflow
For a smaller restaurant, this can be done in a focused day if the team is organized.
| Time | Task | Owner |
|---|---|---|
| 9:00 | Export menu item list and identify missing photos | Manager |
| 10:00 | Gather existing phone photos and delivery app images | Manager or shift lead |
| 11:00 | Retake missing or weak items during prep | Kitchen lead |
| 1:00 | Select approved source photos | Manager |
| 2:00 | Enhance by category in AI workflow | Marketing or operator |
| 4:00 | QA against item list and menu standard | Manager plus kitchen lead |
| 5:00 | Export channel-specific versions | Marketing or operator |
| 6:00 | Upload to website or draft menu | Manager |
Larger menus may need two or three passes. That is fine. It is better to refresh the top-selling and most-viewed items first than to delay the entire project waiting for every side sauce and modifier.
How to decide which items to refresh first
If you cannot update the whole menu at once, prioritize items where photos influence choice.
Start with:
- Best sellers with weak photos.
- High-margin items with no photo.
- New dishes that need awareness.
- Items that are hard to understand from the name alone.
- Catering or family meals where portion clarity matters.
- Delivery app items with dark or outdated thumbnails.
- Signature dishes that define the restaurant.
Then move to lower-priority items like standard sides, simple drinks, or items that rarely need visual explanation.
This is where AI can be useful operationally. You do not need to wait for a once-a-year photo shoot. You can refresh the menu in smaller waves as dishes change.
Where FoodPhoto.ai fits
FoodPhoto.ai is designed for restaurant operators who need menu-ready images from real dish photos. The workflow is straightforward: upload actual dish or phone photos, improve the presentation, keep the food honest, and export images that feel consistent across the menu.
That makes it useful when your team has the food ready but not the time, budget, or logistics for a full shoot. It also helps when you have photos from different phones, different days, and different lighting conditions that need to become one usable menu set.
For a full menu project, start with the dedicated AI menu photos workflow. If you are building this into a repeatable process for managers or staff, use the restaurant menu photo SOP as the operating checklist. If your main goal is to avoid scheduling a photographer for every update, read the guide to restaurant menu photos without a photographer.
Final checklist before you publish
Before your refreshed menu photos go live, review the full set one last time:
- Every image matches the correct menu item.
- Every dish shown is actually served by the restaurant.
- Portions, toppings, sauces, and sides are accurate.
- Crops work on mobile cards and thumbnails.
- Backgrounds and brightness feel consistent.
- File names are clean and trackable.
- Website images have useful alt text where possible.
- Delivery app uploads follow current marketplace rules.
- Original source photos are archived.
- Rejected images are removed from the upload folder.
A good AI menu photo generator does not replace operational judgment. It gives operators a faster way to turn real food into consistent menu visuals. The restaurants that get the best results will still set standards, check accuracy, and publish carefully.
Ready to refresh a menu without booking a full shoot? Review FoodPhoto.ai pricing, try a small pack, and run one category first. Once the standard is set, expand the same workflow across the rest of the menu.
FAQ
What is an AI menu photo generator?
An AI menu photo generator is a tool that helps restaurants turn real dish photos into menu-ready images by improving lighting, background, crop, and visual consistency. For restaurant use, the safest workflow starts with real food photos rather than inventing dishes from text prompts.
Can I use phone photos with an AI menu photo generator?
Yes. Phone photos are often enough if the dish is real, the portion is visible, the image is sharp, and the plate is not blocked by harsh shadows, hands, packaging, or clutter. Better source photos usually create better AI-enhanced results.
Should restaurants use AI-generated food photos on delivery apps?
Restaurants should check the current rules for each marketplace before publishing AI-enhanced images. A cautious approach is to use AI for honest enhancement of real dish photos, not fake ingredients, impossible portions, or misleading fantasy images.
How do I keep a full menu photo refresh consistent?
Set a simple standard before editing: same crop ratio, similar viewing angle, neutral background, consistent brightness, and one file naming convention. Then QA images together as a menu set rather than approving each photo in isolation.
Next step
Choose one real dish photo, enhance it, and compare the before/after at delivery-app thumbnail size. If it still looks like the dish your kitchen serves, use the same standard across the rest of your menu.
Enhance real menu photos with FoodPhoto.ai
Start with the current FoodPhoto pricing path
Use the delivery app photo size checker before publishing, then open FoodPhoto Studio with one real dish photo. FoodPhoto begins with two previews on your own dish, with a verified account and no card. Free previews are significantly slower than paid plans and are prepared in a separate queue: about 30–35 seconds in normal conditions, and longer when the service is busy or the edit is complex. Keep the chat open and do not repeat the request while it processes. See the current plans and usage estimates for photos, menus and campaigns.