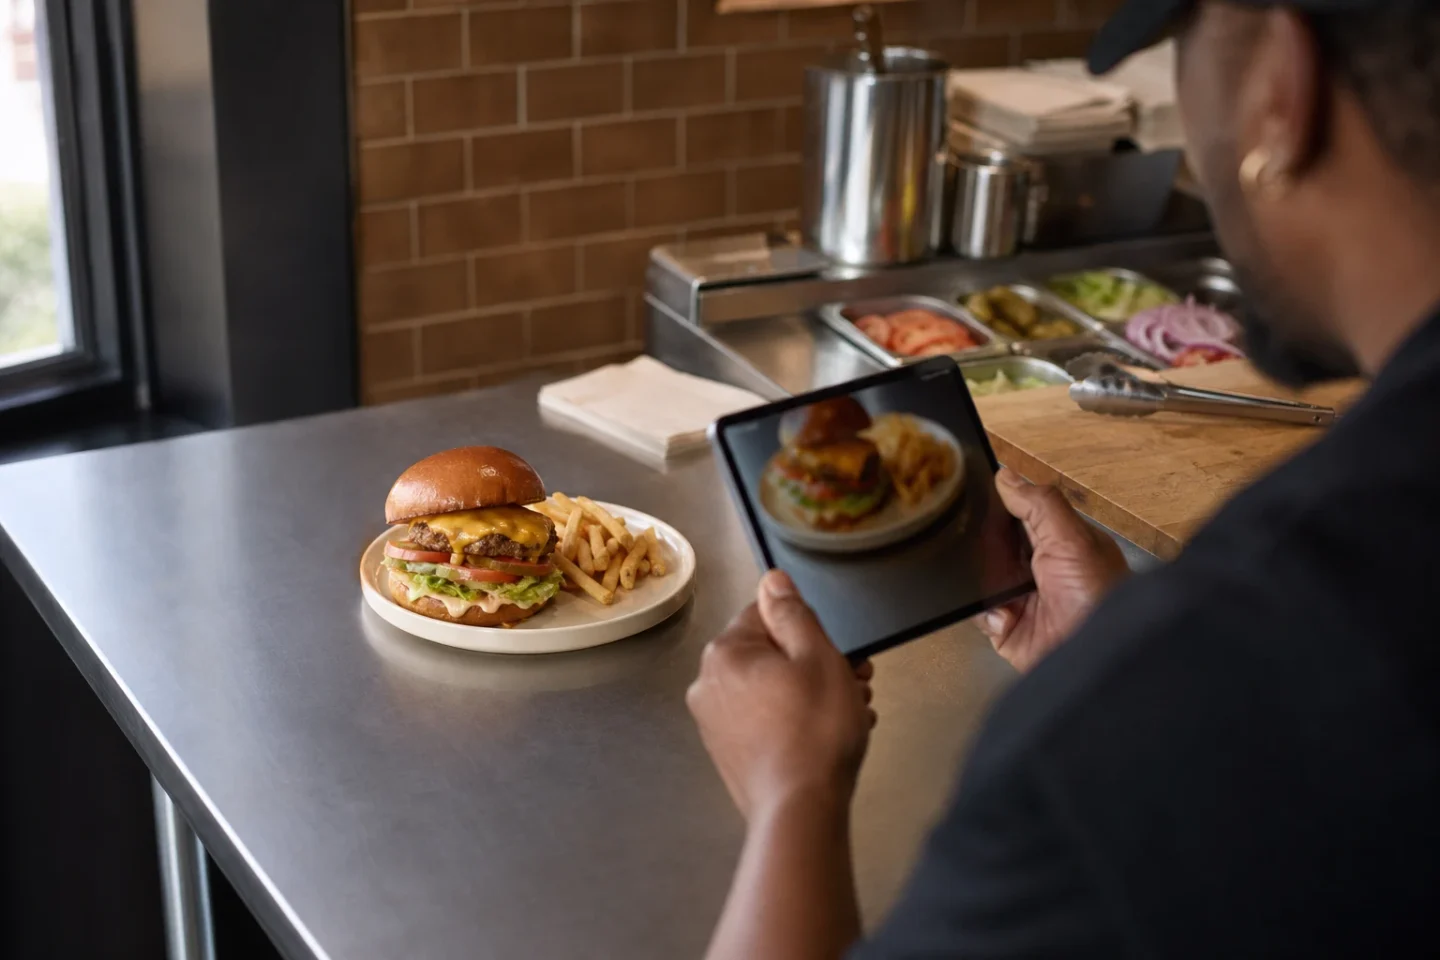
Burger menu photos sell height and texture — until AI invents layers that never hit the box.
The fix is not flatter photos. It is countable photos: a customer can see what is in the burger, in what order, and trust it will arrive that way.
Checklist
- Show the real stack order
- Keep bun and patty proportions honest
- Separate fries/sides as their own SKUs when possible
- Test at phone thumbnail size
Related: fake food photos & trust · AI food photo guide.
Generate burger sets on FoodPhoto.ai.
A production-ready method for AI-assisted burger menu photos
Practical answer: Build a real burger with countable patties, cheese and toppings. Optimize for stack readability without fake height, then reject any output that makes the menu less accurate. The main avoidable risk is simple: models can add layers, enlarge portions or invent sauces. This workflow gives a restaurant team an auditable way to move from source photo to approved asset without turning visual polish into an unsupported promise.
A believable burger that matches service builds more trust than an impossible advertising stack.
What honest height looks like
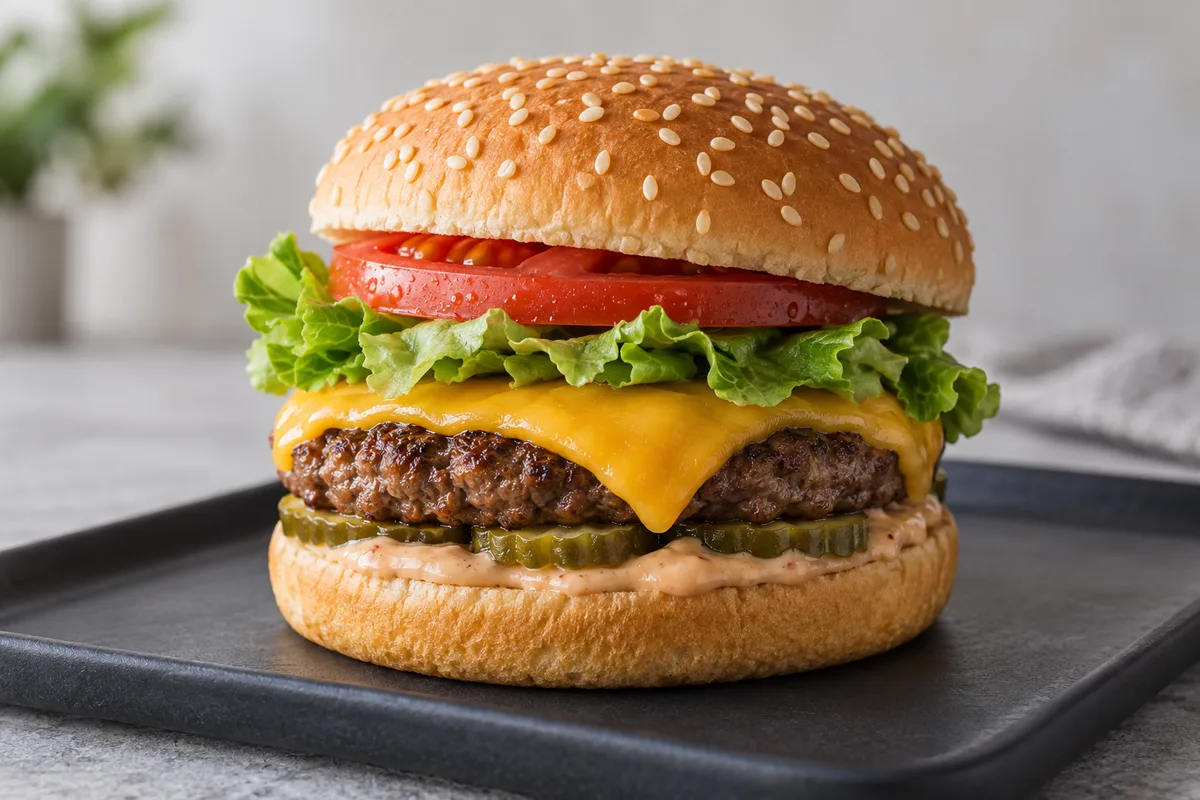
Illustrative example — not a customer order, not a test result. Take one menu item as listed on the recipe card, for example a single-patty cheeseburger: bottom bun, sauce, pickles, one patty, one slice cheddar, lettuce, tomato, sesame top bun. Photograph at a slight three-quarter angle so each band reads as a separate stripe. If a layer cannot be counted in the final image, restyle the real burger and re-shoot rather than letting generation paint it in. Write the stack in the file name or brief — e.g. classic-single_bottom-bun_sauce_pickles_pattyx1_cheddarx1_lettuce_tomato_top-bun — so review compares image against recipe, not memory.
Show the inside by cutting, not by stretching
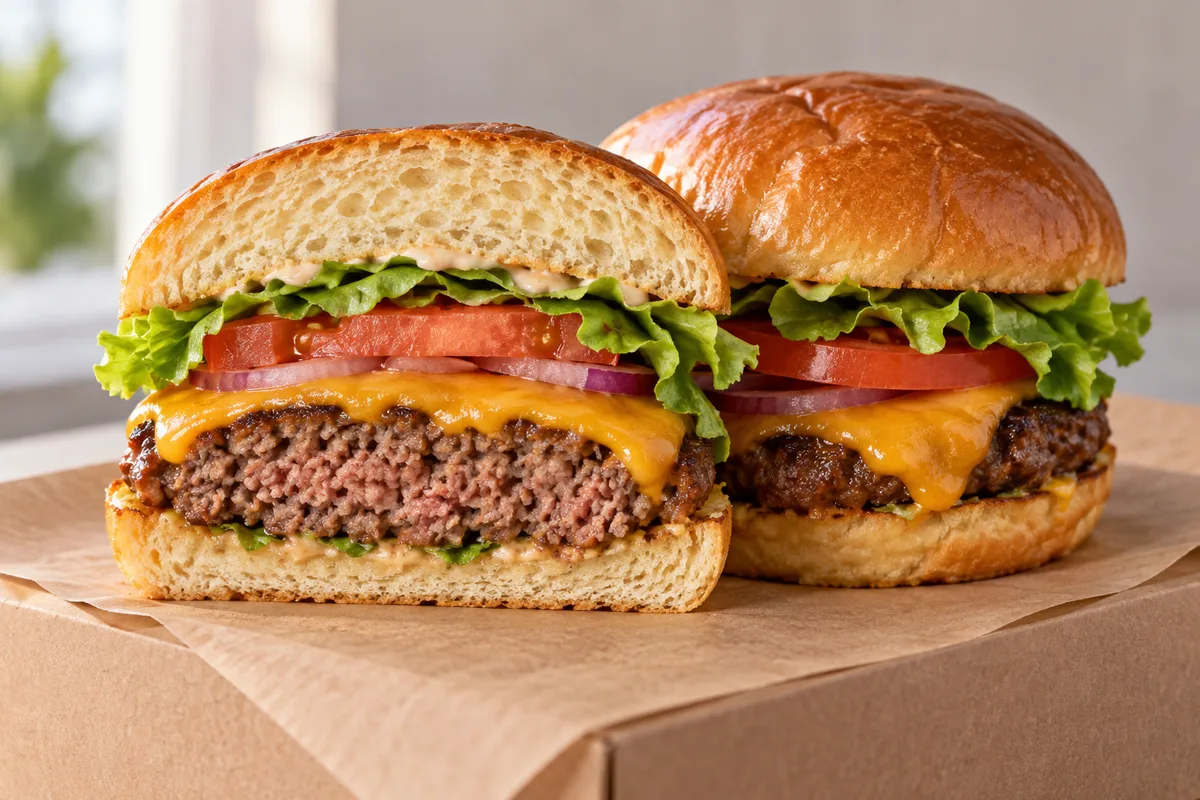
For filled burgers, Uber Eats merchant guidance recommends cutting burgers in half to show the inside, rather than enlarging the burger to imply more filling. See Uber Eats merchant photo guidance on showing what is inside and choosing a 45-degree angle for burgers, Uber menu catalog photo guidelines on centered 5:4–6:4 crops, and DoorDash guidance on 1400x800 centered images. Guidance checked September 13, 2026.
In practice: make the real cut with a clean knife, turn one half forward so the cross-section faces the camera, wipe drips, and keep the second half as reference for patty thickness and cheese melt. Ask the image tool only for background cleanup, even light and sharpness — never for a second patty, taller bun or extra melt.
Example prompt you can reuse and edit
Use in FoodPhoto Studio with your own dish photo. Replace bracketed parts.
Subject: [single cheeseburger as served, one patty, one cheddar slice, sesame top bun]
Composition: three-quarter view at table height, cut half in front showing interior, whole burger behind, fries excluded
Background and vessel: [matte dark tray / kraft box as served]
Lighting: soft daylight from left, true bun color, no gloss boost
Camera viewpoint: 35-degree angle, eye-level with mid-stack, centered square-safe crop
Constraints: keep portion, layer count and bun size true to source; do not add patties, cheese, sauces or height; remove only dust and harsh shadows
What this demonstrates: readability comes from separation and light, not added height. If the output adds anything, reject it and note the reason.
The 120px thumbnail check
Most burger orders start as a small square in a delivery grid. Export a 120px-wide copy and check at arm’s length: can you still see bun, patty band and topping? If the stack collapses into brown blur, pull back slightly, lighten the background, increase space between burger and edge — and retest. Save that thumbnail beside the full image as part of approval.
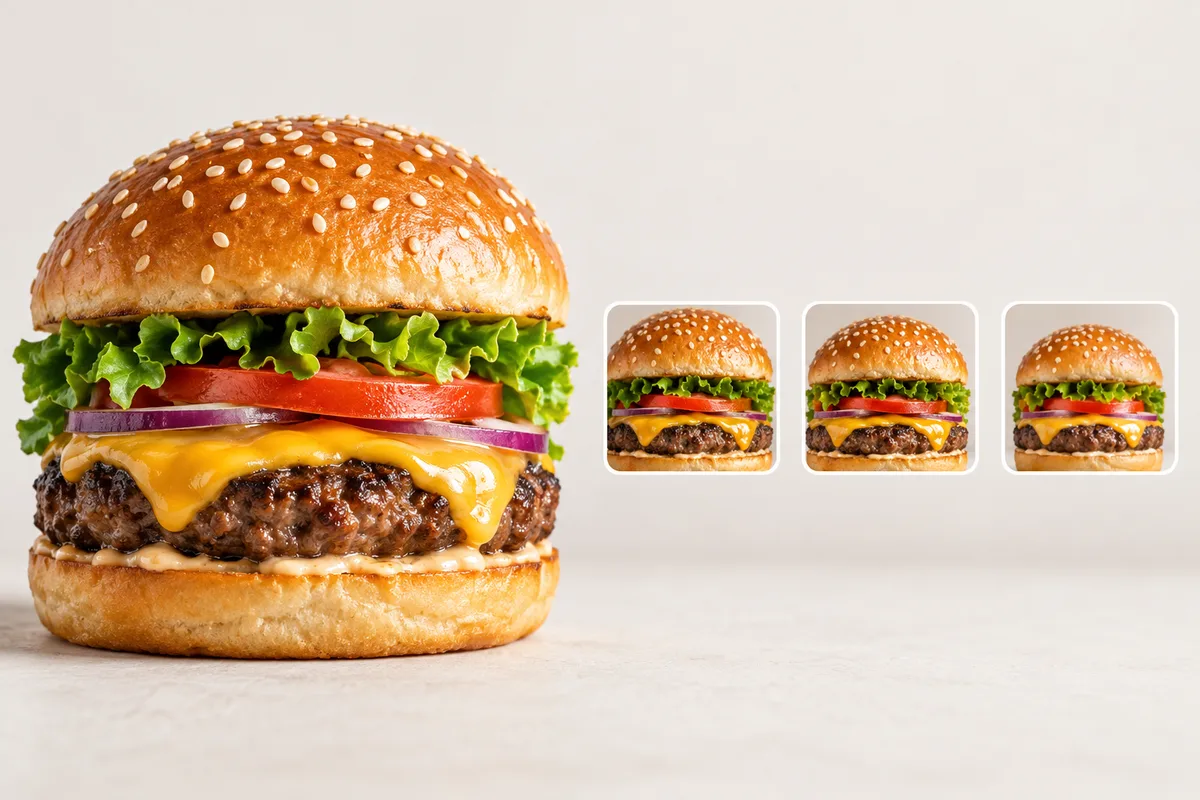
Step-by-step operating workflow
Make AI-assisted burger menu photos an operating process with a named owner, a release checklist and a small feedback loop. The useful unit is not “photos made”; it is an accurate image approved for the channel and connected to the current menu item. That distinction prevents a fast production system from becoming a fast error system.
- Define the release target. Name the exact item, channel, crop and business purpose before capture or generation begins.
- Build from the real product. Record the current portion, ingredients, vessel or packaging so the creative work has a truth reference.
- Apply one documented visual system. Reuse light, angle, background and export rules while allowing the actual food to remain distinct.
- Review before bulk publication. A kitchen or operations owner checks recipe truth; a marketing owner checks readability and brand consistency.
- Measure and refresh. Save the publication date, test window and reason for the next update. Replace assets when the product changes, not just when a calendar reminder fires.
Release checklist
| Gate | Pass condition | How to verify |
|---|---|---|
| Product truth | The image matches the currently fulfilled order | Compare with recipe, portion and packaging |
| Brand system | Light, color and framing follow the documented style | Review beside two already-approved assets |
| Channel purpose | The crop supports the intended customer decision | Preview in the actual surface |
| Ownership | A named person approved accuracy and release | Record reviewer and date |
| Freshness | The asset still reflects the current menu | Recheck after every recipe or packaging change |
How to evaluate the result without inventing a success claim
Count every visible component against the recipe card before release. Hold price, availability, promotion and service window as stable as practical. Record the dates and sample size, and describe the result as an observation from that test—not as a universal promise. If several things changed together, the data cannot isolate the photo.
Useful process metrics are approval rate, attempts per approved image, time from capture to publication, rejection rate and the share of live menu items with current imagery. Commercial metrics can include item views, add-to-cart actions or orders when the platform exposes them, but seasonality and promotions must stay in the interpretation.
Accuracy, rights and update policy
Use photos the restaurant owns or is licensed to modify. Do not copy a competitor’s dish, branding or protected campaign image. Keep the food representative of what a customer can order, disclose material synthetic changes when the context requires it, and remove an image when the recipe, portion, vessel or packaging no longer matches.
Evidence rule: Keep the original capture, the approved output and the reviewer decision together. That record lets the team explain what was enhanced and reverse a bad release without guessing.
Editorial review: This operating guidance was reviewed on August 21, 2026. It avoids promised rankings or sales outcomes and should be rechecked against the live channel before a bulk upload.
Put the workflow into practice
Start with one representative dish in FoodPhoto Studio, compare the result with the original, and review real transformation examples before standardizing a look. For a larger catalog, estimate approved-image cost from the current FoodPhoto pricing and include staff review time in the calculation.