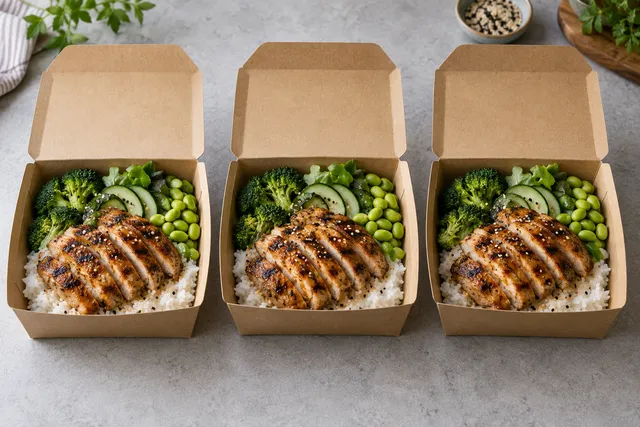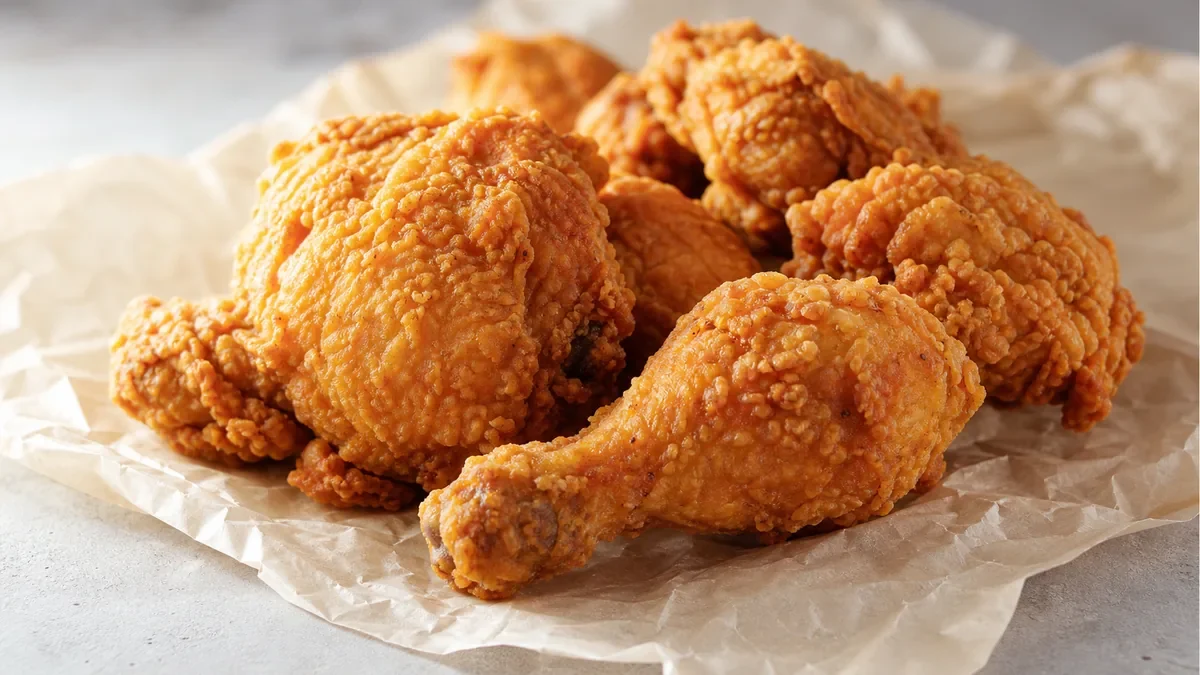
Doordash: verified guidance and working exports
DoorDash menu item guidance asks for landscape 16:9 photos at least 1400 × 800 px. Square thumbnails are display crops, not a square upload rule. Header, carousel and logo images have separate requirements. DoorDash help pages describe different file caps for different upload contexts; the account upload field is the final check.
| Menu item minimum | 1400 × 800 px |
|---|---|
| Orientation | Landscape, 16:9 |
| Conservative export preset | JPG, below 2 MB; confirm the upload field |
| Other assets | Use the separate header, carousel or logo instructions |
Doordash primary guidance · checked October 2, 2026. This table describes the scope of that source; the destination account remains the final check.
The short answer
A practical operator standard:
- Start with the real dish, prepared as sold.
- Use a high-resolution source image from a phone or camera.
- Export a landscape 16:9 version for predictable cropping.
- Keep the main food item centered with visible edges.
- Avoid text, badges, logos, borders, watermarks, and heavy filters.
- Make sure the photo is accurate to the delivered item.
- Recheck current DoorDash rules before a large upload.
For a more spec-focused reference, keep the FoodPhoto.ai DoorDash guide bookmarked here: DoorDash delivery photo specs.
Why DoorDash photo specs are only half the job
Operators often search for DoorDash photo size requirements because they want one exact number. That is understandable, but the real problem is usually broader than dimensions. A technically accepted image can still underperform visually if the food looks small, dark, cluttered, or confusing in a delivery-app grid.
DoorDash customers rarely study a menu photo full screen. They scan rows of small tiles while comparing restaurants, item names, delivery fees, ratings, and prices. Your image has to communicate the dish in a second or less. That means crop and readability matter as much as file size.
The safest approach is to create a repeatable image workflow. You do not want each menu item photographed, edited, cropped, and uploaded differently. You want every item to feel like it belongs to the same restaurant, while still showing the unique texture, portion, and ingredients of that dish.
Working image format for DoorDash menu photos
Because platform rules can change, do not treat any third-party blog post as the final policy. Check DoorDash Merchant resources before upload, especially if you are submitting photos through a portal, third-party menu manager, or agency workflow.
That said, this working format is practical for most restaurant teams preparing delivery thumbnails:
| Photo decision | Practical recommendation | Why it matters |
|---|---|---|
| Source image | Use the highest-quality phone or camera photo available | Gives you room to crop without blur |
| Working crop | landscape 16:9 | More predictable in delivery thumbnails |
| Subject position | Center the dish with slight breathing room | Reduces accidental crop damage |
| Lighting | Bright, natural-looking, evenly exposed | Keeps food readable on mobile screens |
| Background | Clean and simple | Prevents the dish from blending into clutter |
| Styling | Accurate to the sold item | Builds trust and reduces complaints |
| Text overlays | Avoid | Marketplaces may reject or crop them badly |
| File naming | Use item names and internal IDs where helpful | Reduces upload mistakes during batch work |
The key is not to crop so tightly that the burger bun, pizza crust, bowl rim, or drink top gets cut off when the marketplace displays the image in a different shape. Leave enough visual margin that the item still looks intentional after platform cropping.
Thumbnail readability rules operators can actually use
A good DoorDash image should be understandable at a glance. Before uploading, shrink the photo on your screen or view it on a phone. If you cannot immediately identify the item, customers will struggle too.
Use these thumbnail checks:
- Can you tell what the dish is without reading the name?
- Is the main ingredient visible?
- Does the dish fill enough of the frame?
- Are the edges of the item still visible after a landscape 16:9 crop?
- Is the food brighter than the background?
- Are sauces, toppings, and texture visible?
- Is packaging shown only when it helps set expectations?
- Would this image still work beside five competitors in a delivery grid?
This is especially important for bowls, salads, sandwiches, fried foods, and family meals. A bowl photographed too far away becomes a small circle. Fried items photographed under warm, dim light can turn into a brown block. Sauced foods can look messy if the angle is too low or the crop is too tight.
For a deeper thumbnail strategy, read the FoodPhoto.ai delivery app photo thumbnail playbook.
Crop guidance by menu item type
Different dishes need different crop decisions. A single restaurant may need several composition patterns, but the final exports should still feel consistent.
| Item type | Best crop approach | Common mistake |
|---|---|---|
| Burgers and sandwiches | Three-quarter angle, centered, visible layers | Cutting off the top bun or hiding fillings |
| Pizza | Top-down or slight angle, show crust and toppings | Cropping so tightly the size is unclear |
| Bowls | Top-down or high angle, clear ingredients | Shooting too far away so ingredients disappear |
| Fried foods | Bright side light, sauce visible if included | Letting everything become one brown shape |
| Drinks | Landscape source, 16:9 crop with the complete glass visible | Cropping off garnish, lid, or cup base |
| Desserts | Close enough for texture, with portion visible | Over-styling so the item looks different from delivery |
| Family meals | Wider crop showing all components | Making the spread look smaller than it is |
If your menu has many similar items, use crop differences to make them easier to distinguish. For example, two chicken sandwiches should not look identical if one is spicy and one is classic. Show the sauce, toppings, or side angle that makes the difference clear.
Quality rules before uploading to DoorDash
DoorDash and other marketplaces care about the customer experience. Photos that are misleading, low quality, overly promotional, or visually confusing can create problems even if the file technically uploads.
Use cautious, current language with your team: platform policies can change, and approval can depend on marketplace rules, category, region, and upload method. Check the current DoorDash rules when preparing a major menu refresh.
Your internal quality bar should be stricter than basic upload acceptance.
DoorDash photo QA checklist
- The image accurately represents the dish as sold.
- The item is prepared with normal restaurant portions.
- The crop works in the landscape 16:9 preview.
- The photo is bright without looking fake or overprocessed.
- The background is clean and not distracting.
- No text, logo, watermark, sticker, or promotional badge is added.
- The dish name and image match in the upload sheet or menu manager.
- The item is not confused with a similar menu item.
- The image still reads clearly when viewed small on a phone.
- The file is saved in the correct place with a clear name.
- Current DoorDash Merchant photo rules have been checked.
This checklist is simple enough for a shift lead, marketing assistant, virtual assistant, or owner-operator to use during a menu refresh.
Common reasons DoorDash photos get cropped badly
Most crop issues start before upload. The source photo may be too vertical, too horizontal, too close, or too far away. Once a marketplace crops it into different display containers, the problem becomes obvious.
Common causes:
- The dish is placed near the edge of the source photo.
- The photo was taken vertically and the item sits too low in the frame.
- The plate is large but the food portion is small.
- The background takes more attention than the dish.
- The item was photographed in packaging that hides key ingredients.
- The crop focuses on props instead of the food.
- The image was edited for social media, not delivery thumbnails.
Instagram-style photos do not always work for DoorDash. A moody, artistic image might look good in a feed and still fail in a menu grid. Delivery thumbnails need clarity before mood.
How to prepare a photo batch for DoorDash
For a full menu or category refresh, do not edit one photo at a time with no system. Batch preparation reduces mistakes and helps the menu look more trustworthy.
A practical workflow:
- Export your active DoorDash menu item list.
- Mark which items need new or refreshed photos.
- Photograph real dishes using consistent light and angle families.
- Save source images with item names or menu IDs.
- Create landscape 16:9 working crops for each item.
- Improve exposure, background, and color consistency.
- Review thumbnails in a grid before upload.
- Match each final image to the correct menu item.
- Upload in small batches when possible.
- Spot-check the live menu on mobile.
Small batch uploads are easier to QA than a rushed full-menu replacement. If your restaurant has 80 items, start with the highest-impact categories: best sellers, high-margin dishes, bundles, lunch items, and items that are hard to understand from the name alone.
Where FoodPhoto.ai fits in the workflow
FoodPhoto.ai is built for restaurant operators who already have real dish photos but need them to look cleaner, brighter, more consistent, and more menu-ready. The point is honest enhancement, not fake fantasy food.
A typical FoodPhoto.ai workflow for DoorDash photos looks like this:
- Take phone photos of the actual dish in your restaurant.
- Upload the real dish images to FoodPhoto.ai.
- Improve light, background, crop, and visual consistency.
- Review whether the final image still matches the item guests receive.
- Export menu-ready images for delivery thumbnails.
- Use your internal checklist before uploading to DoorDash.
This is useful when your team can cook and photograph the food, but does not have time for manual retouching, background cleanup, and consistent cropping across a menu. It also helps multi-location teams keep photos from looking like they came from five different restaurants.
If you are deciding how polished your DoorDash menu should be, the FoodPhoto.ai guide to professional food photos for DoorDash explains where better photos matter most.
What not to do with AI-edited DoorDash photos
The safest rule is simple: improve the real photo, but do not misrepresent the food.
Avoid:
- Adding ingredients that are not included.
- Making portions look larger than what customers receive.
- Showing premium sides, drinks, or sauces that are not part of the item.
- Using unrealistic steam, shine, or garnish.
- Turning a phone snapshot into an image that no longer matches the kitchen output.
- Using one generic dish image across multiple different items.
Customers notice when delivery food does not match the photo. That can lead to complaints, refunds, lower trust, and weaker repeat ordering. Better photos should set clear expectations and make the real item look its best.
DoorDash image specs vs. multi-platform specs
Many restaurants do not upload photos only to DoorDash. The same dish image may also need to work on Uber Eats, Grubhub, Google Business Profile, your website, QR menu, and social media.
That does not mean one export should be used everywhere. Keep a high-resolution master image, then create platform-specific crops. DoorDash thumbnails may need one crop; your website menu may need another; social posts may need a different composition entirely.
A simple asset structure helps:
| Folder | Purpose |
|---|---|
| Source photos | Original phone or camera images |
| Edited masters | Cleaned high-resolution versions |
| DoorDash exports | Landscape 16:9 item-photo files |
| Website exports | Crops for online menu or ordering page |
| Social exports | Optional promotional crops |
| Archive | Old photos kept for reference |
This prevents the common mistake of taking a social graphic with text and trying to reuse it as a DoorDash menu item photo. Delivery app photos should show the food, not act like ads.
Final pre-upload review
Item-photo rules rechecked October 7, 2026: DoorDash merchant photo help and the maintained DoorDash guide. The earlier article date remains unchanged.
- Use an owned photograph of the actual served item or genuine combo. Each distinct item needs its own image; reuse only for the exact same item.
- Check landscape 16:9, at least 1400×800 px, within the 2 MB limit, at least 80% of the item visible and roughly 50–70% frame fill.
- Reject added text, graphics, logos, borders, watermarks or people. Text already printed on physical packaging has a different rule; secondary hands must not obscure the item.
- Review the real mobile listing after upload. Keep the high-resolution source and other permitted-channel crops separately.
Before a DoorDash upload, review the photos the same way a customer will see them: quickly, on a phone, among many choices.
Ask:
- Does this photo make the item easier to understand?
- Would I recognize the dish if the item name were hidden?
- Is the food the clear subject?
- Does the crop leave enough room for platform display changes?
- Is the image accurate enough that the kitchen can consistently deliver against it?
- Does the category look consistent as a group?
If the answer is no, fix the image before upload. Replacing bad photos later is more work than catching problems during QA.
Bottom line
DoorDash photo size requirements are the starting point, not the full strategy. Check the current marketplace rules, prepare high-quality landscape 16:9 exports, keep dishes centered, avoid overlays, and test every image as a mobile thumbnail. The best DoorDash photos are accurate, readable, consistent, and appetizing without exaggerating what the customer will receive.
FoodPhoto.ai helps restaurants turn real dish photos into cleaner, brighter, delivery-ready images by improving crop, light, background, and consistency. For a small batch, full menu refresh, or repeatable delivery-photo workflow, review FoodPhoto.ai pricing and choose the try pack or menu refresh option that fits your restaurant.
FAQ
What are the DoorDash photo size requirements for restaurants?
The merchant help page lists landscape 16:9, at least 1400×800 px and a 2 MB file limit. Keep at least 80% of the item visible and let the food fill roughly 50–70% of the frame. No square or vertical item-photo upload. Rechecked October 7, 2026; confirm the actual merchant field before uploading.
Should DoorDash food photos be square or horizontal?
Use horizontal landscape 16:9 for DoorDash item photos. Keep the complete real item visible with room around it; do not stretch a square source or crop away ingredients to force the ratio. A square version belongs only to a separate destination that accepts it.
Can I use AI-edited food photos on DoorDash?
Review the actual dish after every edit. Keep the real portion, ingredients and served item; reject invented or misleading changes. Use your own original image and check the current merchant content rules. No added text, graphics, borders or watermarks; physical packaging text can be allowed. Do not include people. An export preset or completed edit does not establish approval.
Why do my DoorDash photos look worse after upload?
Delivery platforms may compress, crop, or display images differently across devices. Photos often fail because the dish is too small, too dark, cluttered, cropped too tightly, or unreadable as a thumbnail. Test the image at small sizes before uploading.
Next step
Choose one real dish photo, enhance it, and compare the before/after at delivery-app thumbnail size. If it still looks like the dish your kitchen serves, use the same standard across the rest of your menu.