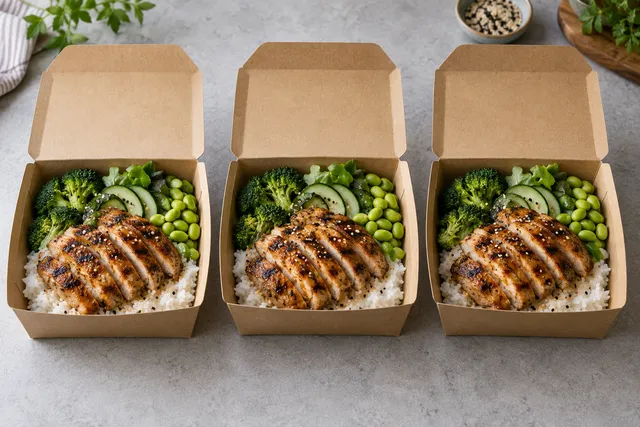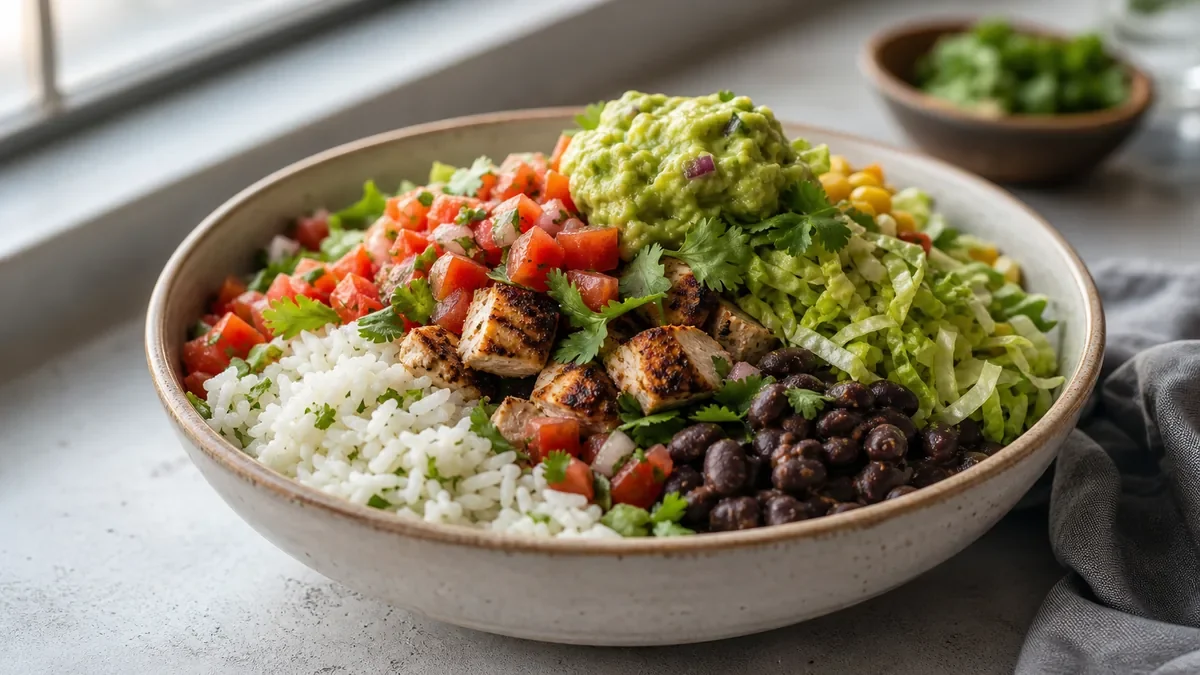
Ghost kitchen menu photos have to sell the food before a customer can smell it, see the dining room, or ask a server a question. The strongest approach is practical: capture real dishes with a phone, make the preparation and composition consistent, enhance light and background carefully, and export a menu-wide set that looks trustworthy at thumbnail size. You do not need a storefront or a traditional photo studio, but you do need a repeatable system that helps customers recognize what they are ordering.
The short answer
To create better ghost kitchen menu photos for delivery apps, photograph your actual dishes in a controlled prep-area setup, prioritize the items customers are most likely to click, and edit every image to the same visual standard. Use clean backgrounds, readable crops, accurate portions, and honest color correction. AI enhancement can make phone images more consistent, but it should improve the presentation rather than invent food that is not on the menu.
Your goal is not to make every image look luxurious. Your goal is to make each dish easy to understand, appealing in a crowded thumbnail grid, and consistent with the experience customers receive at home.
Why ghost kitchens need a photo system
A traditional restaurant can build trust through its exterior, dining room, signage, staff, and atmosphere. A ghost kitchen usually competes through a delivery marketplace listing, a name, a rating, a price, a delivery estimate, and a small set of images.
That makes menu photography unusually important. A customer may see your thumbnail beside several similar dishes from nearby operators. Within a few seconds, they are deciding which image looks most appetizing, understandable, and reliable.
The challenge is broader than taking one attractive hero shot. Ghost kitchens often operate several concepts from one compact production space. They may change menus frequently, share ingredients between brands, or sell food designed primarily for transport. A useful photo workflow must therefore support:
- Fast capture during normal kitchen operations
- Consistent framing across multiple brands or menus
- Accurate representation of portions and toppings
- Easy replacement when a recipe or package changes
- Crops that remain clear on small mobile screens
- Exports that fit current marketplace requirements
A focused visual system can help you compete without the fixed cost of a studio shoot. For broader operating guidance, see this ghost kitchen photography guide and the ghost kitchen food photography playbook.
Start with thumbnail competition
Delivery-app images are often viewed small, especially in search results, category pages, recommendation carousels, and reorder screens. A photo that looks fine at full size can become indistinct when reduced to a small square or portrait card.
Before photographing, ask what a customer needs to identify immediately:
- Is this a burger, bowl, curry, pizza, sandwich, dessert, or bundle?
- What is the primary ingredient or flavor cue?
- Does the dish have a clear focal point?
- Does the crop leave enough room around the food?
- Does the image still work without reading the item name?
Use the hero dish as the visual anchor. Avoid placing several small components at equal visual importance unless the item is specifically a platter, sampler, or family meal. A tight composition usually performs better than a wide view of a prep counter, but do not crop so aggressively that customers cannot tell the serving size or packaging context.
Review your images at the approximate size customers will see them. If the fries, garnish, sauce, or filling disappear at thumbnail scale, adjust the composition before editing.
For more detail on this specific decision, use the delivery-app photo thumbnail playbook.
A low-cost phone capture setup
You can create a reliable capture station in a small kitchen. The setup does not need to be permanent, but its position and lighting should stay consistent from one photo session to the next.
A practical setup includes:
- A recent phone with a clean camera lens
- A stable stand, shelf, or compact tripod
- A matte surface in a neutral color
- One large window with indirect light, or a diffused LED light
- A white card or light-colored board to bounce light into shadows
- A few containers, plates, or packaging formats used for real orders
- A small cloth or brush for removing crumbs and spills
Place the dish near the light source rather than directly under harsh overhead lighting. Turn off mixed-color lights when possible. Mixed lighting can make food look unusually yellow, green, or gray and makes a menu set difficult to match.
Keep the phone roughly level with the dish for most main-course photos. A slightly lower angle can make burgers, stacked sandwiches, and layered foods look substantial. A higher angle can work for bowls, pizzas, meal bundles, and dishes where the arrangement is important. Pick a small number of angles and use them deliberately rather than changing perspective for every item.
Do not use digital zoom. Move the phone closer or crop later. Tap to focus on the most important part of the dish and keep exposure steady enough that the whites of packaging and plates do not clip.
Photograph the food customers actually receive
Trust is fragile in delivery. Customers are already making an educated guess about temperature, portion, texture, and packaging. Menu photos should reduce uncertainty rather than create a promise the kitchen cannot fulfill.
Photograph the real recipe, current portion, and normal presentation. If a garnish is optional, do not show it as standard. If a sauce comes separately, show the actual arrangement or make the relationship clear in the item description. If delivery packaging changes the appearance significantly, consider whether the image should include a small amount of packaging context.
This does not mean every image must look plain. You can arrange the food carefully, clean the rim of a container, choose a flattering angle, and remove distractions. The important boundary is accuracy: do not add ingredients, increase portions, create impossible steam, or show a finished dish that your operation does not consistently produce.
A good editing rule is simple: if a customer could reasonably feel misled after receiving the order, the image has gone too far.
Build menu-wide consistency
Individual images can be attractive while the menu still feels unprofessional. Consistency helps customers understand that the items belong to the same concept and makes the listing easier to scan.
Choose a small visual system before processing the full menu:
| Element | Practical choice for a ghost kitchen | Why it matters |
|---|---|---|
| Background | One neutral surface or a limited set of approved backgrounds | Prevents visual clutter between items |
| Crop | Square or marketplace-approved crop with a consistent margin | Keeps thumbnails readable |
| Camera angle | One primary angle plus one specialty angle | Makes the menu feel intentional |
| Lighting | Soft, directional, and similar across sessions | Preserves color and texture |
| Color | Natural saturation and consistent white balance | Supports customer trust |
| Props | Minimal, repeatable, and relevant to the concept | Keeps attention on the food |
| Packaging | Shown only when useful or required for context | Avoids confusing the product view |
Create a reference image for the team. It can show the preferred background, distance from the phone, angle, margin, and lighting direction. When a new item launches, staff should be able to reproduce the look without guessing.
If you operate several virtual brands, decide whether they share a visual family or need clearly different identities. Consistency does not mean every concept must look identical. It means each concept has a recognizable standard.
Where AI enhancement helps
AI enhancement is useful when the source photo is real but limited by kitchen conditions. A phone image may have uneven lighting, a distracting background, inconsistent framing, or a slightly dull presentation. A careful enhancement workflow can address those problems quickly.
Useful applications include:
- Correcting exposure and white balance
- Lifting shadows without flattening texture
- Cleaning up a background while preserving the dish
- Aligning crops and margins across a menu
- Improving clarity for small-screen viewing
- Preparing consistent exports for different menu placements
FoodPhoto.ai is designed for this type of workflow: restaurant owners upload real dish or phone photos, then improve light, background, crop, consistency, and menu-ready export. The source remains the foundation.
The best process is reviewable. Keep the original photo, apply a defined enhancement, and compare the result against the dish as served. Reject any output that changes the identity of the food or creates details that are not physically present.
AI should not be used to disguise poor operations. If a burger is regularly crushed in transit, a brighter image will not solve the problem. If a dish looks different each shift, menu photography may reveal a presentation issue that needs an operational fix first.
A first-batch priority list
Do not wait until every menu item is photographed. Start with the dishes that can have the biggest effect on customer choice and ordering confidence.
Use this order:
- Best sellers with no current image
- Signature dishes that define the concept
- High-margin items that customers can understand visually
- Bundles, meal deals, and family portions
- Items with strong color, texture, or recognizable ingredients
- New launches that need early visibility
- Items with poor or inconsistent existing photos
A small, polished set is more useful than a large set with mismatched quality. Once the first batch is live, monitor which items still look weak in the menu grid and schedule the next capture session around those gaps.
Delivery-app photo checklist
Use this checklist before uploading any image:
- The dish shown is the current recipe and portion.
- The main item is obvious at thumbnail size.
- The image has a clean, uncluttered background.
- Lighting shows texture without harsh glare or deep distracting shadows.
- Colors look natural and match the food served.
- No unlisted garnish, ingredient, utensil, or prop suggests a false promise.
- The crop works on the intended marketplace placement.
- The image is sharp enough for mobile viewing.
- Similar menu items use comparable framing and margins.
- The file is exported in a format and size accepted by the current platform.
- The final image has been checked against the original dish.
Marketplace requirements and moderation rules can change. Check the current rules for every delivery service you use before publishing, especially if you operate in multiple regions or upload images through a third-party menu system.
A repeatable menu refresh workflow
A simple monthly or quarterly workflow keeps your visuals from falling behind the operation. The exact frequency depends on how often your recipes, packaging, and offers change.
First, export or review the current menu and mark missing, outdated, and inconsistent images. Next, select a focused batch and prepare the dishes using the normal service presentation. Capture several angles while the food is at its best, then choose the strongest source for each item.
Process the images using the same visual rules. Keep the original and final versions together with a clear item name and date. Before upload, complete the checklist and view the menu as a customer would: quickly, on a phone, among competing thumbnails.
After publishing, note practical feedback. Are customers asking questions that the image could answer? Is a bundle difficult to understand? Does the dish arrive looking materially different? Use those observations to improve both photography and operations.
This workflow is especially valuable for ghost kitchens because menus can evolve faster than brand assets. Treat menu photos as part of the operating system, not a one-time launch task.
Common mistakes to avoid
The first mistake is photographing everything from a different angle. Variety can feel creative, but excessive variation makes the menu harder to scan. Use a standard angle for most items and reserve alternatives for foods that genuinely need them.
The second is over-editing. Excessive sharpness, saturation, blur, or artificial background replacement can make food appear synthetic. A trustworthy image usually needs less transformation than operators expect.
The third is showing an idealized dine-in plate for a delivery-only product. If the dish is packed in a bowl or clamshell, consider whether the photo should communicate that reality. The image can still be attractive while setting a sensible expectation.
The fourth is ignoring bundles and add-ons. Customers often decide between a single item and a value combination. Photograph the offer in a way that makes the contents immediately legible, and ensure the menu description agrees with the image.
The fifth is treating all brands as one menu. Shared kitchen infrastructure is efficient, but each concept should have a clear visual identity. Use separate reference examples when background, prop, color, or composition needs to differ.
Final takeaway
Ghost kitchen menu photos do not require a physical storefront, expensive equipment, or a full studio production. They require real food, controlled phone capture, clear thumbnail thinking, consistent editing, and honest review.
Start with the dishes most likely to influence a delivery decision. Create a small capture station. Set rules for crop, light, background, and color. Use AI enhancement to improve real images, not to manufacture an impossible product. Then maintain the set as recipes, packaging, and menus change.
When you are ready to refresh a menu, review the menu refresh workflow, compare the cloud kitchen photography service, and see the available FoodPhoto.ai pricing and try-pack options.
FAQ
How can a ghost kitchen create menu photos without a studio?
Use a phone, a clean prep area, indirect window light or a simple LED light, and a consistent shooting setup. Capture real finished dishes, then improve exposure, background, crop, and color with careful editing or AI enhancement.
Should ghost kitchen photos show the exact food customers receive?
Yes. Menu photos should represent the actual portion, ingredients, packaging, and presentation customers can expect. Enhancement can improve clarity and consistency, but it should not add ingredients or create a fantasy version of the dish.
What makes a delivery-app thumbnail effective?
A clear hero dish, strong contrast, recognizable ingredients, a tight but uncrowded crop, and consistent presentation help customers understand the item quickly while scrolling.
How many menu items should a ghost kitchen photograph first?
Start with best sellers, signature items, bundles, and dishes with the highest purchase potential. A focused first batch is easier to produce and maintain than trying to photograph every item at once.
Next step
Choose one real dish photo, enhance it, and compare the before/after at delivery-app thumbnail size. If it still looks like the dish your kitchen serves, use the same standard across the rest of your menu.
Enhance real menu photos with FoodPhoto.ai
Cover the menu before chasing a hero shot
Start with best sellers, dishes that contribute margin and items with missing or outdated photos. Keep the actual serving recognizable as a mobile tile; a photo does not guarantee orders.
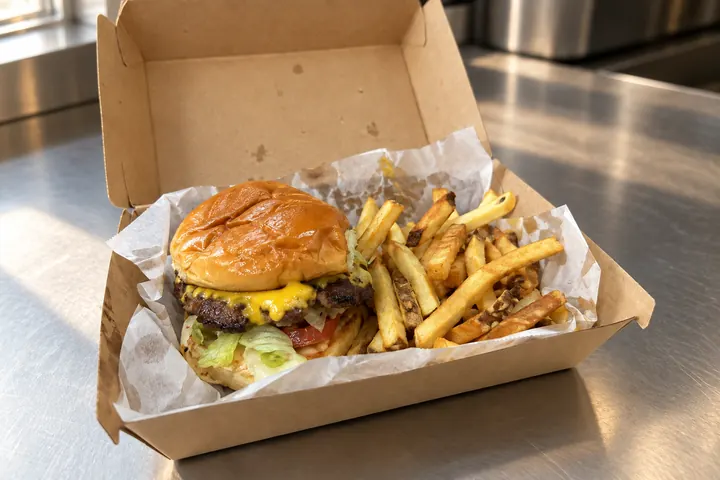
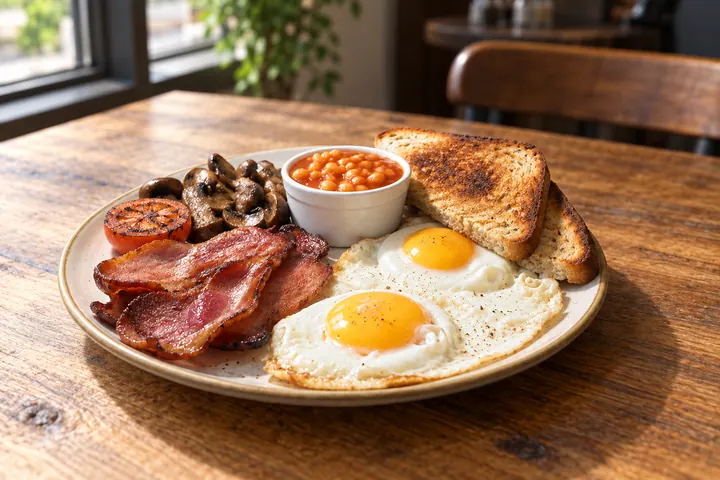
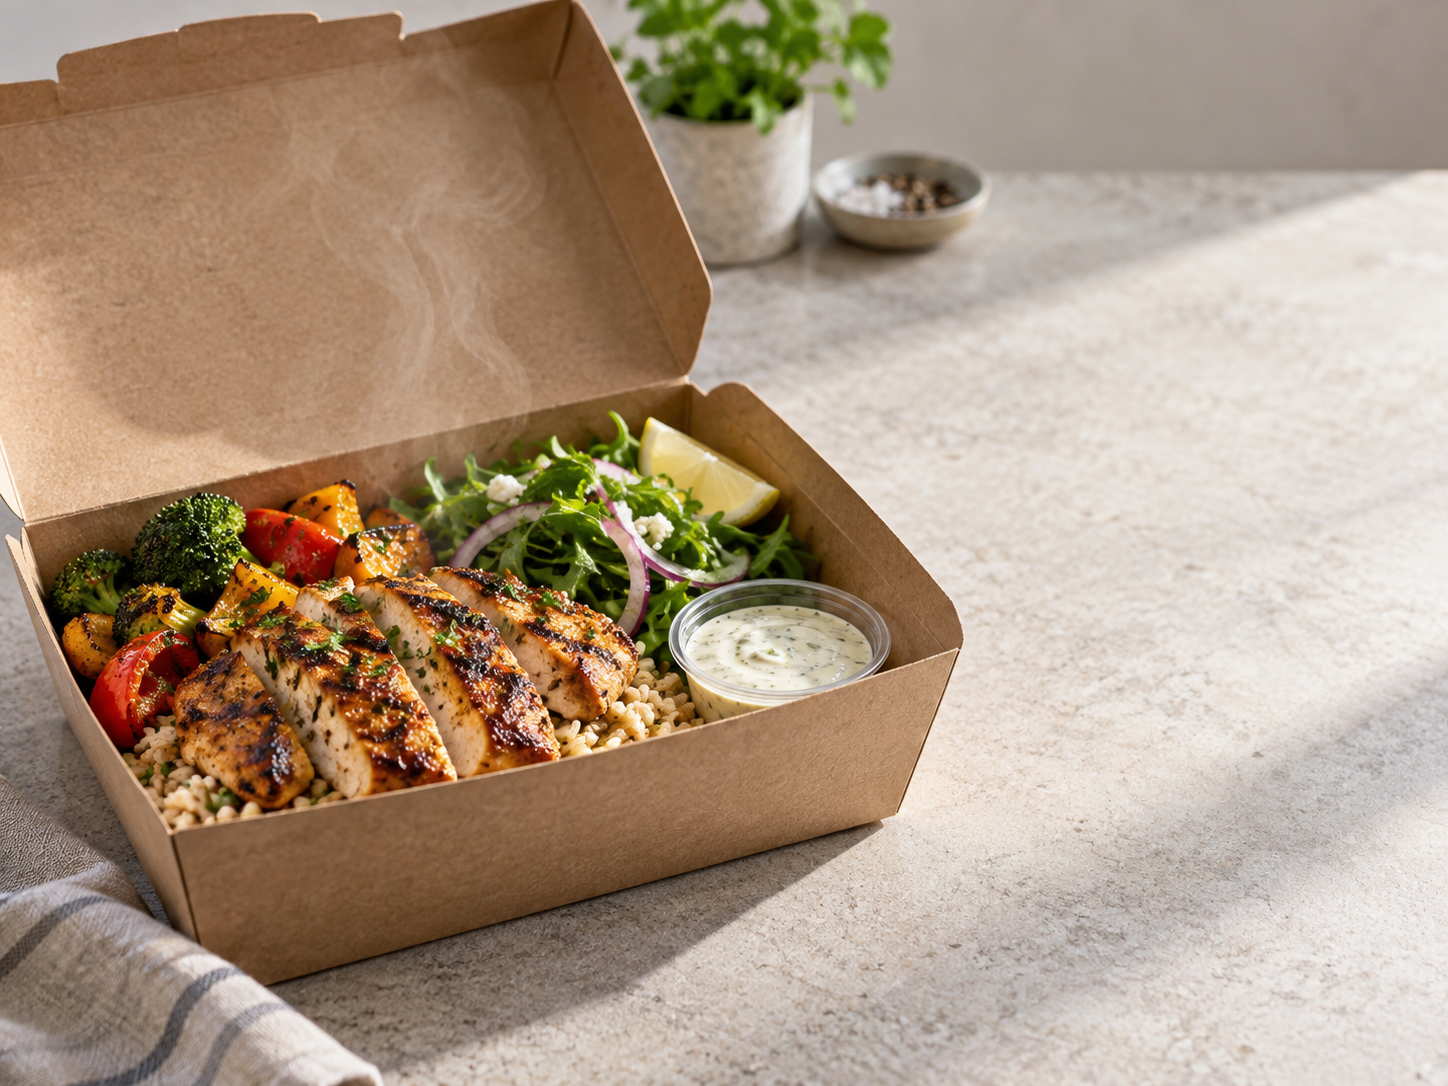
DoorDash item uploads use landscape 16:9; Uber’s merchant guidance recommends 5:4 to 6:4. Check the current channel guidance. Keep original photos for Deliveroo or Wolt, which prohibit generated submissions.
Review sauce texture · Open your next dish in Studio · Current plans