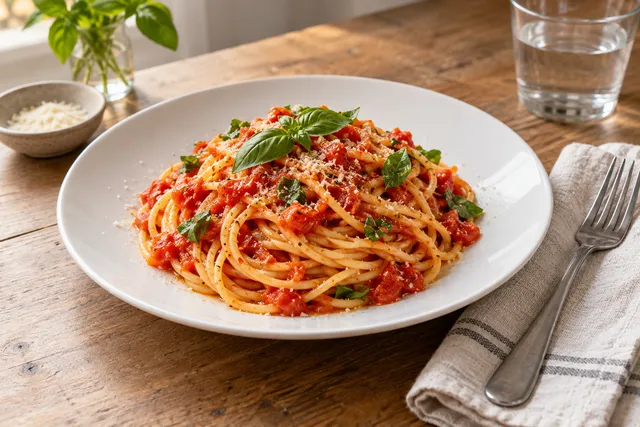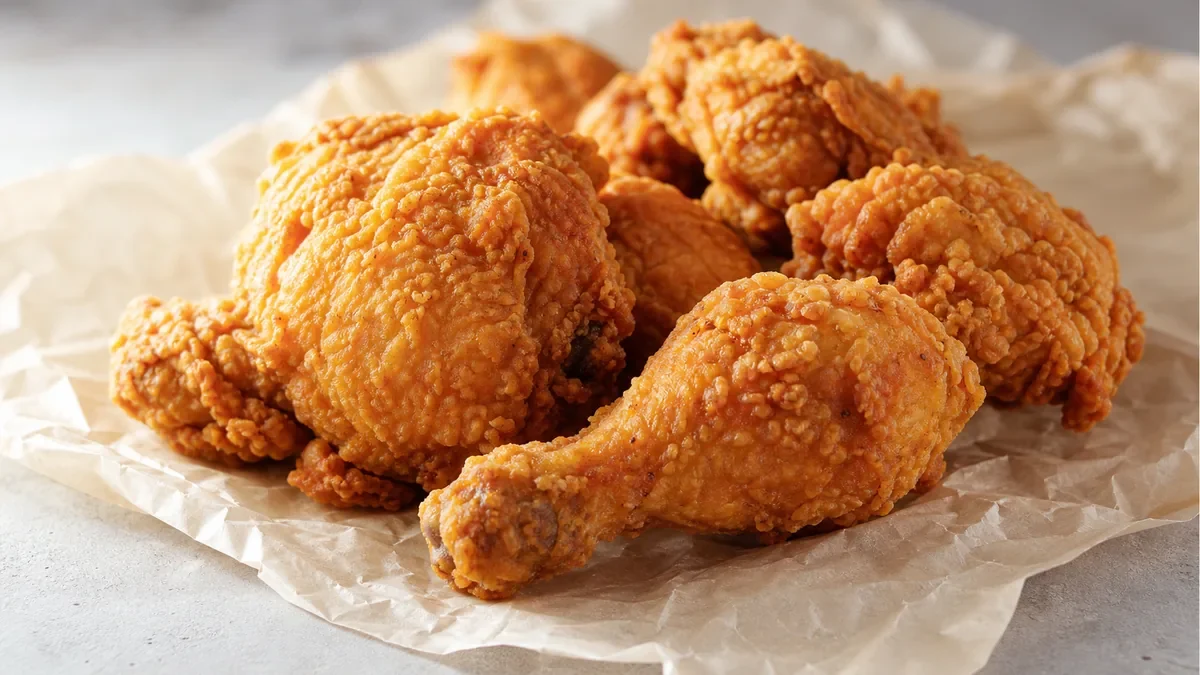
A new menu is only as good as the photos that announce it — and the fastest way to wreck a launch is to let your website, delivery apps, and social show three different versions of the same dish. This menu launch photo rollout plan treats photos as a launch asset, not an afterthought: a realistic shot list, clear approvals, one master set exported to every platform, and a publishing order that prevents mismatch and support headaches. Follow it and every channel shows the same accurate, on-brand image from day one.
Why a rollout plan matters
When photos lag a menu launch, three problems appear at once: customers see old items, channels show inconsistent images, and your support inbox fills with "this isn't what I got" complaints. A rollout plan exists to make every channel match on launch day. It is operational discipline, not creative polish — and it is the difference between a clean launch and a week of cleanup.
Step 1: Build a realistic shot list
Do not try to photograph everything. Prioritize the dishes that actually drive decisions:
- New items — the whole reason for the launch.
- Top sellers that changed — plating, portion, or recipe updates.
- Bundles and combos — high-value choices where a clear photo lifts the average order.
Skip the long tail of modifiers on day one. A focused master set covers the orders that matter and keeps the launch moving. For a repeatable shoot routine, our phone food photography guide for restaurant owners covers angles and setup per dish.
Step 2: Assign three owners
Every launch needs three roles, even if one person wears two hats:
- Shooter — takes the photos at a consistent station.
- Approver — confirms each photo matches what guests actually receive. This is the role that prevents refunds.
- Publisher — exports the crops and uploads across every channel.
A clear approver is non-negotiable. An inaccurate portion or ingredient that slips live is the most common post-launch problem.
Step 3: Shoot once, export many
Keep one master photo per item, then export every platform crop from it. Do not re-shoot for each channel:
| Channel | Crop | Notes |
|---|---|---|
| Delivery apps | Square + landscape | Thumbnail-first; must read small |
| Website menu | Landscape / flexible | Consistent with brand |
| Social | Vertical + square | Reels, Stories, feed |
This is where AI enhancement makes a launch realistic: shoot each new dish on a phone, enhance it to your brand standard, and export all the crops in one pass — no studio booking required. You can try the enhancement on one dish in a $5 pack of 10 photos before launch week. For exact delivery dimensions, see our delivery app photo optimization guide.
Step 4: Publish in the right order
Publishing order is not arbitrary. Go where mismatch hurts most, first:
- Delivery platforms — most "this isn't what I ordered" complaints start here.
- Website menu — your owned source of truth.
- Social posts and promos — the announcement layer.
This sequence shrinks the window where channels disagree. The moment delivery apps and your website match, the riskiest gap is closed.
Step 5: QA like a customer
Before you call the launch done, check it the way a guest will:
- Open every item on a phone, not a desktop.
- Look at thumbnails first — if the dish is unclear small, customers skip it.
- Confirm the photo matches the description and the real portion.
- Check that the same dish looks consistent across delivery, website, and social.
If a thumbnail is confusing, it is costing you orders right now. A quick phone-based QA pass catches the issues a desktop review hides. Our delivery app thumbnail playbook goes deeper on winning the scroll.
Build a reusable launch template
The first launch is the hard one. After that, you should never start from scratch. Save your shot list, role assignments, and crop export settings as a reusable launch template so the next menu change is a checklist, not a project.
A good template captures:
- The standing shot list categories — new items, changed sellers, bundles — so you only fill in the specifics.
- Named owners for shooter, approver, and publisher.
- Your brand photo spec — angle, light, background, color — so every launch matches the last.
- The export crop set for each platform you publish to.
With the template in place, a quarterly special goes from idea to live across all channels in a single afternoon.
Handle specials and limited-time offers the same way
Specials are where most rollout plans fall apart, because they happen between launches and feel too small to formalize. They are not. A limited-time offer with no photo, or a mismatched one, underperforms and confuses customers. Run the same compressed loop:
- Plate the special as it goes out.
- Shoot, enhance, and export.
- Publish delivery first, then website, then social.
- Phone-QA the thumbnail.
Because AI enhancement is fast and cheap, even a one-week special is worth a proper photo. For winning the thumbnail specifically, see our delivery app thumbnail playbook.
Common rollout mistakes that turn a launch into cleanup
Most failed launches do not fail on creativity — they fail on coordination. These are the patterns that quietly cost orders, and they are all preventable:
- Photos lag the menu going live. The new items appear on delivery apps with no image or an old one, so they get skipped during the exact window you most need momentum. Lock the shot list before the menu date, not after.
- One channel gets updated and the others don't. The website shows the new bowl, delivery still shows last quarter's version, and a customer who checked both is now confused about what they're ordering. Publish all channels in the same session.
- No single approver. When "everyone" owns accuracy, nobody catches the portion that grew in the photo but not on the plate. One named approver signs off on every image.
- Re-shooting per platform. Shooting the dish three times for three crops wastes the afternoon and guarantees the versions won't match. Shoot one master, export many.
- Skipping the phone check. A launch reviewed only on a desktop looks fine; the same gallery on a phone reveals soft focus and unreadable thumbnails. Always QA on the device customers use.
If you only fix one of these, fix the approver gap — an inaccurate photo that goes live is the one mistake that generates refunds and one-star reviews instead of just lost clicks. For the broader photo-accuracy discipline, our restaurant menu photo audit checklist is a useful companion before any launch.
A simple launch-day checklist
- Shot list locked (new items, changed sellers, bundles).
- Shooter, approver, publisher assigned.
- One master per item, all crops exported.
- Published: delivery → website → social.
- Phone QA done, every channel matches.
Print it, run it, and your next launch ships clean.
The takeaway
A menu launch photo rollout plan turns a chaotic scramble into a repeatable system: realistic shot list, clear approvals, one master exported many ways, a smart publishing order, and a customer-style QA pass. Get those five steps right and every channel shows the same accurate, appetizing photo from the moment the new menu goes live.
The fastest way to shoot and standardize a whole new menu in-house is to enhance each dish to one look. Get a $5 pack of 10 photos on a new item, or see pricing — 5 photos for $10 to start.
FAQ
What photos should a new menu launch include first?
Start with new items, changed top sellers, bundles, and high-margin dishes. These are the photos most likely to affect launch-week orders.
Which channel should be updated first during a menu launch?
Update delivery platforms first, then your website menu, then social posts. Delivery apps are where mismatched photos most often create refund risk.
How do you keep menu launch photos consistent?
Shoot one master photo per item, export the required crops for each channel, and have one named approver check accuracy before anything goes live.
Can phone photos work for a menu launch?
Yes, if the station, lighting, angle, and enhancement workflow are standardized. The key is honest consistency, not changing the dish.