Start with the job—faithfully improve a real dish, plan a menu-photo workflow, or create a concept—then compare review controls, export requirements, and total cost.
There is no universally best AI food photography app. The useful choice depends on what has to be true when the image leaves the editor: a real dish still needs to look like the dish a guest will receive, a menu batch needs a repeatable review path, and a concept image needs to stay clearly separate from a listing photo.
That sounds less exciting than a leaderboard, but it is a better way to choose. A restaurant is not buying a badge. It is buying a usable image, with the work around it: source preparation, revisions, approval, export, and the time it takes to correct a misleading result.
First decide which job you are hiring the app to do
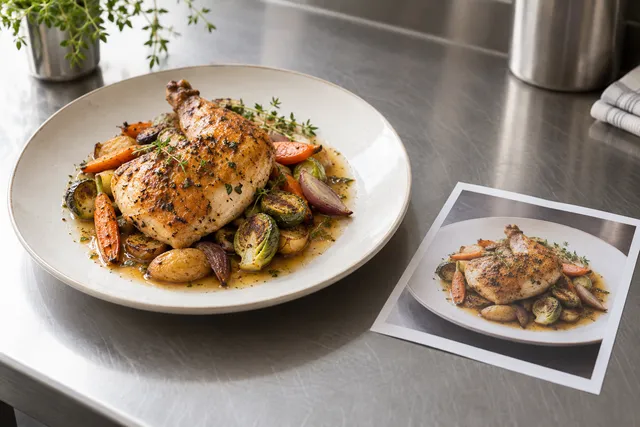
For a real menu item, the job is usually faithful enhancement. Start with a photo of the actual plate and decide what may change: light, background, crop, colour, or a small amount of cleanup. Write down what must not change: visible ingredients, portion, vessel, garnish, and the way the food is served. The more important the item, the less useful a vague request such as make it premium becomes.
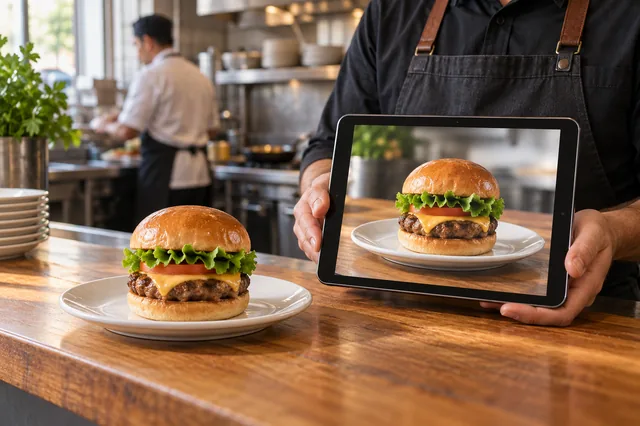
A second job is planning a menu-photo workflow. Here the app is only one part of the system. You need a dish list, a refresh date, the channels that need exports, a naming convention, and a person who can compare each result with the kitchen’s current plate. An app that produces a beautiful single image but makes the batch hard to review may be the wrong fit for this job.
A third job is creating a concept: a seasonal moodboard, a campaign direction, or an image that explains an idea before production. Text-to-image tools can be useful here. Keep the result labelled as a concept or illustration, and do not let it quietly become the image that promises a dish the restaurant does not serve.
Compare the workflow, not the badge
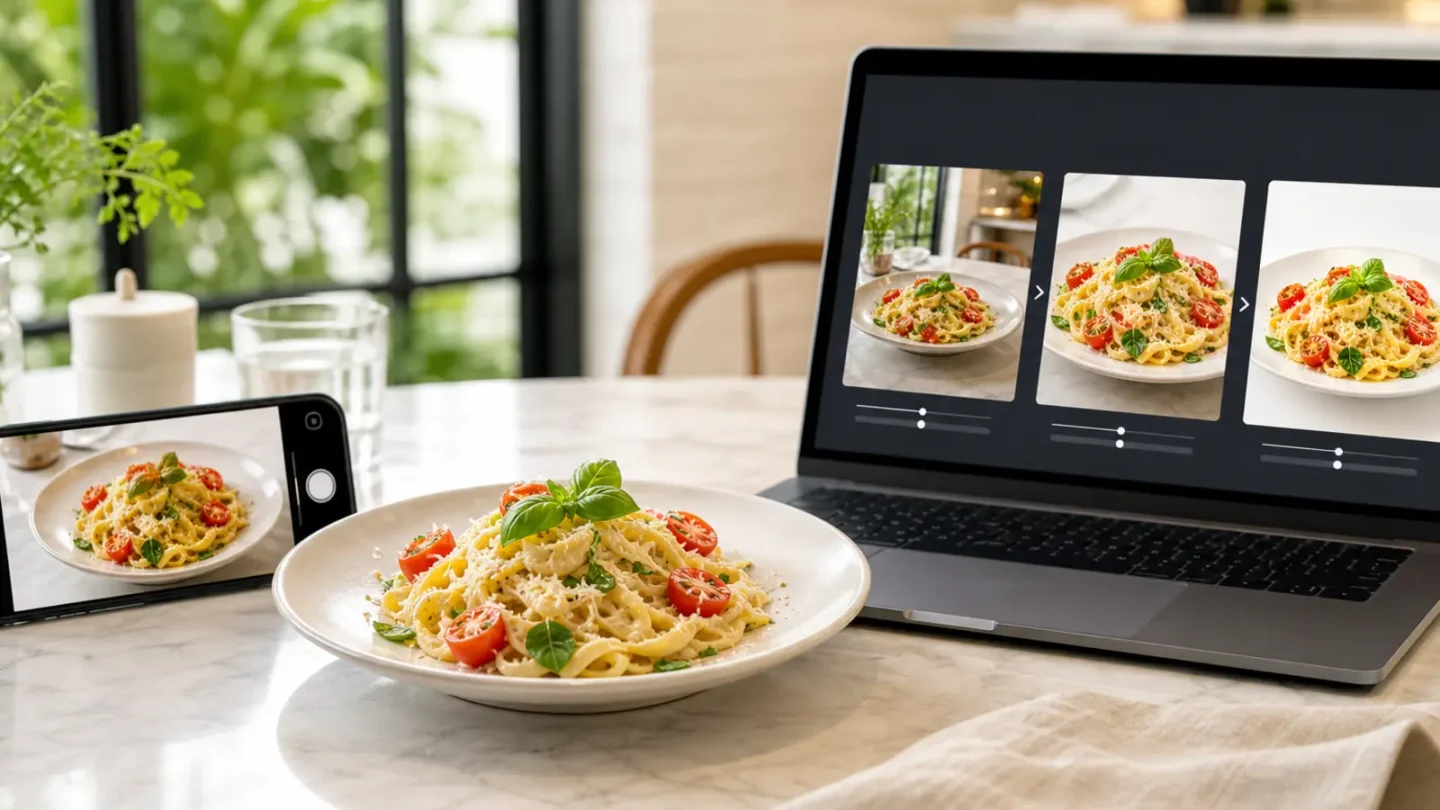
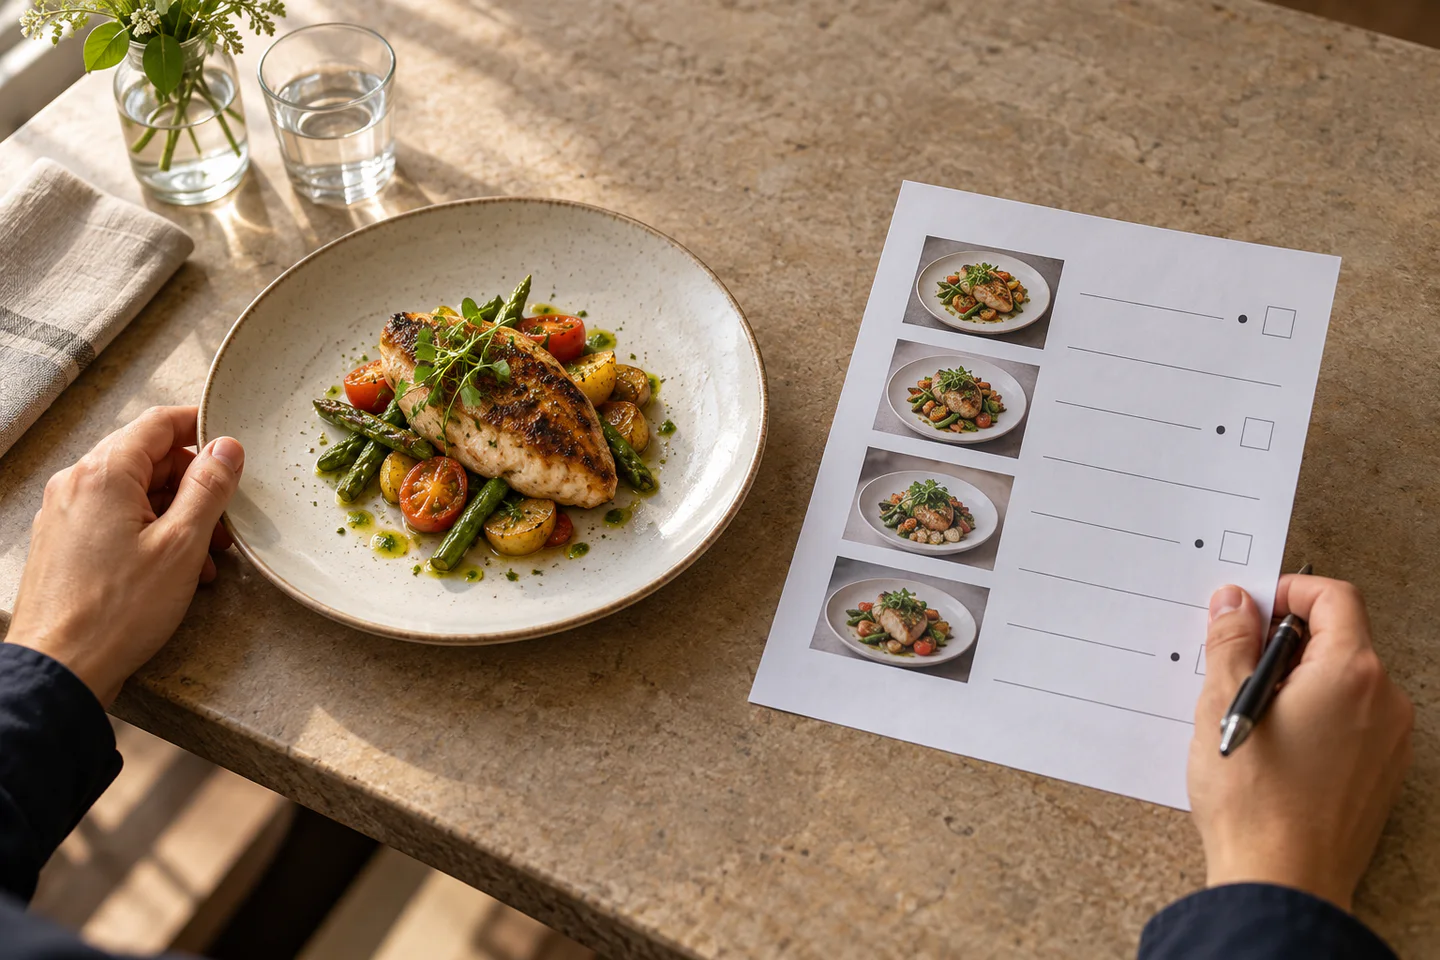
Before trying an app, ask four practical questions. Can you keep the original source beside the result? Can a reviewer see what changed? Can you make a narrow correction without restarting the entire interpretation? Can you export the crop, format, and file weight required by the destination?
Those questions expose the difference between a tool that makes a striking demo and one that fits a restaurant’s weekly work. Review controls matter because generated edits can change details that are easy to miss at a glance: a different garnish, a larger portion, a sauce that was not on the plate, or a texture that now suggests another ingredient.
Run a small, representative test. Choose one flat dish, one tall or layered dish, one item with a reflective sauce, and one image that currently fails at thumbnail size. Use the same source notes for every candidate. Record the number of attempts, the versions you rejected, the edits a reviewer requested, and the time to a usable export. This is more informative than comparing the first pretty output from each app.
Count the cost of a usable image
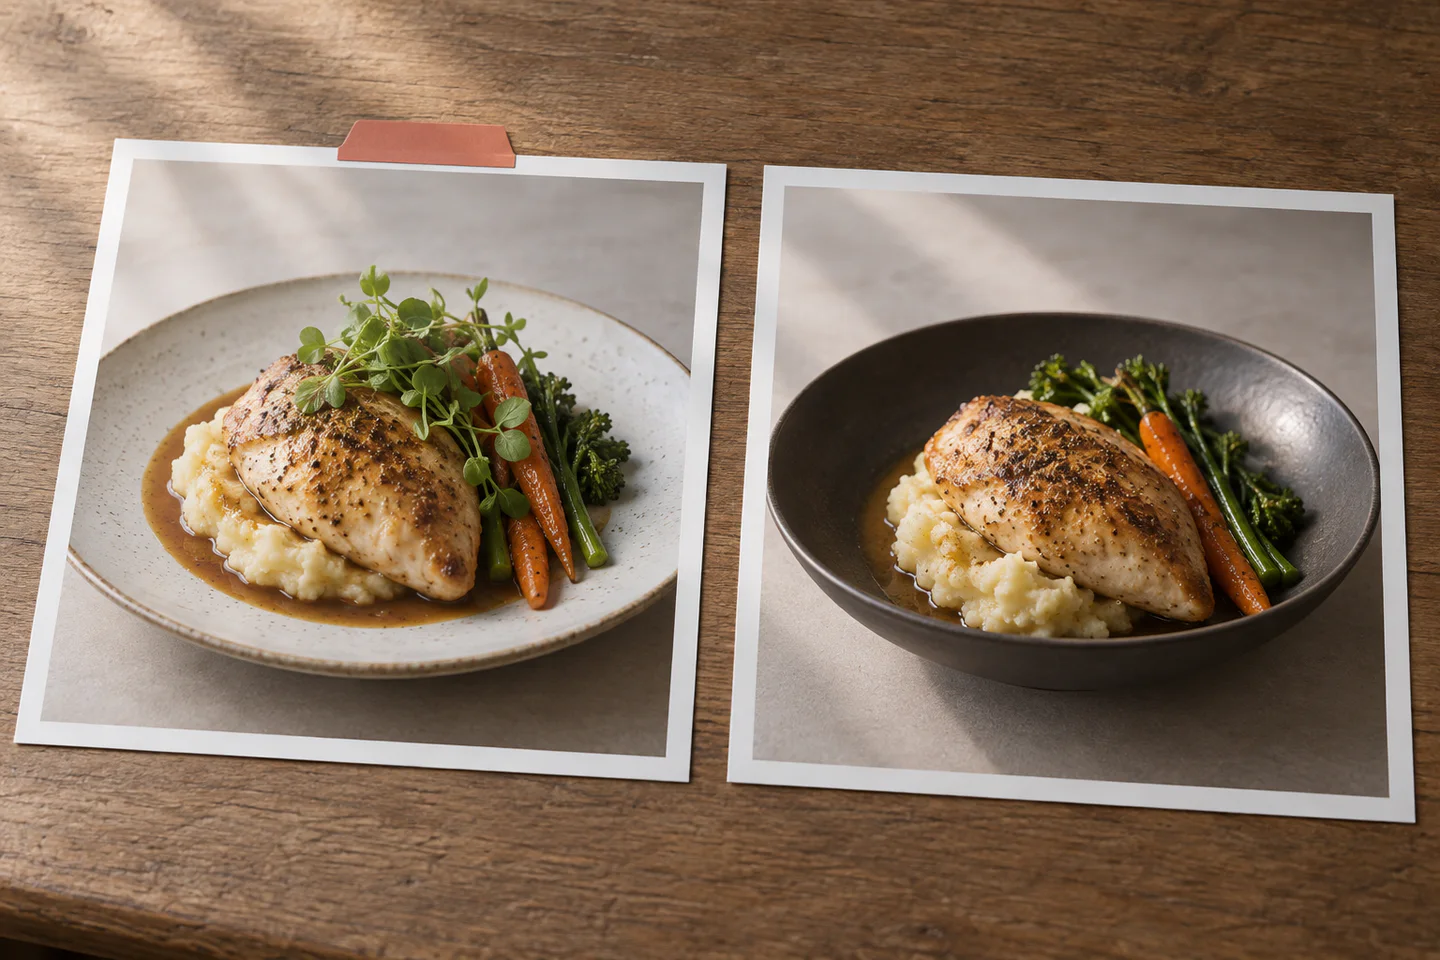
The visible subscription or credit price is only the first line. For a fair comparison, calculate the cost per usable image: the attempts that failed, the revisions needed to fix them, the time spent reviewing accuracy, the export work, and any files that must be remade for a different destination. A cheap first output can be expensive if the kitchen has to correct it later.
Use a small worksheet for the pilot batch:
- Source images submitted and the dishes they represent.
- Attempts and failed versions before the first plausible result.
- Reviewer changes, rejected details, and time spent checking the real plate.
- Final crops, formats, file weights, and the number of exports needed.
- Current plan or credit cost, kept separate from any unmeasured sales outcome.
Do not turn that worksheet into a promise about revenue. A better-looking image can be useful while its effect on orders remains unknown. Record visits, upload acceptance, or purchases separately if you measure them, and define the window before making a comparison.
Destination rules change the answer
An image that looks fine in a design tool can still be the wrong upload for a delivery app or a business profile. The official DoorDash materials I checked describe a landscape 16:9 image and a 1400 × 800 minimum; a market-specific rejection page also lists a 2 MB maximum. Check the DoorDash photo glossary and the DoorDash rejection guidance again for the market, account, and upload surface you actually use.
Google Business Profile’s current photo guidance is a different kind of check: the image should be in focus, well lit, and representative of the business. Read the Google Business Profile photo guidance before publishing. These sources are useful precisely because they describe the destination. A generic app comparison cannot replace them.
That is why export requirements belong in the product decision. Keep a clean master, preview the smallest crop, and create the destination version only after you know the current rules. Do not treat an illustrative image in an article or an app demo as proof of platform approval.
A decision you can make this week
- Choose four real dishes that represent the work you do most often.
- Write the unchanged facts for each dish: ingredients, portion, vessel, and presentation.
- Test the same review brief in the apps you are considering.
- Count usable outputs, rejected versions, review time, and export steps.
- Check the current destination guidance and keep the approved files with their source notes.
If the job is a real dish and the priority is a reviewable, menu-ready workflow, open FoodPhoto Studio with the source photo and review criteria in hand. When you are comparing the commercial side, check current pricing and usage details rather than relying on an old screenshot or a remembered allowance.
The best app is the one that makes the next correct image easier to produce, check, and export. That is a narrower claim than a universal winner, and it is much more useful to a restaurant running a real menu.
Editorial illustrations in this guide are labelled examples, not customer photographs, product screenshots, or performance evidence.
Frequently asked questions
Which AI food photography app is best?
There is no universal winner. Compare the apps using the same real dish, review brief, destination crop and quality checks. Count usable outputs and review time rather than relying on a ranking badge.
Can I generate a different dish for my delivery menu?
Use a photograph of the dish you actually serve. Compare ingredients, portion, vessel and garnish with the original, reject misleading changes, and check the destination platform's current rules before publishing. Keep concept illustrations separate from menu listing photographs.
How should I compare the cost?
Count the total cost of usable images, including rejected versions, revisions and export steps. Check the current FoodPhoto plans and usage estimates instead of an old screenshot. You can open FoodPhoto Studio with your real dish and review criteria.