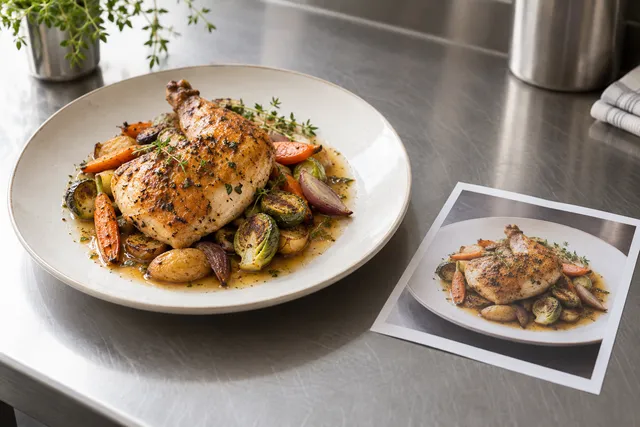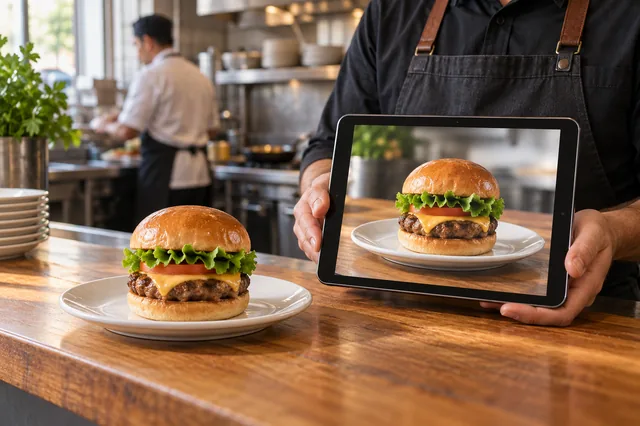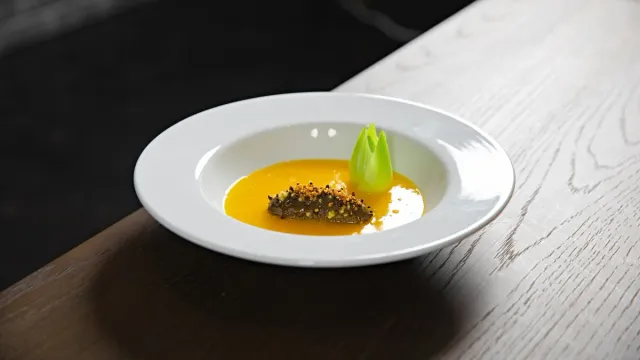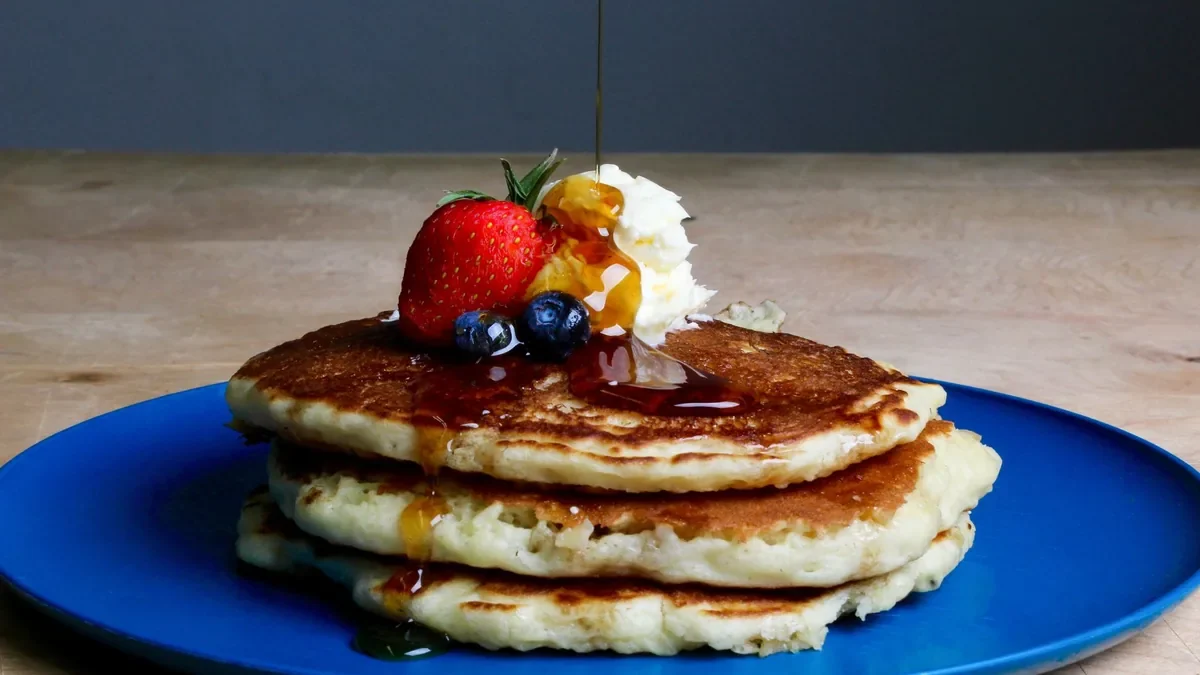
You do not need a photographer to ship better menu photos anymore. AI photo enhancement turns a real phone photo of a real dish into a clean, menu-ready image — fixing lighting, background, and color without changing the food. The catch is knowing what AI is genuinely good at, what to avoid, and how to fold it into a workflow that keeps up with weekly menu changes. This guide is the practical, restaurant-focused version: how to get professional-looking photos without a shoot, and keep them consistent across every platform.
Where AI helps most
For restaurants, AI enhancement earns its keep on the unglamorous technical work that used to require a studio:
- Fixing color cast from kitchen lighting. Yellow tungsten and green fluorescent light wreck food color. AI corrects white balance so the dish looks like it does in person.
- Cleaning backgrounds and removing clutter. A neutral, on-brand background is the single biggest upgrade from snapshot to menu photo.
- Recovering gloss, color, and texture. Steam, sauce sheen, and crisp edges are appetite signals; enhancement brings them back without faking them.
- Exporting multiple crops at once. One enhanced photo becomes a square delivery thumbnail, a landscape Google Business image, and a vertical social clip in a single pass.
The honest framing matters: AI should make a real photo look its best, not invent a dish you do not serve. See it on your own plate in the a $5 pack of 10 photos. For the full picture of how this fits together — generation vs. enhancement, costs, and delivery-app rules — see our complete guide to AI food photography.
What to avoid
The fastest way to misuse AI is to let it change reality:
- Anything that alters ingredients, portions, or textures. If the photo shows more shrimp than the plate has, you are setting up a refund.
- Over-stylized edits that no longer match. A hyper-glossy, color-pumped image that looks nothing like the served dish erodes trust.
- Generated food. Text-to-image tools invent dishes from prompts; for a live menu, that is a policy and accuracy risk, not a shortcut.
The rule is simple: the photo must represent what arrives. We go deeper on the line between honest and dishonest editing in our AI food photography: what it can and can’t replace piece.
The input photo still matters
AI enhances what you give it. A few seconds of care at the station produces a dramatically better result than trying to rescue a bad photo afterward.
- Light from the side, near a window or one soft light — never the on-camera flash.
- Shoot slightly above the dish (around 45 degrees) for most plates; go overhead for flat foods.
- Frame accurately — show the real portion, fill the frame, leave a little room to crop.
- Wipe the plate rim and remove stray crumbs before you shoot.
Get those four right and enhancement does the rest. For dish-specific tips, our phone food photography guide for restaurant owners covers angles and lighting per food type.
A practical workflow you can repeat
The whole point is repeatability, so the system fits a busy kitchen:
Shoot with your phone → enhance → export crops → publish.
| Step | Time | Tool |
|---|---|---|
| Shoot 8-12 dishes | 30-40 min | Phone + simple station |
| Enhance to one standard | Minutes | AI enhancement |
| Export delivery/social crops | One pass | Same tool |
| Publish to web, apps, social | As needed | Your platforms |
Run this whenever the menu changes and your photos never fall behind.
How AI keeps menus consistent everywhere
Consistency is the quiet ranking and trust signal. When every dish is enhanced to the same lighting, background, and color treatment, your menu reads as one brand across your website, delivery apps, and Google Business Profile. Doing that by hand across platforms is where most restaurants lose the thread — AI standardizes it automatically. If you publish in more than one market, the same discipline scales, as we cover in international restaurant image SEO.
Use AI to keep up with weekly menu changes
The real superpower is not the first shoot — it is keeping photos current. Menus change constantly: new specials, seasonal items, swapped ingredients, limited-time offers. Traditional photography cannot keep that pace, so most restaurants run with stale or missing photos on half their items.
AI changes the cadence. Because enhancement costs cents and takes minutes, you can fold photos into the same routine you use to launch a special:
- Plate the new item the way it actually goes out.
- Shoot it on a phone at your station before service.
- Enhance and export the crops.
- Publish to delivery apps, website, and social the same day.
That loop is why AI-equipped restaurants always look current while others look frozen in time. For a repeatable weekly version of this, our phone food photography guide and the new menu launch rollout plan lay out the full routine.
A quick before-you-publish QA
Enhancement is fast, so the only discipline you need is a short check before each photo goes live:
- Does the photo match the real portion and ingredients?
- Is the color accurate, not pumped to plastic?
- Does it read clearly at thumbnail size?
- Is it consistent with the rest of your menu?
Four quick questions catch the only mistakes that matter and keep every image honest.
What AI cannot do — and where humans still win
It helps to be clear-eyed about the boundary, because vendors blur it. AI enhancement is excellent at the technical layer and useless at the judgment layer. It cannot decide that your carbonara should be plated with the pancetta on top, or that the burger needs to be stacked taller before it goes out. It cannot taste the dish, choose which of your specials deserves a hero shot, or know that the lighting in your dining room is the actual brand. Those are human calls, and they happen before the photo is taken.
There are also edits AI should refuse on principle. Adding garnish that was never on the plate, deepening a sear that was actually pale, or multiplying the shrimp count are not enhancements — they are misrepresentations. A good workflow treats AI as a retoucher with a strict brief: relight, clean, sharpen, crop, standardize. Everything past that line is the kitchen’s job, not the software’s.
A side-by-side of the two paths
| Traditional shoot | Phone + AI enhancement | |
|---|---|---|
| Lead time | Days to weeks (scheduling) | Same day |
| Cost per finished image | ~$20-$80 | ~$0.14-$0.60 |
| Handles weekly menu changes | Poorly | Easily |
| Consistency across 40+ items | Hard to maintain | Built in |
| Risk of misrepresenting the dish | Low (you control plating) | Low if you keep edits honest |
| Best at | Art direction, plating, brand look | Cleanup, relight, crops, scale |
The point of the table is not that AI wins on everything — it is that the two are good at different things. The smart play is to use human judgment for the plate and AI for the pixels.
The economics
A traditional shoot runs roughly $20-$80 per image once you count the photographer, stylist, and scheduling. For a menu you refresh several times a year, that turns a yearly production headache into a routine you control. FoodPhoto begins with two previews on your own dish, with a verified account and no card. Free previews are significantly slower than paid plans and are prepared in a separate queue: about 30–35 seconds in normal conditions, and longer when the service is busy or the edit is complex. Keep the chat open and do not repeat the request while it processes. See the current plans and usage estimates for photos, menus and campaigns.
The takeaway
AI is best at relighting, cleanup, consistency, and exports — not at deciding what your food is. Use it to make good phone photos publishable at scale, keep the input honest, and run a simple shoot-enhance-export-publish loop. That is how restaurants ship better food photos without a shoot, and keep every channel matching.
Ready to try it? Get a $5 pack of 10 photos on one dish, or see pricing — 5 photos for $10 to start.
Frequently asked questions
How does AI improve restaurant food photos?
AI enhancement fixes the technical problems in everyday phone photos: harsh kitchen lighting, color casts, cluttered backgrounds, and dull color. It does this without changing the food, then exports the right crops for delivery apps, Google Business, and social — so a phone snapshot becomes a menu-ready image.
Can I get better food photos without a photoshoot?
Yes. The standard 2026 workflow is to shoot with a phone at a simple station, enhance with AI, export the crops you need, and publish. This produces consistent, professional-looking photos without scheduling or paying for a studio shoot.
Does the input photo still matter with AI?
It matters a lot. AI enhances what you give it, so reasonable light, a clean angle, and accurate framing make the result far better. A few seconds of care at the station beats trying to rescue a bad photo afterward.
What should I avoid when using AI on food photos?
Avoid anything that changes ingredients, portions, or textures, and over-stylized edits that no longer match the real dish. The photo must represent what the customer actually receives, or you trade short-term polish for refunds and bad reviews.